On June 9th the Realops Event took place in Vienna. Therefore you could book Real Time slots from this day schedule from the Vienna airport. Outbound and Inbound. The event was hosted for the 10th anniversary of VACC Austria. Happy Birthday, again!
I flew a rotation for austrian virtual from LOWW to EDDM as OS117L and back to Vienna as OS118C
Category: Overhead
360° pictures
I have tested a 360° camera during the last days.
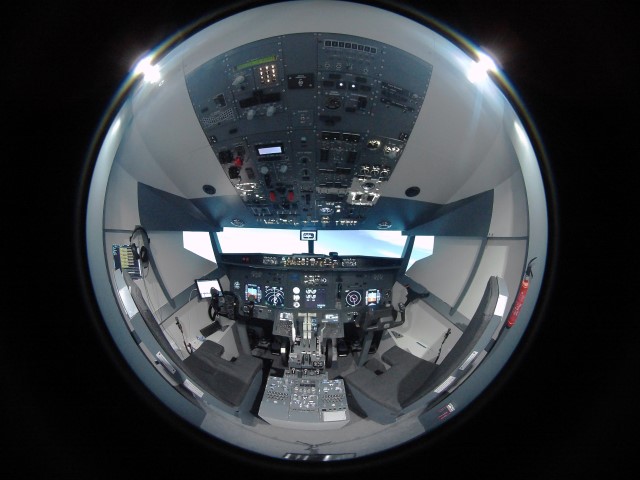
With that you can make some pretty pictures from scenes with an amazing angle.
Here are some of them.
To view the pictures in full resolution, click here.
Pressurization Gauge and Backlight for the panel
During the last days of March I also modified the module with the pressurization gauge. Until now I didn’t had a working pressurization gauge (dual needle), I found the one from Tom on customsimparts.com. Like the Flap gauge, a very good quality and price. This one was made as a customization, as the default size would not fit into the Opencockpits Overhead panel.
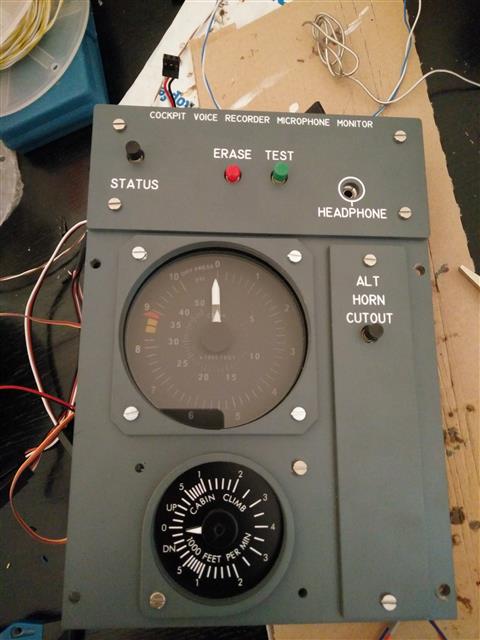
Again, I took the chance and installed a 9 pin connector for the module to be easily unplugged and removed. The 3 Servos as well as the 12V for the background light were connected to separate connectors.
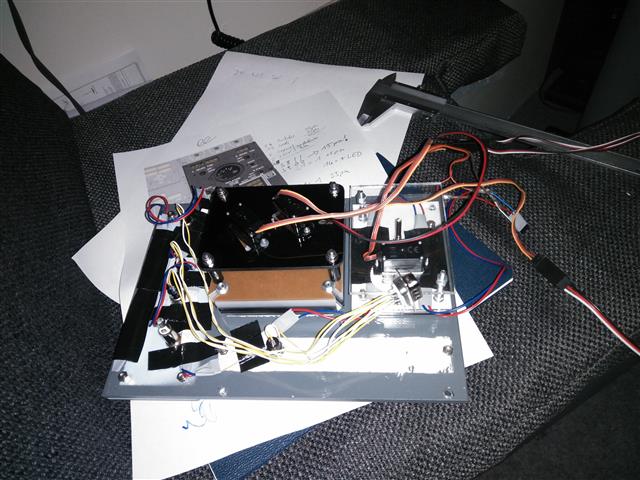
To have it fit into my handmade overhead structure, I had to cut a hole into the acryl glass.
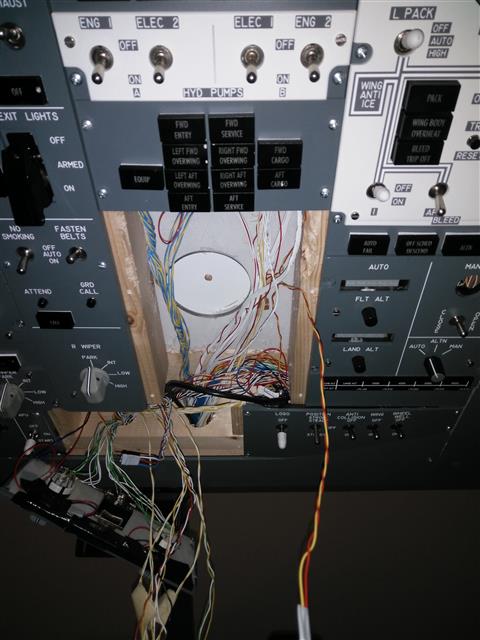
It looks really good now.
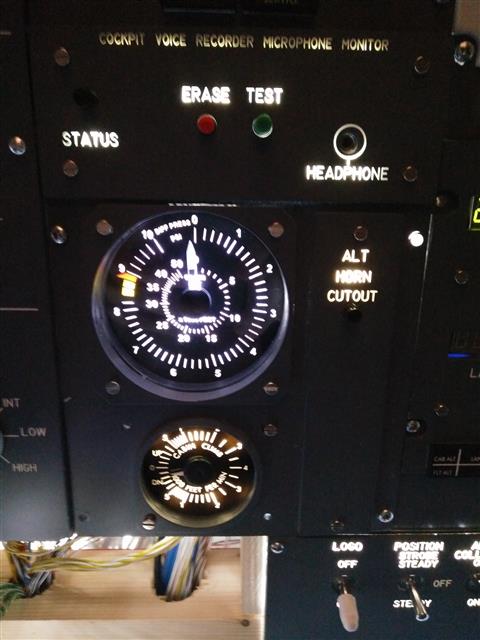
First time I also created a video to see how much work it is to get a very simple panel backlit. I made 2 versions, the original 1:1 length and a 3 minutes time-lapse version.
Status update 03/2017
I can provide you a short update video from the status as of March 2017.
In this video you will see the new back-lit Press. Panel in the overhead, the new Flap Gauge and the back-lit Autobrake panel.
FWD Overhead update – Part 2
The next in line was the pressurization panel. Therefore I counted first how many connections would be needed. I will need a 25pin, 15 pin and a 9 pin connector to cover all LEDs, switches and backlight for this panel. Wow.
Greatfully I had help from my dad and we started on one evening with cutting, numbering all wires and connecting them to the connectors. Due to not so good lighting we stopped this after the 14 LED wires and a couple of switches and decided to continue one week later as it got very late….
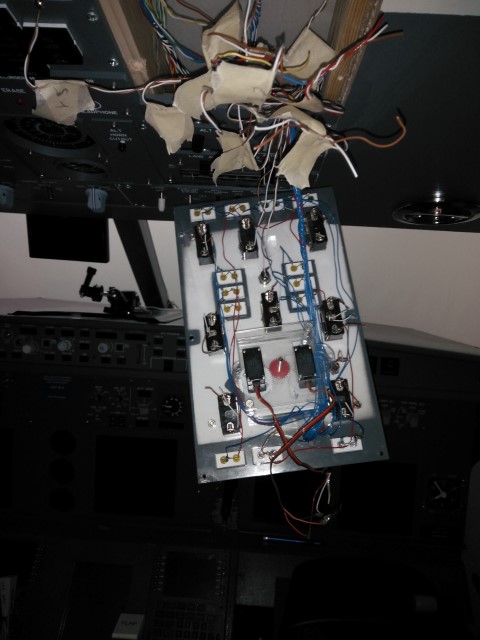
During this time I have reworked the panel itself. All LED connections and switches were rewired and Backlight Lighting was installed.
In another night session for nearly 3 hours, we managed to wire the remaining connectors and reinstall the module. About 1.5 hour was dedicated for error searching and solving…
It looks really great in the overhead now.
FWD Overhead update – Part 1
I have accomplished an update of the FWD Overhead. As Opencockpits is providing a set with the nice light grey plates for some sections I have upgraded them now.
Part 1 was simple. It included the HYD Pump panel. Looks very nice now.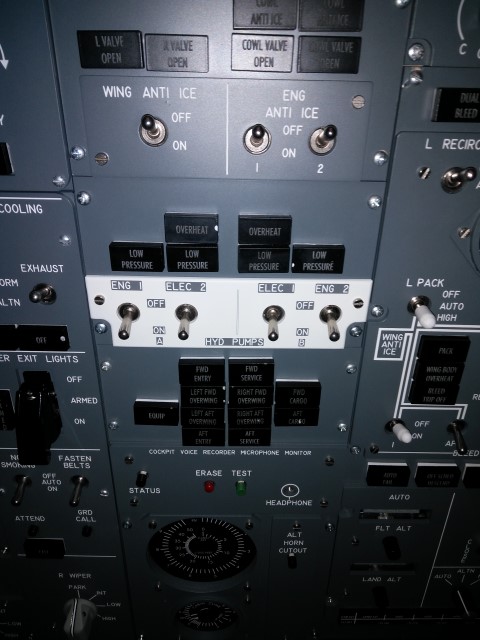
The next panels – Fuel, Bleed and Generators – will be more complicated. Those need to be fitted as well with connectors as I am planning to add to all modules.
Also the LED boxes need to be removed and there for need to be re-soldered in the back. Will be tricky and will take longer than this one.
first retrofitted overhead module
This weekend the first Overhead section module was retrofitted with backlight and a connector to allow to be easily removed from the overhead structure.
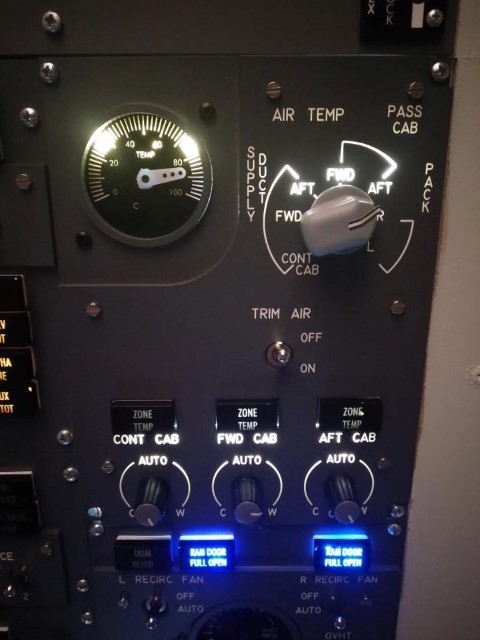
During the work the servo from the gauge got damaged, because a cable was wrong connected 🙁 But, it could be easily changed so that the “inop” sticker could be removed quickly.
All switches and controls are functional now.
Background Lights for Overhead started
This weekend I started with the first 2 sections of the overhead. I think those were the easiest ones 🙂
As the modules can not be unmounted from the OC, because the cables connect direct from the switches and LEDs to the controller cards, the work must be done inside the flightdeck… quite a hard work to archive 🙁 But the result will look fantastic, I guess.
First Officer sidewall and charts holder
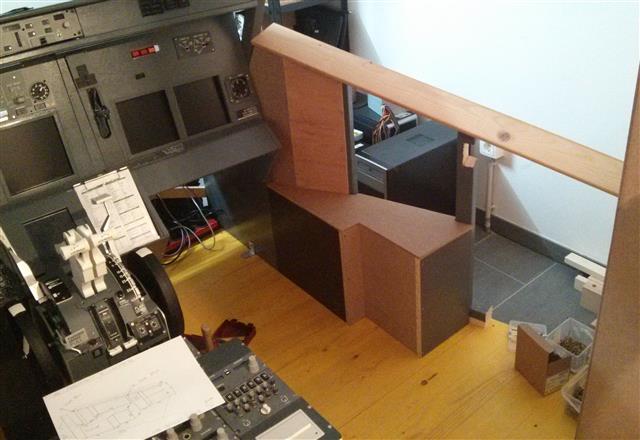
Today we have accomplished a lot again. The full first officer sidewall was built.
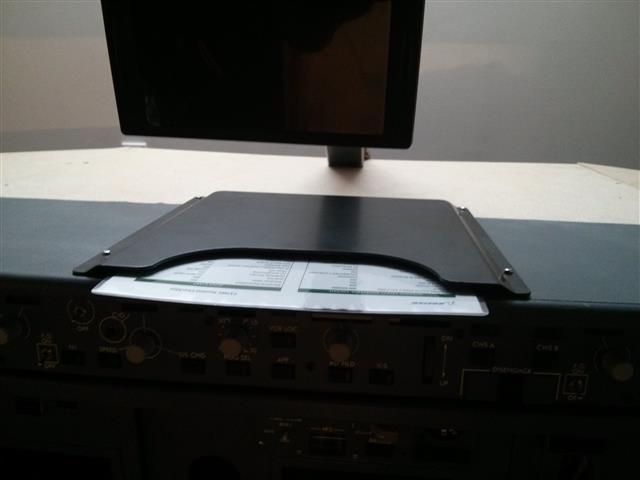
Also my new checklist and cardholder on the glare shield was mounted. I bought it from simworld in Poland. Shipment was very fast and has an excellent quality.
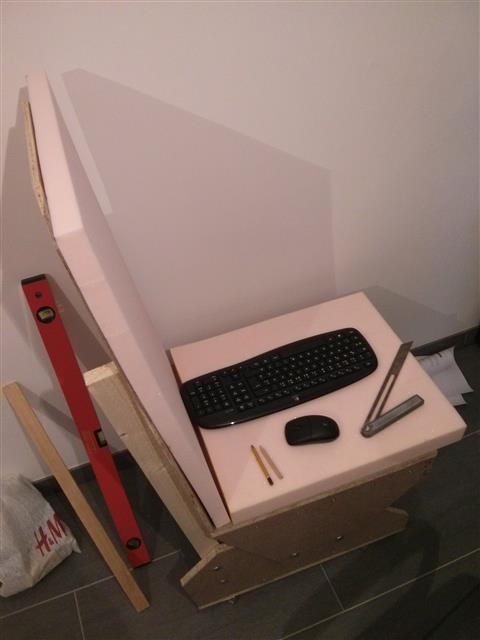
The second seat was continued to get finished. The arm rests are still missing and a backplate will be attached during the next weeks.
On the todo list the next steps are to finish the planks around the shell. A new CDU is also on the list as well as the chart light panels, therefore my light switches will get moved from the overhead to the sidewalls. And the FO MIP should be finished and connected to the joystick cards for the Main DU switches on th FO side.
And last week I drilled the holes for the headset of the pilot. So the headset can now be connected to some extension cables and can be stored away when not needed during the flight, because a handmicrophone is on the way to me, but this will be covered in a seperate post.
Cabin Announcements Speaker and Captains Sidewall
During the last weeks I have built into the cockpit 2 small round speakers to hear the cabin announcements from the back and not from the speakers in the front.
Therefore also an audio cable was placed through the room to have the cabin announcements started from the PC which is running Prosim A.F.A.S or the great freeware tool from Oliver FSCrew 2010.
Also we have finished the sidewall on the captains side. We have reworked the tiller construction and placed the two amplifiers from ATC and Cabin into the sidewall. 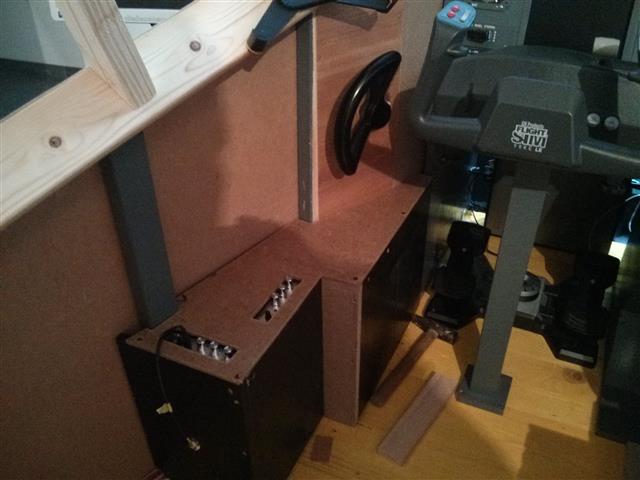
Next on the to do list: finish second seat and the first officer sidewall.
![Building a 737-800 Homecockpit [OE-LNJ]](https://737cockpit.info/wp-content/files/2021/04/v5-clouds.png)
