In this status update we will capture the new built in gauges from customsimparts. The near future withe the update of P3D to v5 and the next planned hardware changes on the PCs.
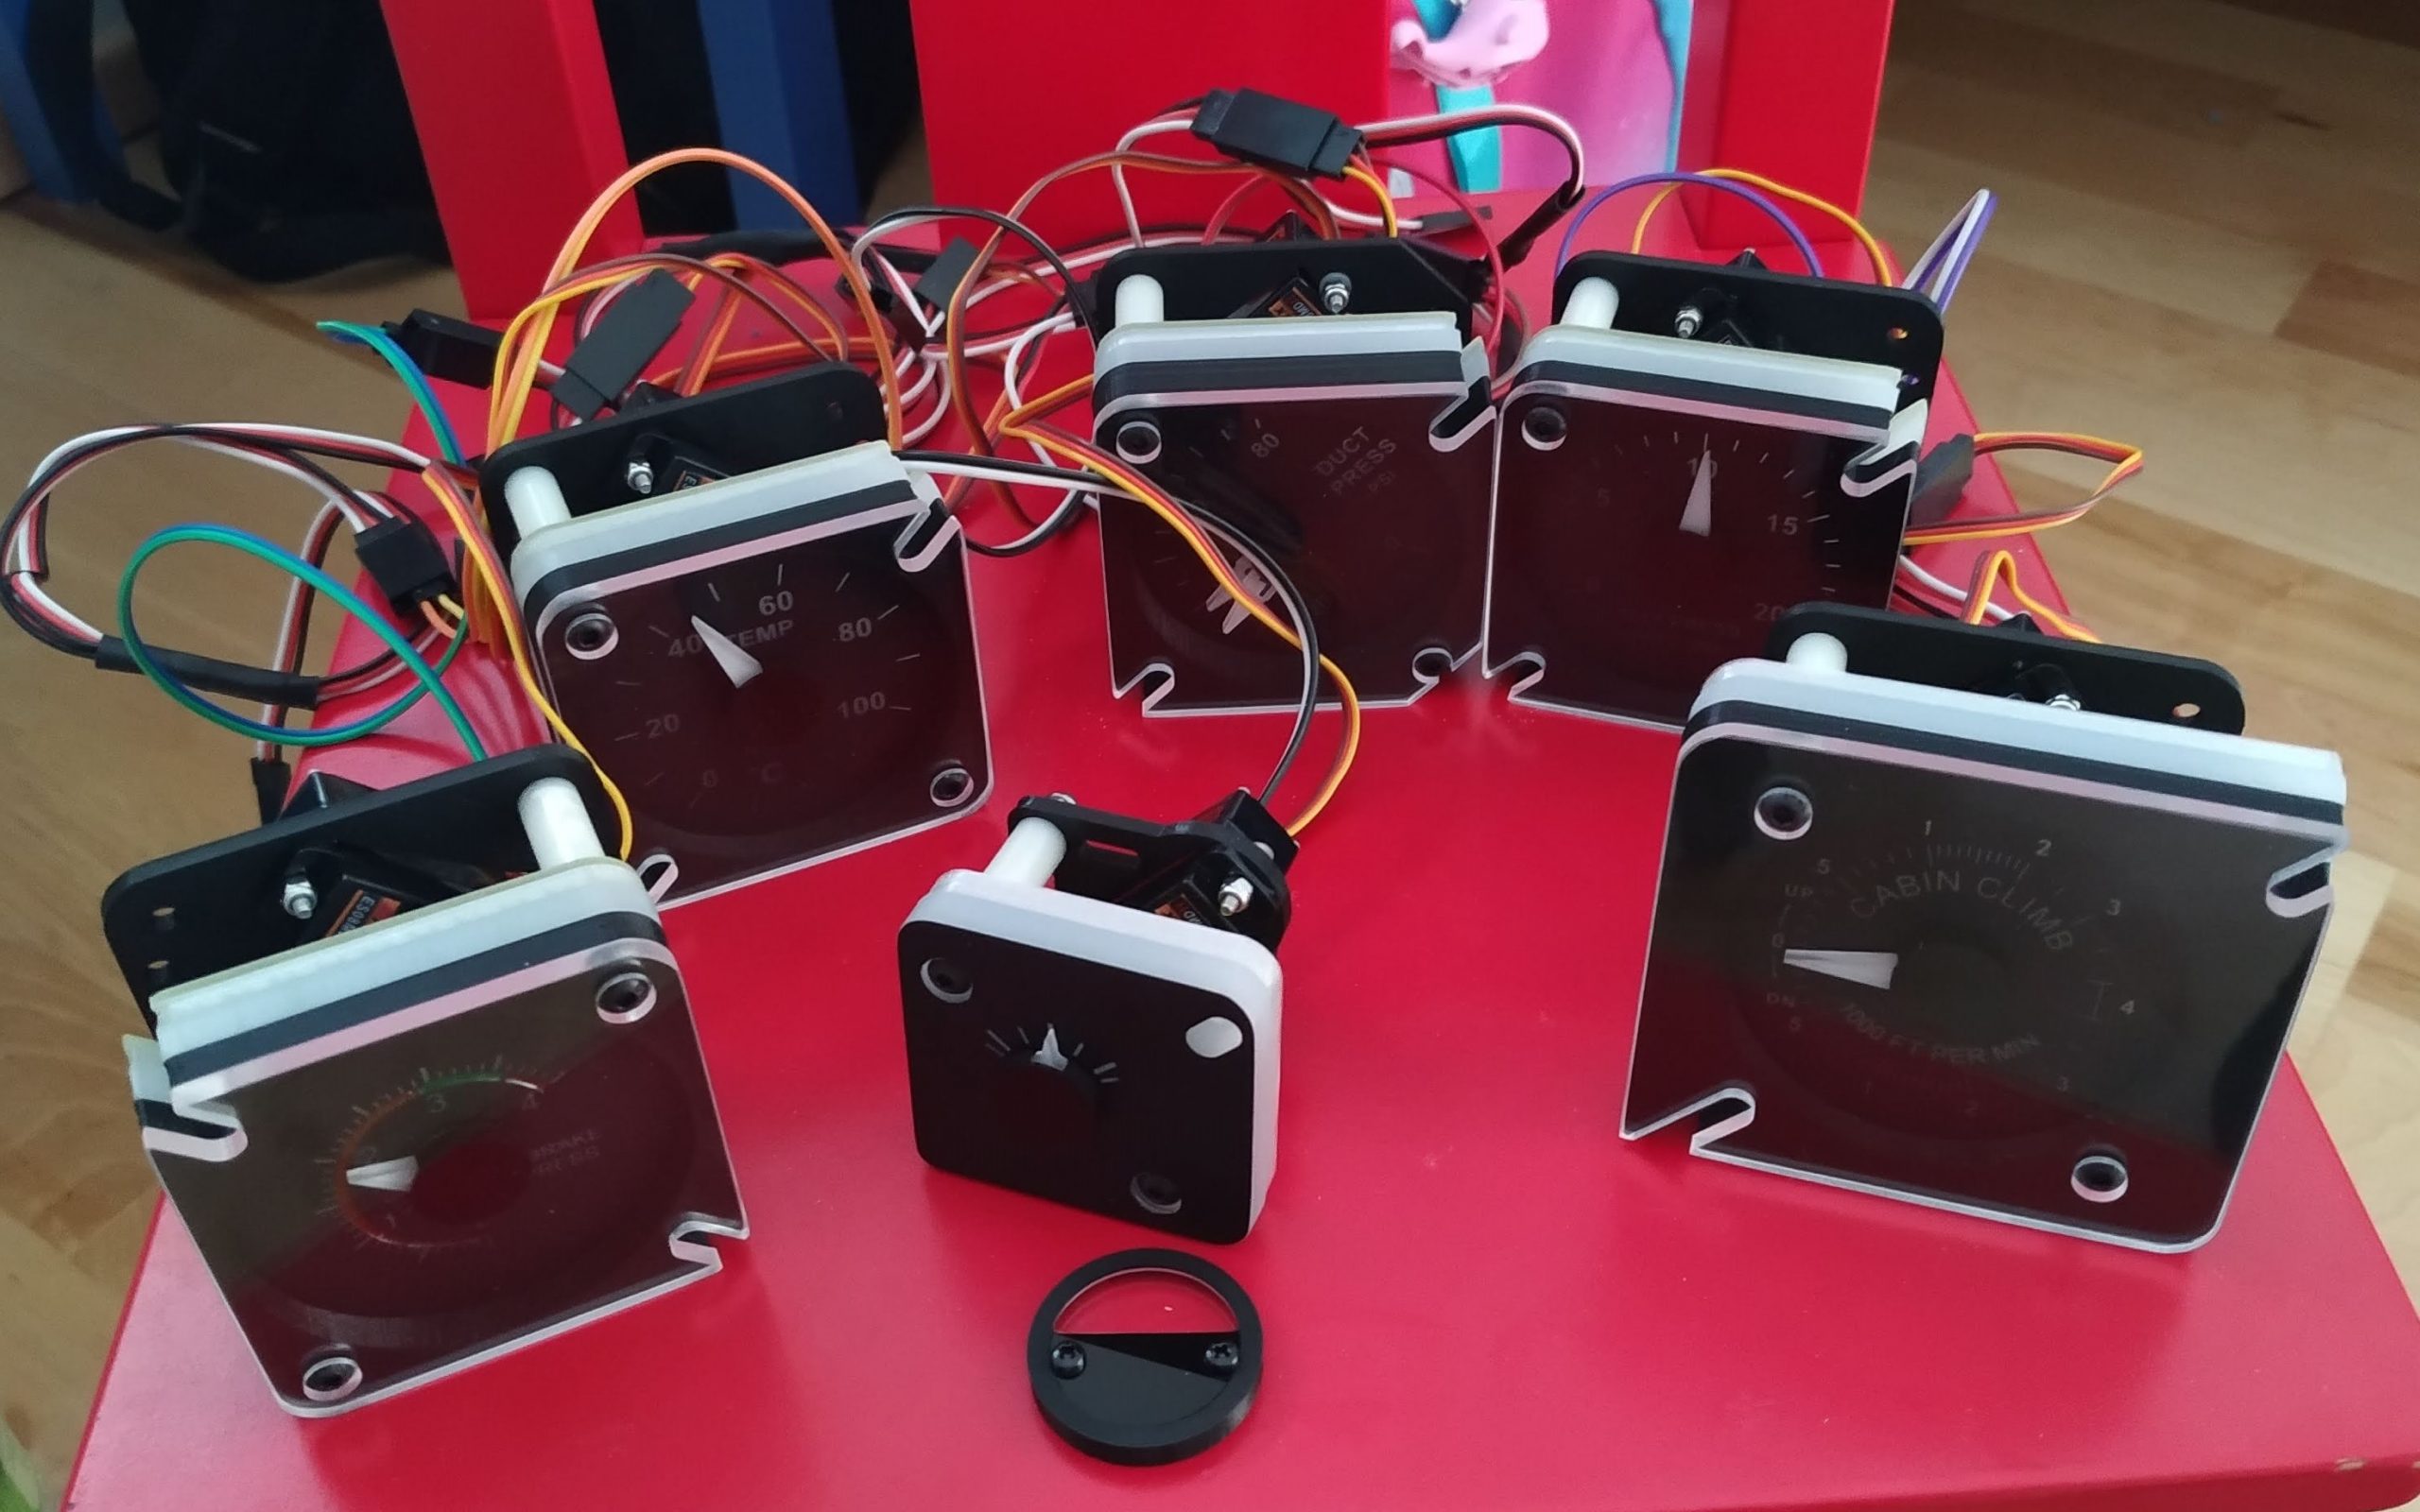
Finally I updated all Gauges to the perfect custom built gauges by Tom from customsimpart. They look really fine.
The Cabin Temp gauge was the most horrific to be installed. Due to my wood frame construction form the overhead a lot of wood has to be removed to fit the gauge into. It was a mess…
This slideshow requires JavaScript.
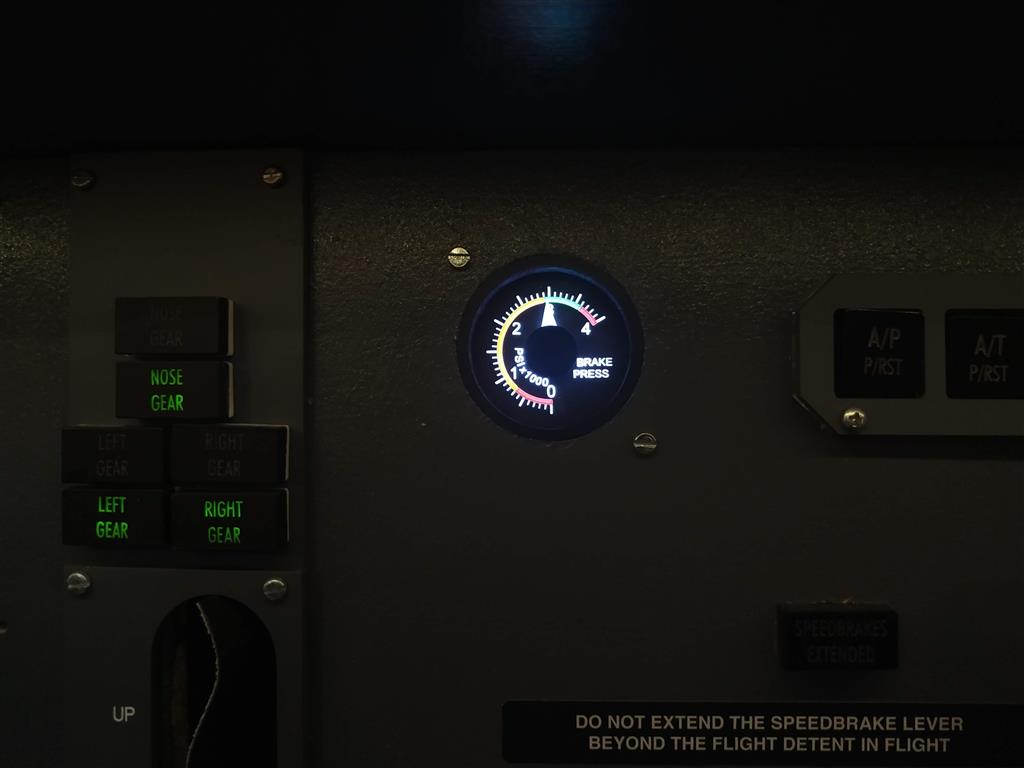
Also I installed the valve gauge and the missing brake pressure gauge in the First Officer MIP. All gauges are connected to an 18 port pololu servo card and configured in ProSim.
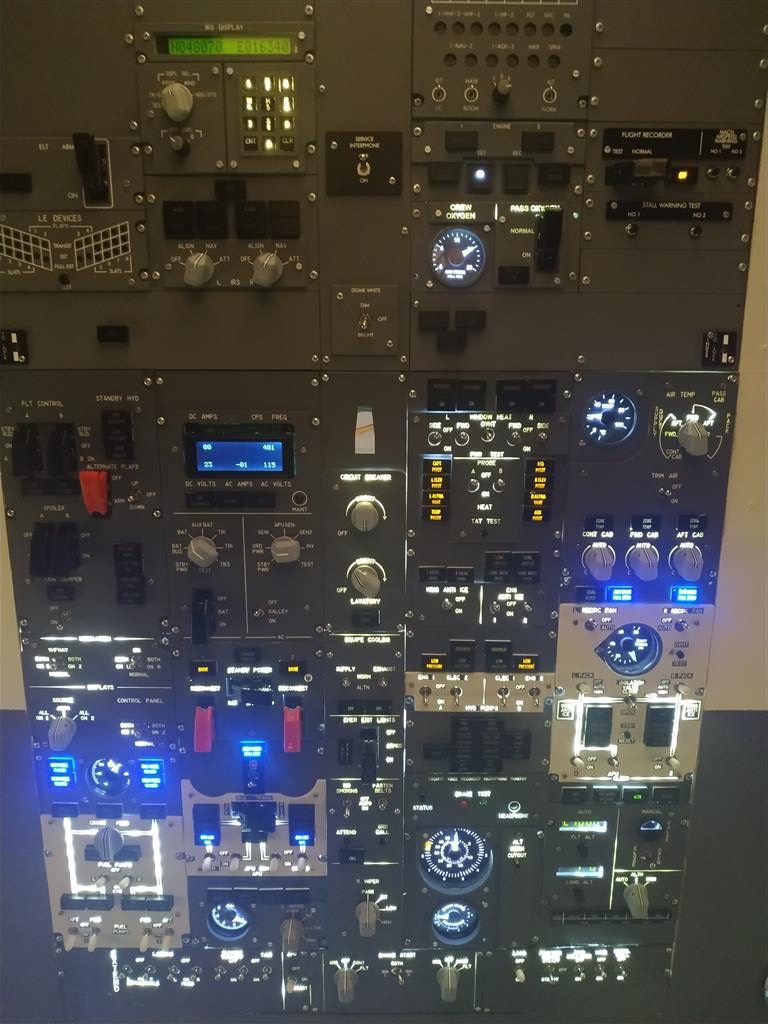
Another status update from my homecockpit progress. Here we will short cover the new upgraded backlights from most of the forward overhead as well as an outlook of the next topics like new gauges and new panels in the pedestal.
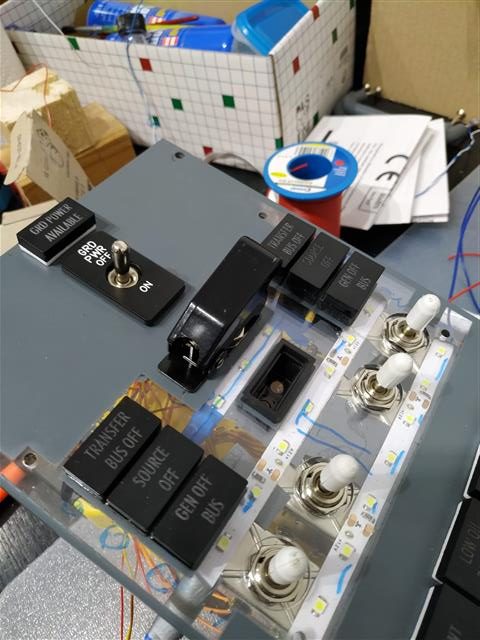
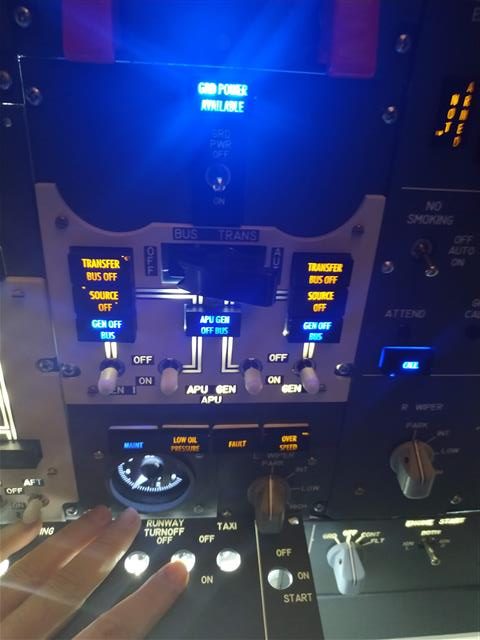
Also the next panel was now retrofitted with backlights. The panel sits above the Ground Power and Bus Switching Panel which I did some days ago. As this had only 3 switches and LEDs it was a rather simple one to do.
And again it looks fantastic. Sadly some color came of with the screw, but I will replace it in the near future with a new front plate.
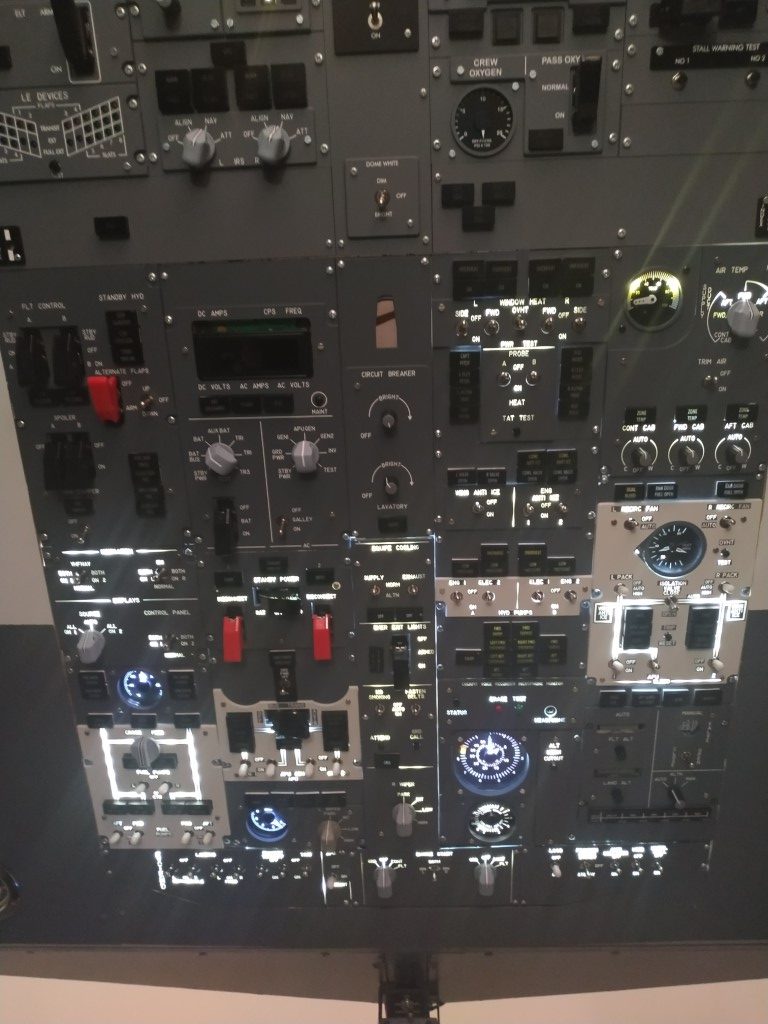
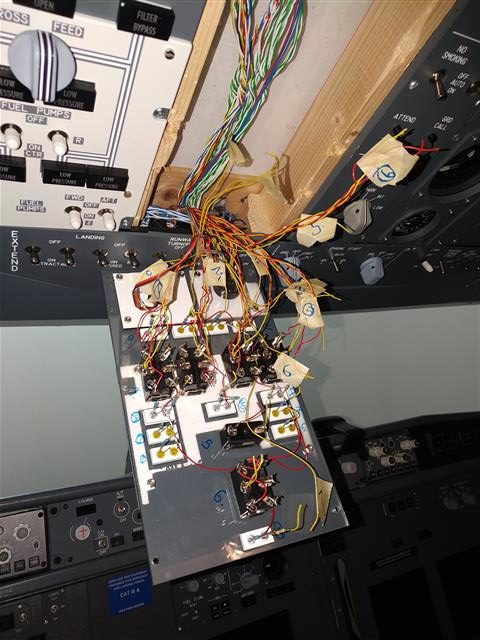
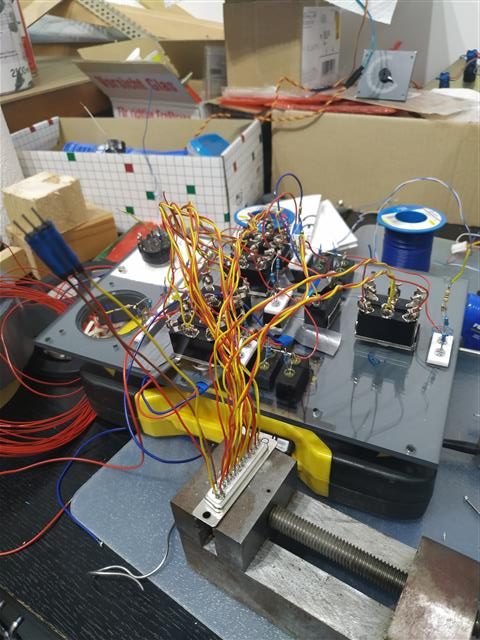
During the last weeks I have finished the re-wiring and backlight of the Ground Power and Bus Switching Panel.
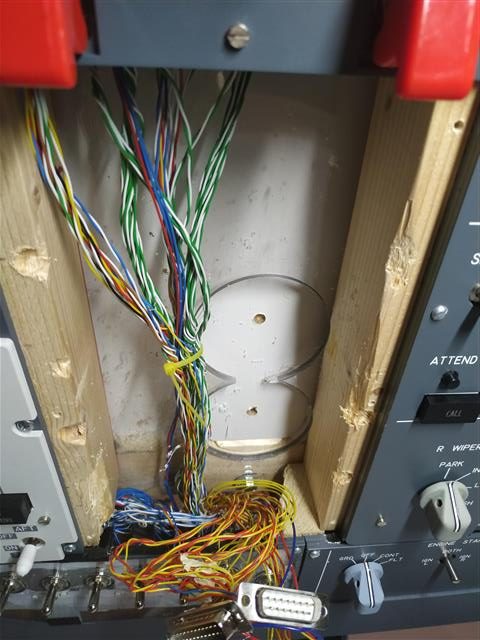
Fist it was removed from the overhead panel and all wired need to be cut, as no connectors were installed in 2009.
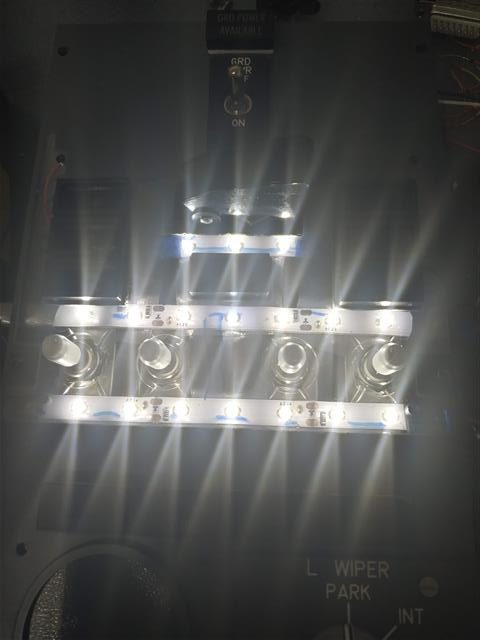
Once removed the panel was in the refitted with 12V LED strips.
and connectors where installed in the flightdeck as well on the panels to reconnect it more easily.
The LED boxes where replaced to black ones, that the new backlight won’t shine through.
To finally reassemble it in the overhead it “only” had to be reconnected. But there the issue started…
The place behind the panel was too small to fit the new connectors in, because back in 2009 we tried a backlight through a plexiglass screen, but this was not working as expected, but there was already the full overhead built. So I needed to get some place. So I have taken some “heavy equimpent” and drilled some holes in the plexiglass.
Finally finished and it looks very good.
What I forgot now to mention was the thing that stared to whole “operation”. The perfect looking APU gauge was the initial driver of the retrofit. As all my retrofitted gauges, also this was bought from customsimparts.
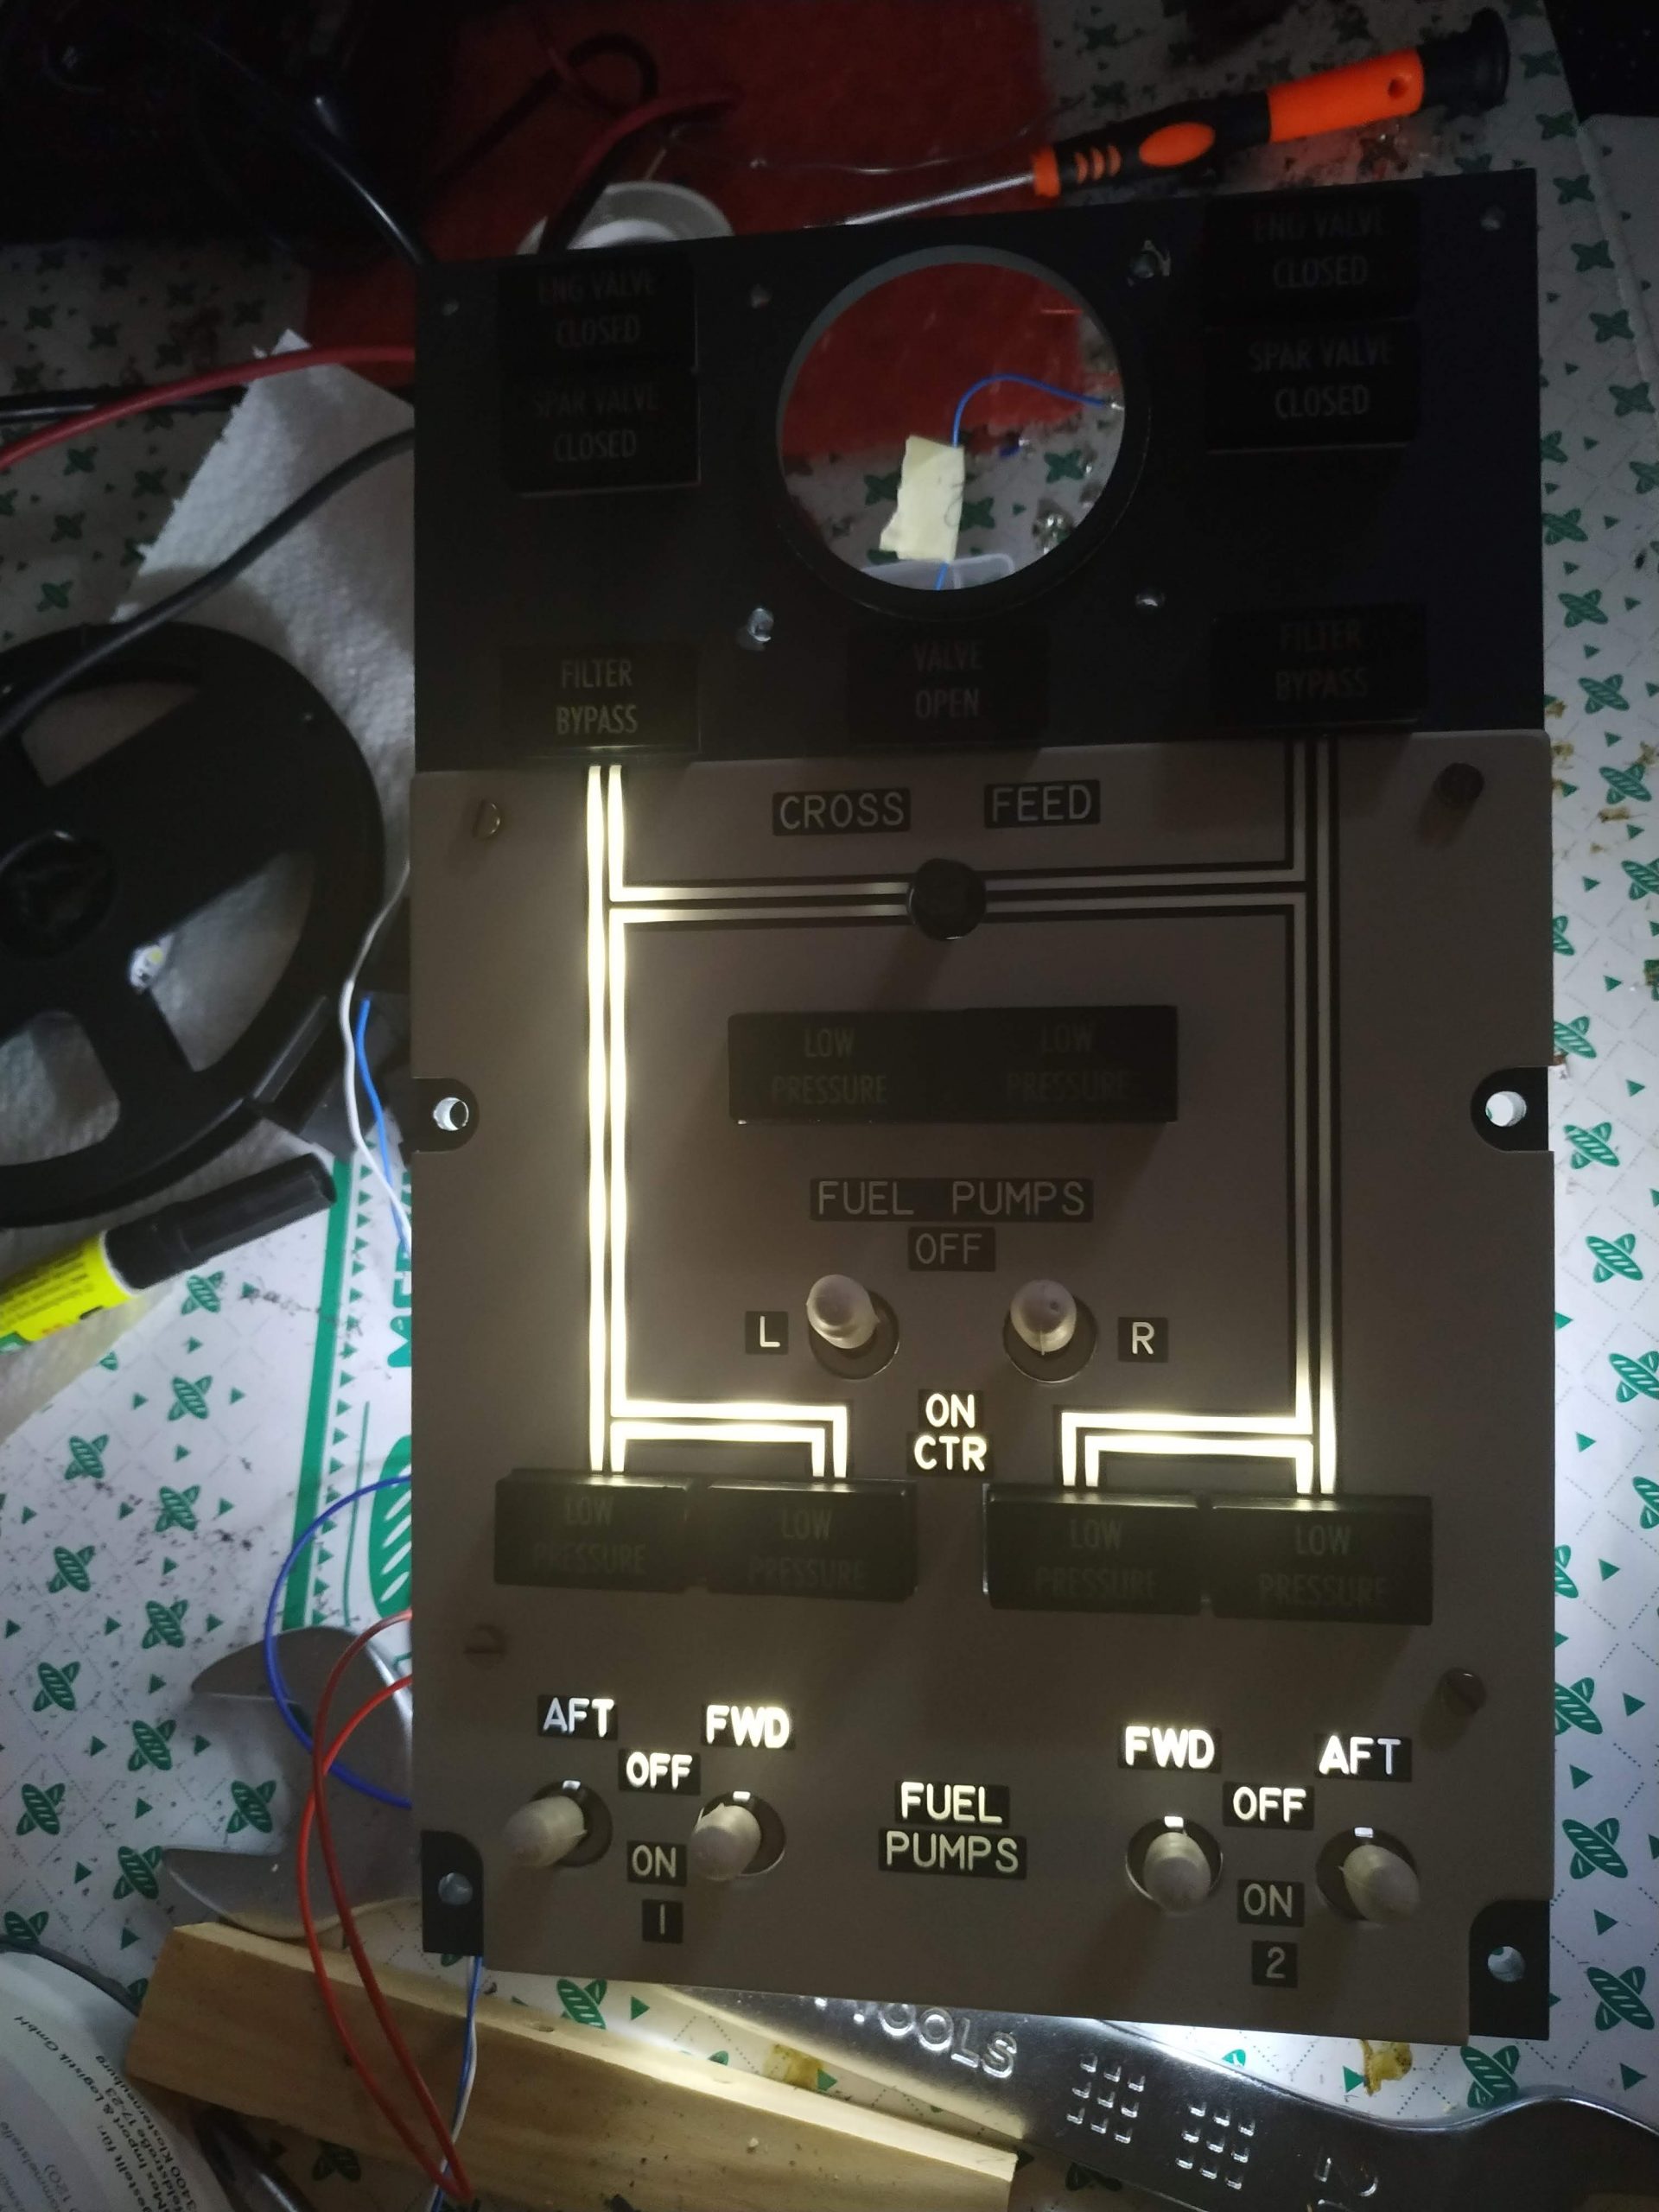
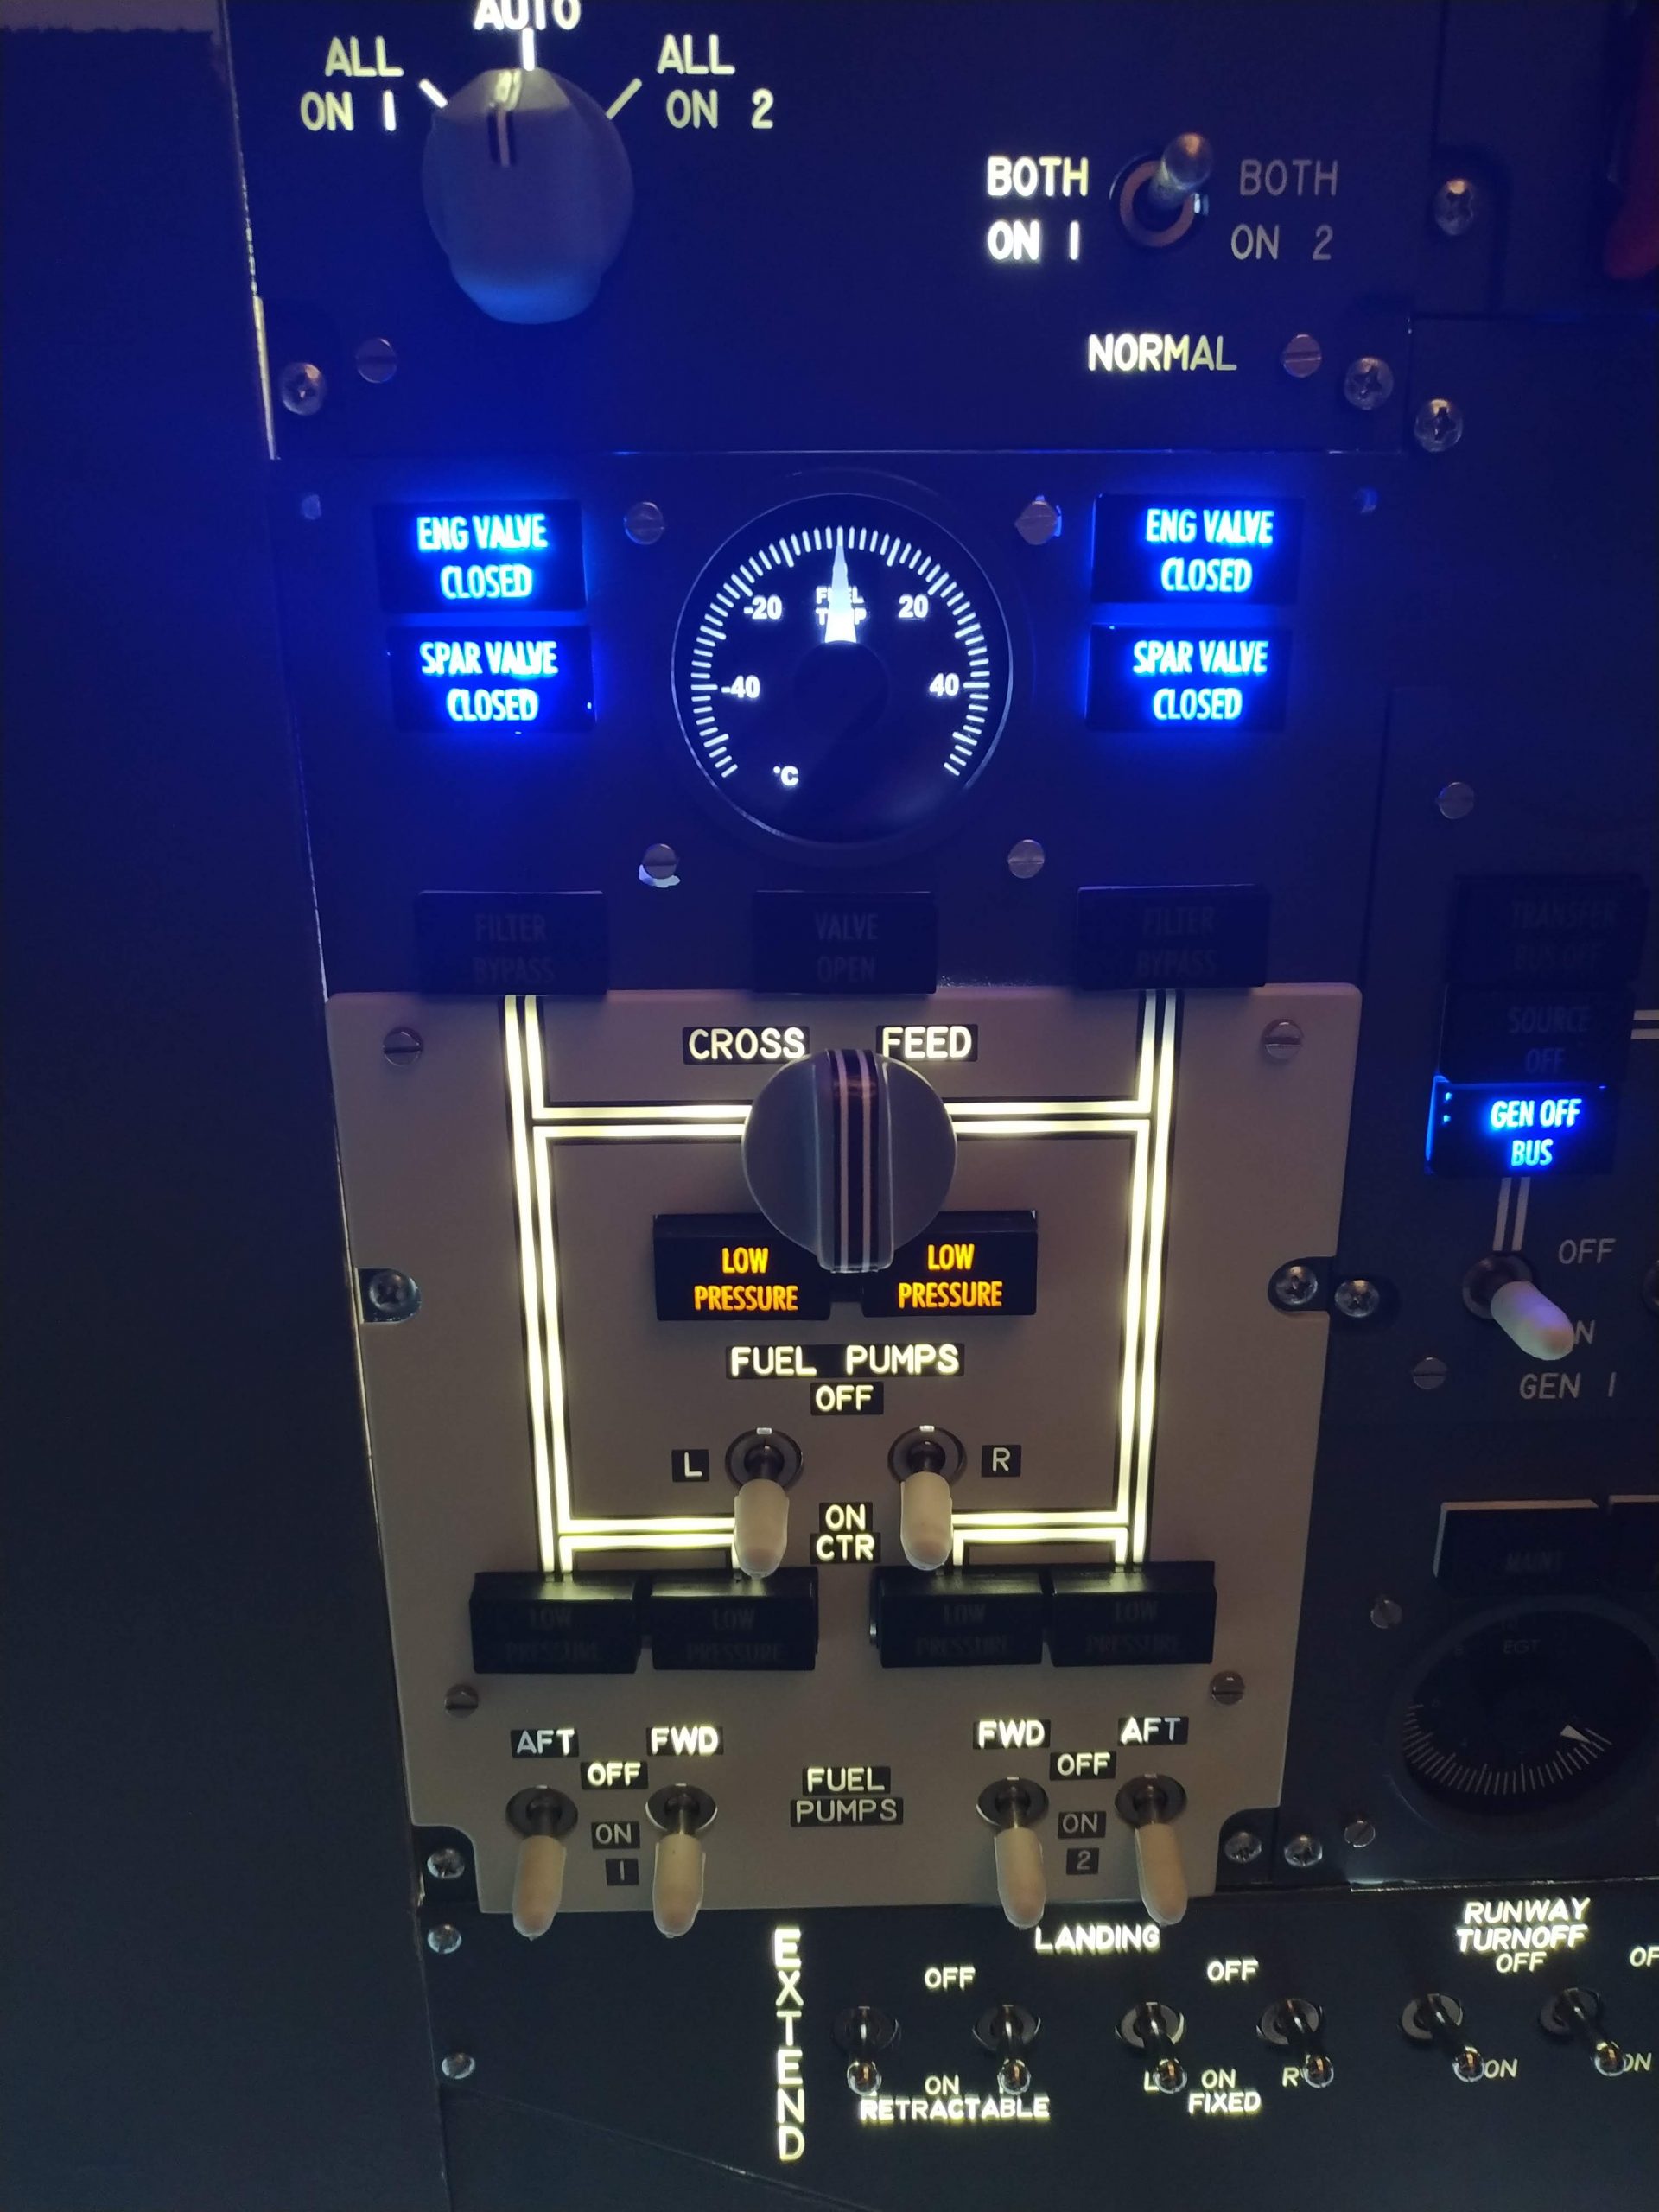
3 years ago I have started a retrofit to my now 10 years old overhead panel. I continued now with the fuel panel, therefore it had to be cut of all of the wiring and rewire it to add backlight and a new gauge from Tom customsimparts.com.
Half backlight doneBackside of the panelfully integrated panel
Another step for more reality 🙂
Next on the plan: The power Source Panel with an updated APU gauge.
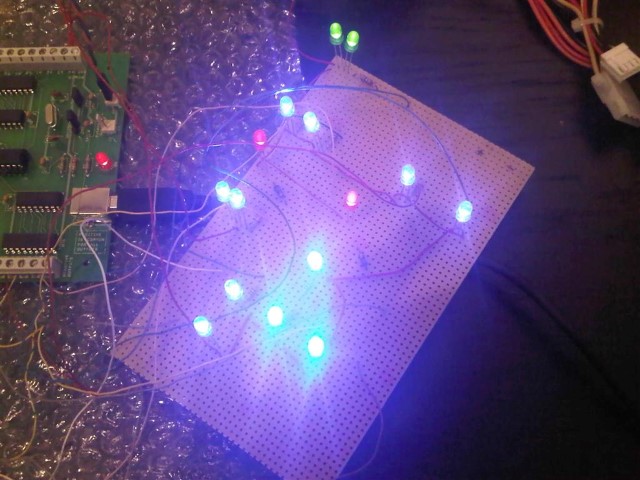
Today,10 years ago, I finished the work on the first LED lights.
From there – the Overhead in small.
Overhead mockup in small
via this:
Homecockpit v1 from 2010 to 2013
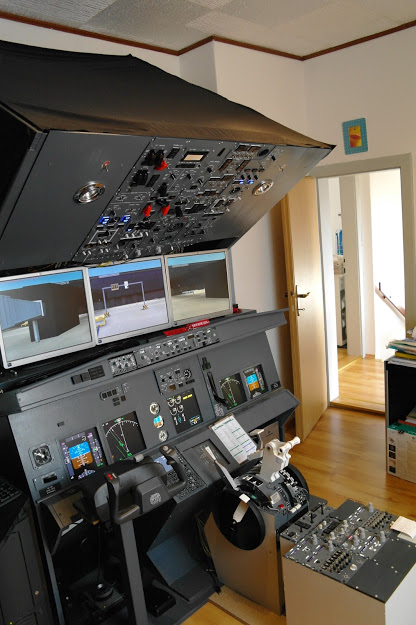
to here – a full size fixed simulator.
Homecockpit v2 – started 2014. Picture from October 2018
During the 10 years of building I learnt a lot, especially that behind of those are always computers and software which can and will always have issues. Broken CPU coolers, crashed HDDs, performance issues with the application, network issues, etc.
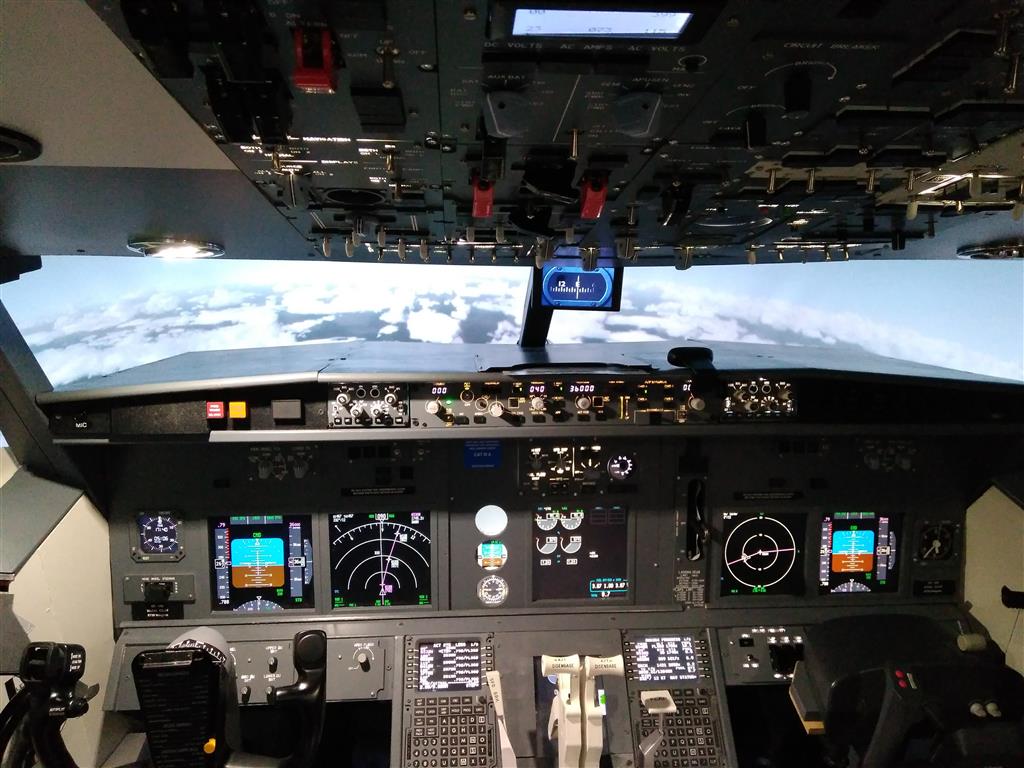
But, if all is working as it should be, it all makes huge fun to run such a simulator. In the last 3 years I was more focused on getting things “as real as it gets”. So I invested a lot of my time to record, cut and edit cabin announcements to make them sound good in my setup.
A lot of thanks goes to my father, without him and his knowledge of building and forming wood, it would not be possible. Danke Papa 🙂
I created a short video which takes us through 10 years of cockpit building.
Now I found the post of René on the Prosim forum explaining how he is interfacing his own built wet Compass. Quite simple to be honest. Take an Arduino board (eg. this one on Amazon) and his own built compass, it’s nearly plug and play.
The Arduino board is converted to a mobiflight board with the firmware modification. Required software can be found here.
I have mounted the wet compass in its position and as there are also LEDs included I connected them to the responsible switch. Quite nice product.
Thanks René. Get with him in touch trough the Prosim Forum to get an price with shipping to your country.
Shipping was absolutely fine and René is very fast in responding and providing the asked information. I can recommend this product if you are looking for a wet Compass solution.
![Building a 737-800 Homecockpit [OE-LNJ]](https://737cockpit.info/wp-content/files/2018/06/cropped-IMG_20180603_001956-2.jpg)