I have tested a 360° camera during the last days.
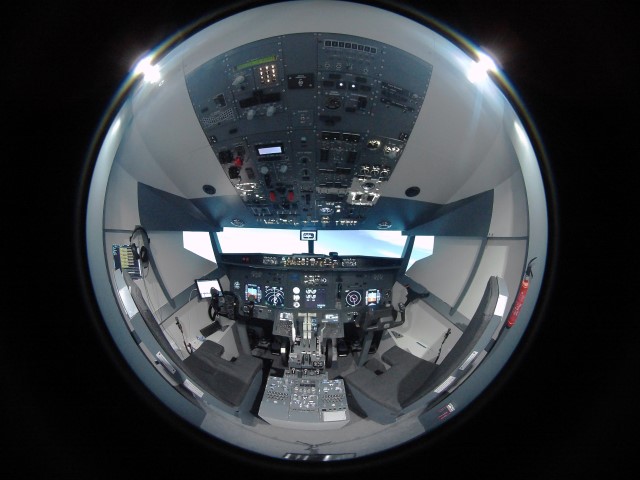
With that you can make some pretty pictures from scenes with an amazing angle.
Here are some of them.
To view the pictures in full resolution, click here.
Building a 737-800 Homecockpit [OE-LNJ]
using ProSim737
Main Instrument Panel
I have tested a 360° camera during the last days.

With that you can make some pretty pictures from scenes with an amazing angle.
Here are some of them.
To view the pictures in full resolution, click here.
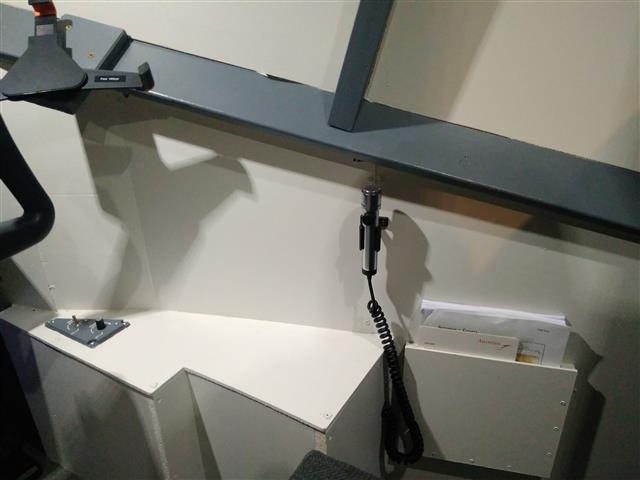
It is now some time ago when I got my hands on a hand mic for the Captains side.
Now 2 and a half years later I found another one. I had to modify the connections in the Microphone and connect it again to a relay.
I will use a separate MIC connection on a different soundcard and mix it again with the virtual channels that feeds vpilot.
I got my hands on a 2nd hand Master Caution and Fire Warning button as well as a six pack for the captains side from Opencockpits.
For those to get installed the whole captains side panel had to be replaced. It was replaced as reworked with some additional details and painted in black instead of grey.
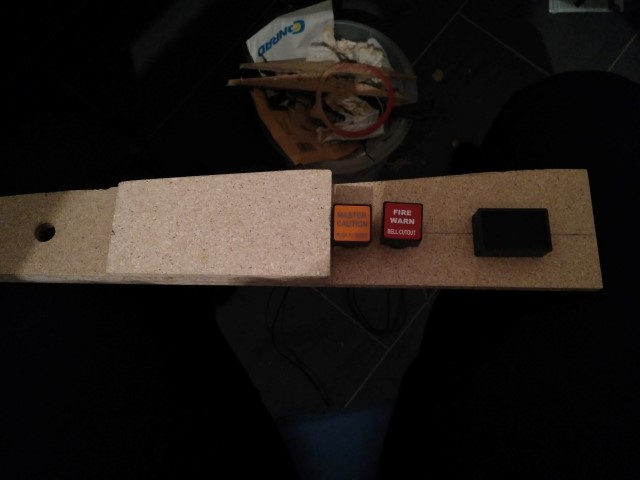
Then it was painted in black.
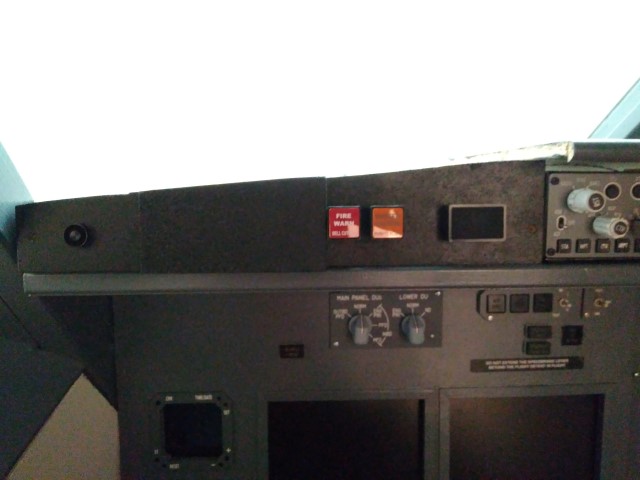
Now it was time to make the connections, but sadly the LEDs from the sixpack wont show up… I checked and double checked it. No mistake. As the modules are from Opencockpits the V+ is 5V. Pokeys is only delivering 3.3V. 🙁 So I tested it with 5V directly and it was working. Now I needed a plan for a Pokeys connection.
My plan was to buy an eight relay module which are working with Pokeys – I already have one relay in place with my strobe card.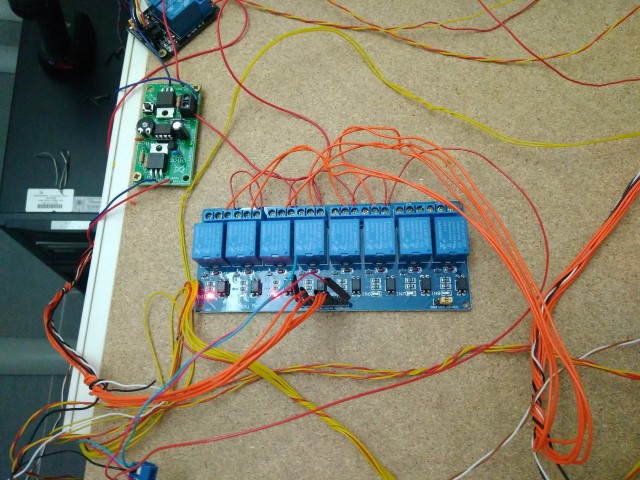
After connecting and powering on, the result looks very good and I am happy with it.
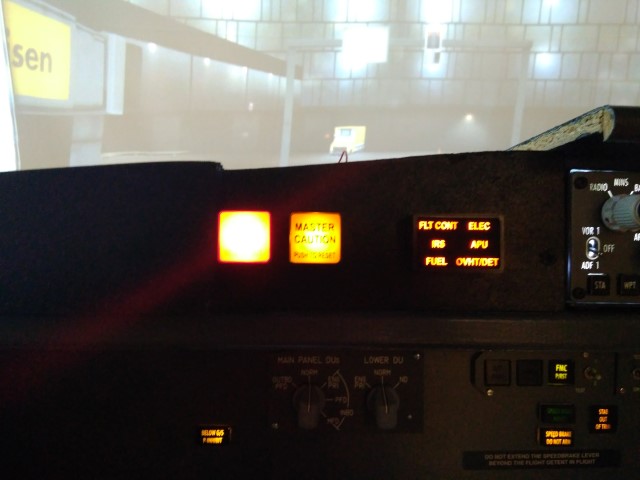
A long missed part was now built in. The captains and the first officer glare lightning panel. With this you have the option to Dim the PFD, ND, EICAS instruments. They are connected to the Pokeys57E card and are fully functional within Prosim.
The panels are also backlit, but not with LED strips – On this ones I used normal round 5mm LEDs. Drilled a 5mm hole and mounted them from the back to make a spot light on the corresponding engraved text. To fix them I glued it on the back.
Also 2 rotary switches are built into the captains side, with them its possible to select the manual values for N1, etc in the MIP panel.
The configuration is done via Prosim for the encoders:
I can provide you a short update video from the status as of March 2017.
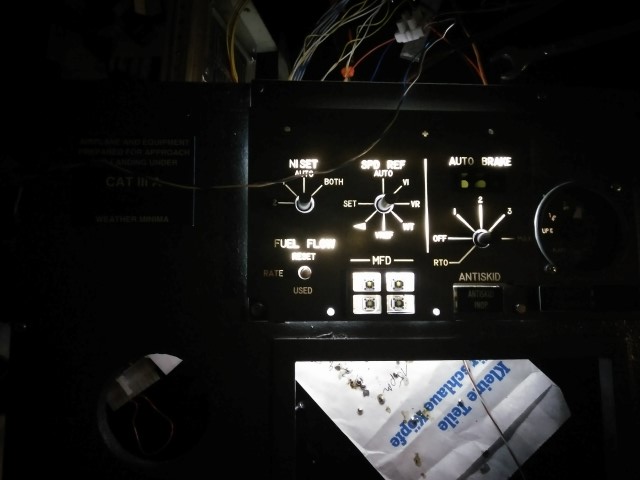
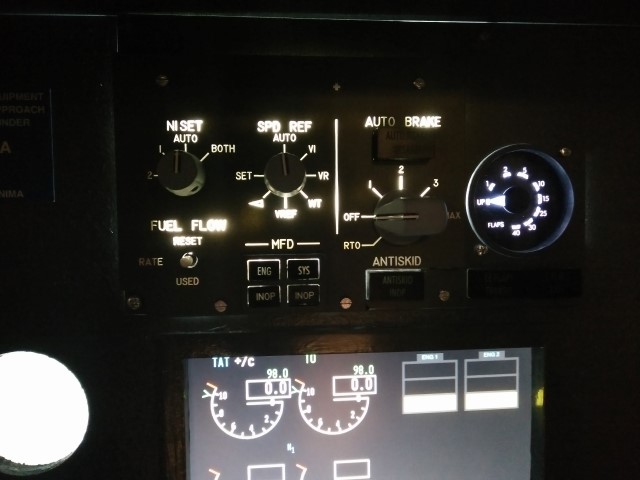
In this video you will see the new back-lit Press. Panel in the overhead, the new Flap Gauge and the back-lit Autobrake panel.
A new handmade flap gauge is now replacing my old gauge. The new one is from Tom, who runs the customsimparts.com. Tom provided all the help and drawings to fit it into the MIP. He can make them custom to fit any circumstance within the Module. If you are searching for a Gauge set or a single one, he should be definitely contacted.
When I had the middle MIP panel removed I took the chance to replace the dummy switches for the N1 settings with functional switches now, all are connected to the Pokey57E card. Normally this are rotary encoders combined with switches. The switch sets the function, the rotary encoder the value. Therefore I will use 2 rotary encoders and connect them to the glare lightning panel.
Also the Backlight was included now in the MIP panel. Therefore the Autobrake Indicator had to be replaced due to light reflections from the panel.
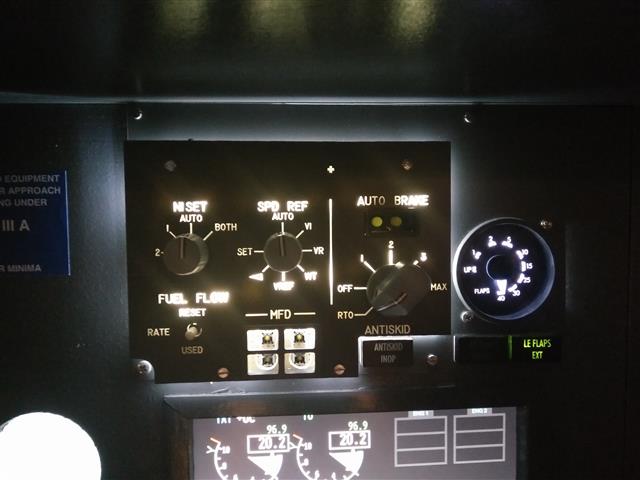
To reduce the light that exits the panel I covered the edges with an black adhesive tape.
Looks better now.
On the chrono for the MIP I had a lot ideas during the years. On top of the list there was always the Opencockpits clock – it is still there, but I was also thinking of an 5″ Monitor solution. Therefore I would have needed the 5″ monitor, a PC with a free VGA output [which I didn’t have] – or a USB VGA module and a VGA to RCA adapter to feed the 5″ monitor. So I found a cheaper solution. I bought a 8″ Windows 10 tablet on Gearbest (for around 80€) and placed it behind the MIP. With Teamviewer I can access the tablet, as it is running Windows 10 you can run also the Prosim Display Application with the Chrono to be displayed. In the MIP I have the push buttons installed and connected to the PoKey 57E Ethernet card. So the plan — 🙂
But it seems to be a little harder to get this done. Continue reading “Captains Chrono”
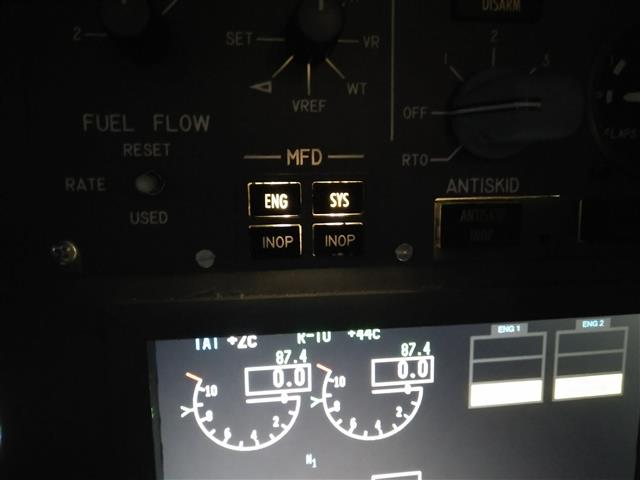
After some time I started to work on some small parts again – I have started working to implement the lower EICAS push buttons for ENG and SYS in the MIP Panel. Those were never assembled since I started the MIP in 2010. BUT, to get this started, first the EICAS plate must be removed from the cockpit, that was not possible, because all the cables were connected directly to the Joystick and LED cards. So first I had to built in some Sub D connectors to make it unplug-able.
Then I thought it would be a simple and quick solution with the 4 switches 🙂 🙂 Haha, it turned out to be more sophisticated.
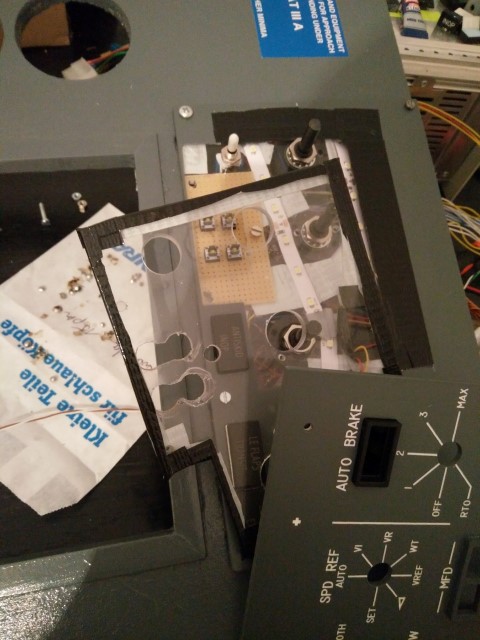
I had to take a print plate and attach the 4 push buttons on it.
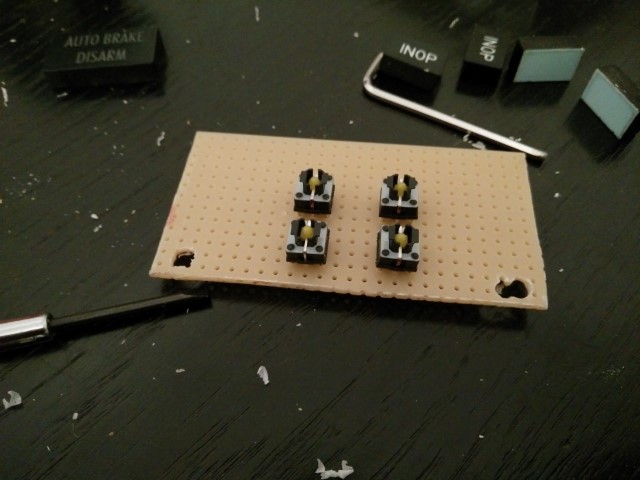
Then the plexiglass needed to be removed in a way that it will not break, so I drilled some 10mm holes into it and the print plate will be fixed on 2 points with screws and the other part with a super glue to hold that together.
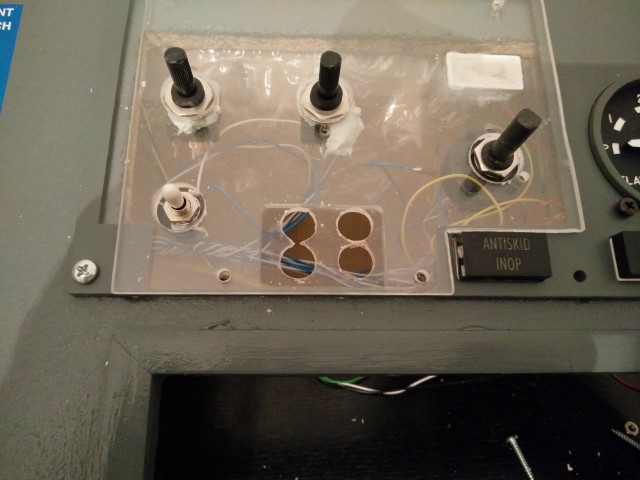
The buttons will be backlit and connected to a Joystick card to have it available in ProSim.
Current it is not finished as I want also to add a background light for the flaps gauge.
Update: 31.10.2016
The PoKey57E card arrivied today and was built into the MIP, behind the Captains Panel. I had to add a second self built GND card, as PoKey cards only have 3 GND connectors for possible 51 switch inputs. This card was mounted next to the PoKey card.
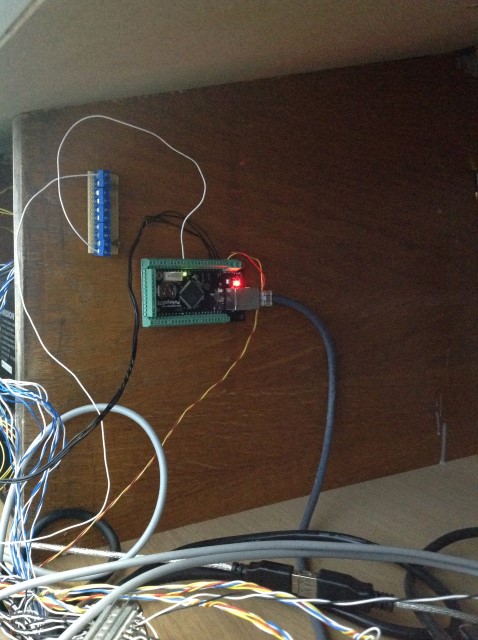
The programming of the PoKey card is very easy. Only assign an IP Address (or leave DHCP) and enable PoKey driver in Prosim. As soon as you push a button Prosim will recognize this. Very cool and saves USB slots 🙂
And here a picture of the finished EICAS buttons.
Today I have added two small buttons in the flight-deck. On the Captains and First Office side a microphone push button. Now you can talk to the ATC through the Headset without touching the Yoke.
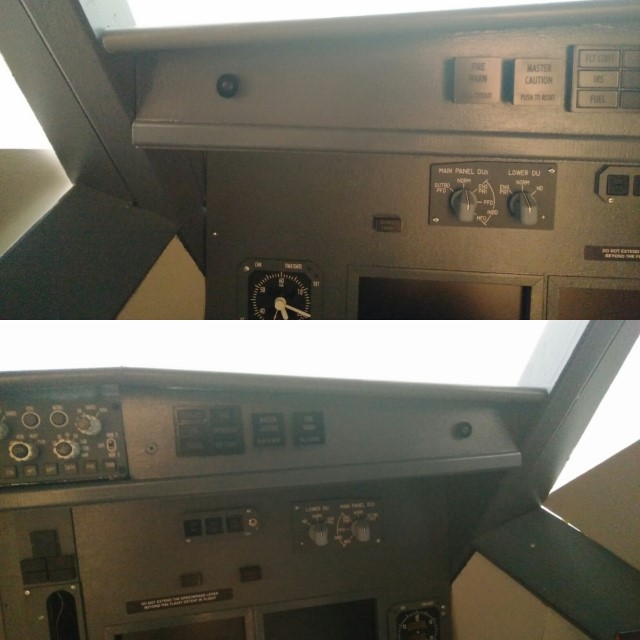
Some nice feature that a lot airlines introduced also in their 737 fleet.
I changed my MCP from a v2 to a v3 from Opencockpits, as a guy sold a nice v3 MCP. The v3 has some new features that are very useful:
I changed the 7 segment digits from my v2, as they were white with the v3 ones.
As the v3 version is a non box version I had to slightly modify the Glareshield to be able hold the new MCP.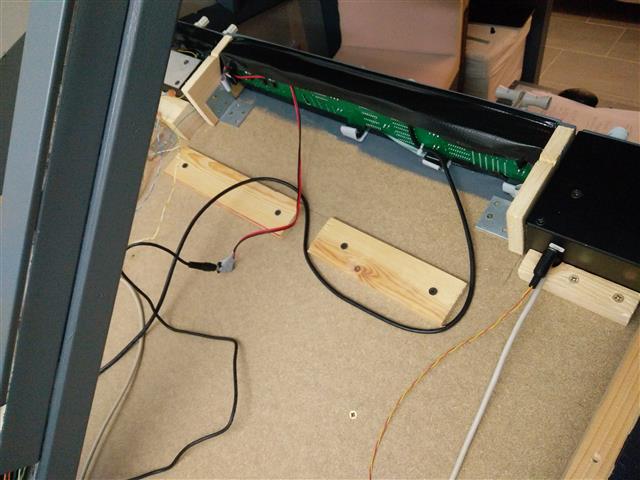
Therefore I am now selling my v2 MCP. If you are interested, drop be a short message.