Finished sideplanks and reworked dome planks

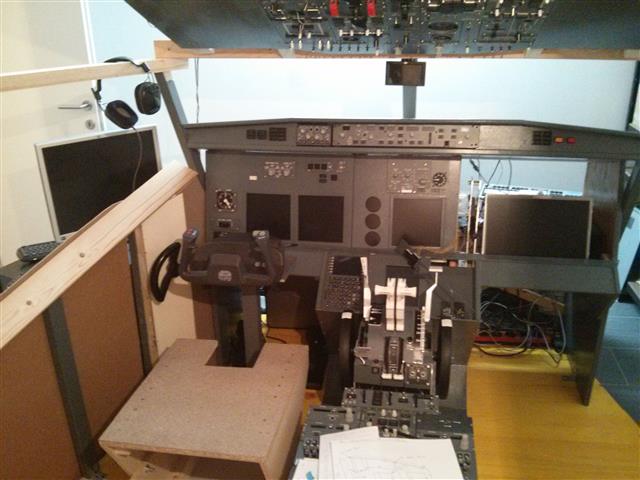
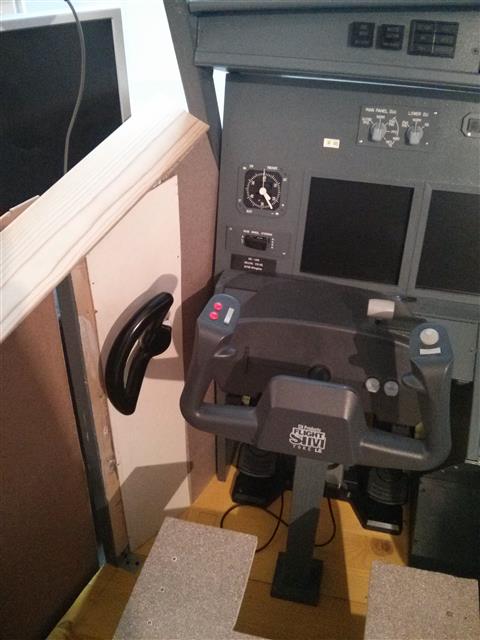
Today we have archieved a lot. We have finished the planks on both sides.
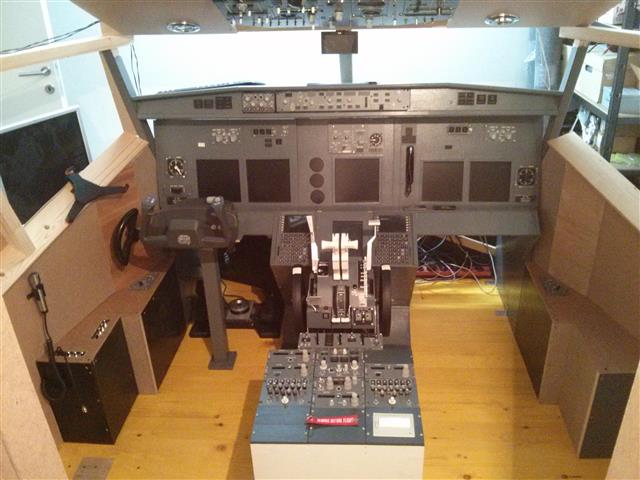
2015-05-21 18.59.47

As well as made some corrections to the dome planks, which meant that all the existing plates had to be removed and replaced with new ones. During this change the map lights and the corresponding light switch were moved to a new place and seperated from the speakers.
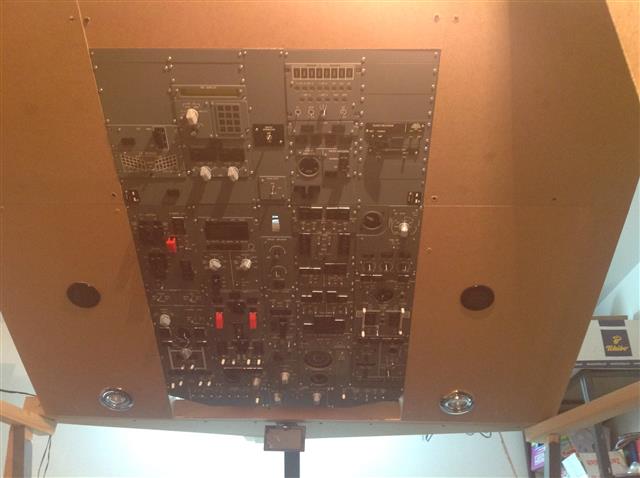
Photo 21-05-15 19 52 54


Therefore in the sidewalls the map light panel was built in. The chart light is a potentiometer and will be used to change the brightness of the CPT and FO Screens independant.

This slideshow requires JavaScript.

Also the last window on the Captain side was closed to reduce the distractions from the side 🙂 FO window will follow.

The handset microphone was also placed into its final position. The microphone has one push button on itself, now you can also communicate headset free during the flight. If you push the button the PTT sequence via FSUIPC will be transfered to the vpilot client.
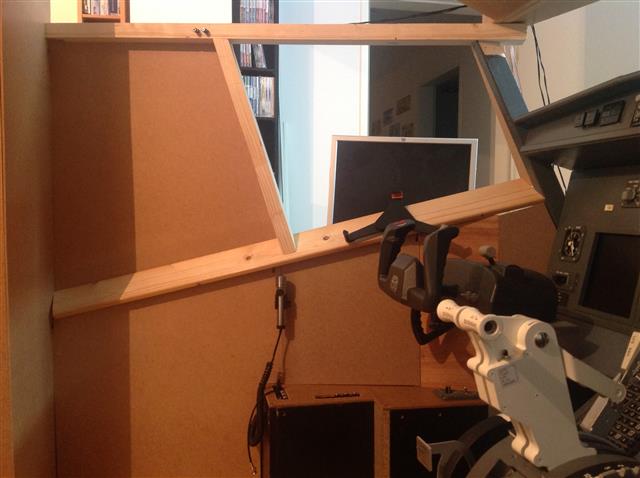
Photo 21-05-15 19 53 27

Next step is to finish the last gap in the ceiling.

First Officer sidewall and charts holder

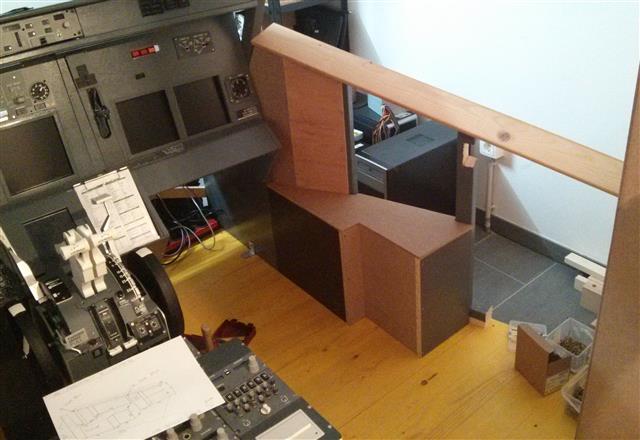
Today we have accomplished a lot again. The full first officer sidewall was built.

2015-04-28 19.30.21

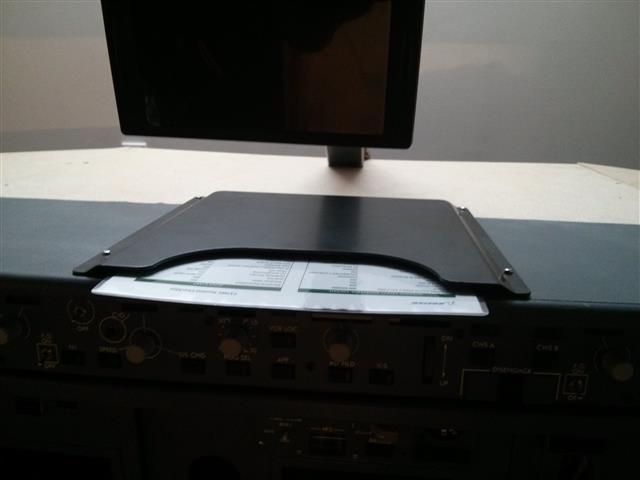
Also my new checklist and cardholder on the glare shield was mounted. I bought it from simworld in Poland. Shipment was very fast and has an excellent quality.

2015-04-28 19.30.28

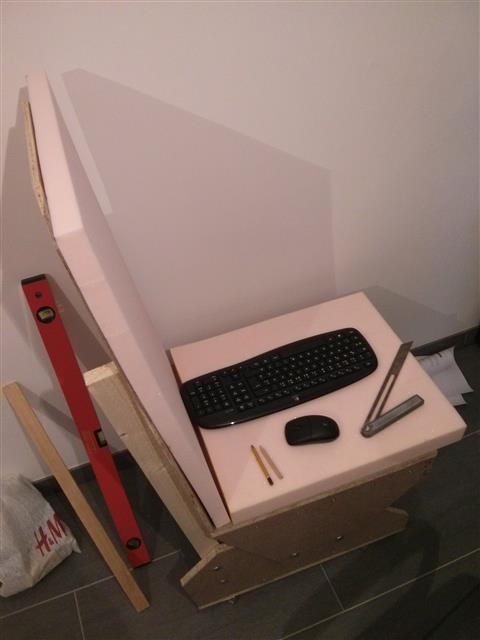
The second seat was continued to get finished. The arm rests are still missing and a backplate will be attached during the next weeks.

2015-04-28 19.30.51

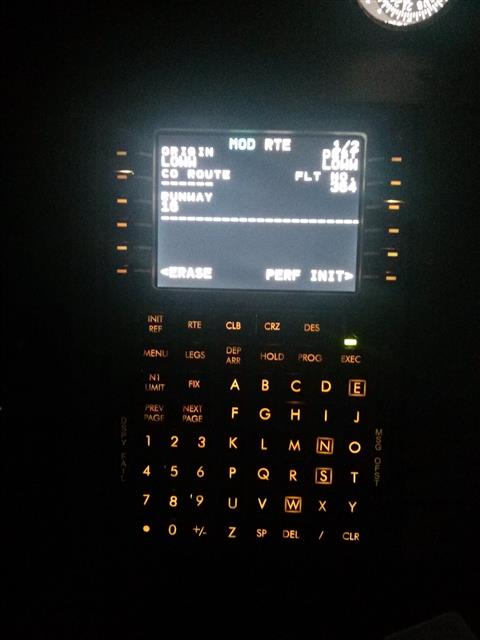
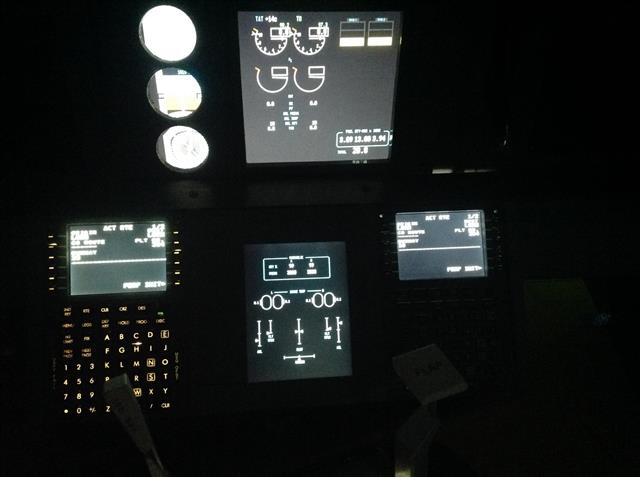
On the todo list the next steps are to finish the planks around the shell. A new CDU is also on the list as well as the chart light panels, therefore my light switches will get moved from the overhead to the sidewalls. And the FO MIP should be finished and connected to the joystick cards for the Main DU switches on th FO side.

And last week I drilled the holes for the headset of the pilot. So the headset can now be connected to some extension cables and can be stored away when not needed during the flight, because a handmicrophone is on the way to me, but this will be covered in a seperate post.

This slideshow requires JavaScript.

Cabin Announcements Speaker and Captains Sidewall

During the last weeks I have built into the cockpit 2 small round speakers to hear the cabin announcements from the back and not from the speakers in the front.

Therefore also an audio cable was placed through the room to have the cabin announcements started from the PC which is running Prosim A.F.A.S or the great freeware tool from Oliver FSCrew 2010.

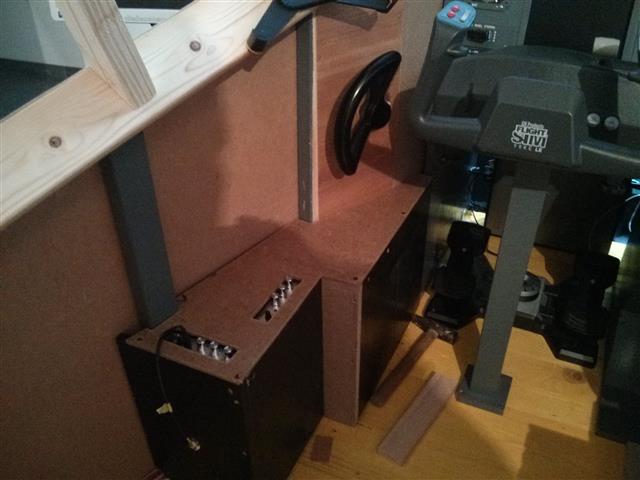
Also we have finished the sidewall on the captains side. We have reworked the tiller construction and placed the two amplifiers from ATC and Cabin into the sidewall.   2015-04-15 19.07.03

Next on the to do list: finish second seat and the first officer sidewall.

Tiller, Captain Sidewall and Shell lifting

Today we have started on the captain sidewall.

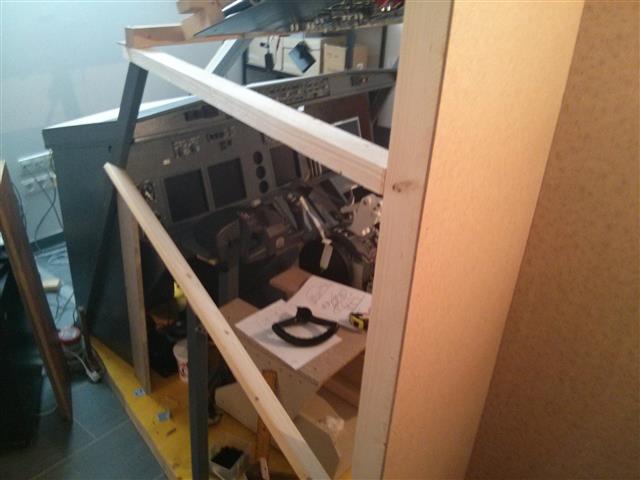
We figured out that it won’t be easy to build this because I havn’t thought about this one in the planning of the shell… So basically we have not the required space that we would need to fit the sidewalls. But the whole structure can not be changed anymore and we have to live with that.

We will figure out a compromise of reality and what we can build…

So far we got the following:

2015-02-24 19.36.19

2015-02-24 19.36.31

The tiller will be removed and the plate will be replaced as it is not good enough to stay in the cockpit. Current the tiller is mounted just for testing.

Also we lifted the whole construction of the overhead 4 cm higher to archive more space between the glareshield and the overhead. The error happened in the year 2009 when we built the MIP. There we didn’t stuck to the measurements from markuspilot.com and an error was included in the MIP size. It is 3cm to high. When we started in late 2014 the shell we havn’t measured the MIP and we started withe the real measurements from the manual. Also there we made a 1.5cm mistake that will sum up to 4.5cm smaller view out of the front window.

This error was corrected now and looks like this:

We took also the structure that we used to lift as our above window line. Not 100% accurate but I can live with that.

2015-02-24 16.28.05


Aft. Overhead built in and in use

During this week I have finished the aft. overhead with the support structure and built it into the cockpit, where it belongs.

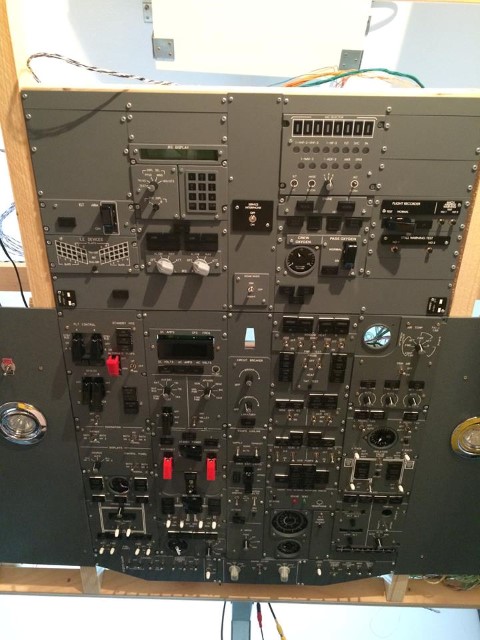
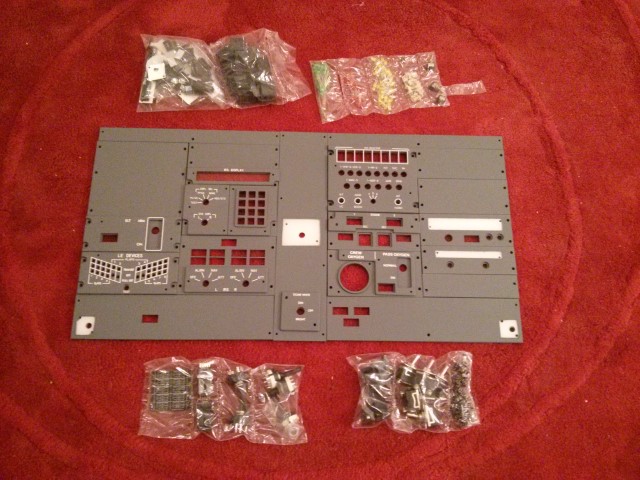
All indicators were assigned in SIOC to their variable and merged with the configuration in ProSim as well as all switches / buttons were assigned. Only 4 of them (IRS Keypad 3,6,9 and CLR) have been connected to another Joystick card from Leo Bodnar to the Coolie hat switch. This time I recognized that ProSim can not read those inputs natively as already known on the Prosim support forum. I took therefore a workaround. I have assigned the variables 5330 to 5333 in FSUIPC to the switches and Prosim reads the Offset from FSUIPC as an input for the switch. This is working great.

Finally here is a picture with the built in aft. overhead.

Aft. Overhead

The next steps are to finish the FO MIP and put it back in the cockpit as well as the shell will be continued.

Aft. Overhead wiring done – All lights on please!

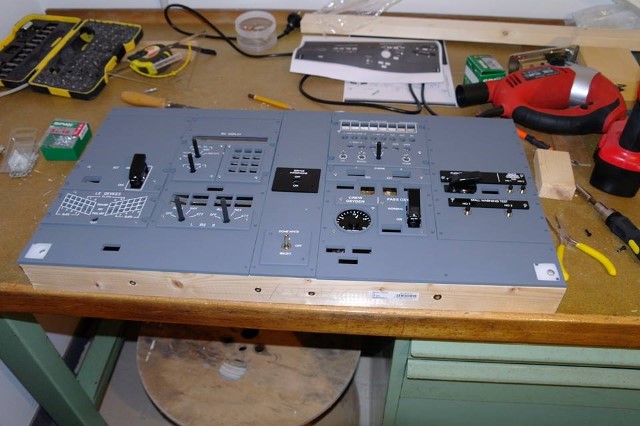
Yesterday I have finished the wiring of the afterwards overhead panel. I have now connected all switches, LEDs and my backlight for the keypad.

A first short test looks very promising. Attached you will find some pictures of the panel.

The indicator text panels are current not glued, this will be done in the next days, so they don’t appear 100% aligned on the photos below.

IMG_0914

IMG_0915

IMG_0916

The next step is to mount it into the Cockpit and program all switches as well as the indicators.

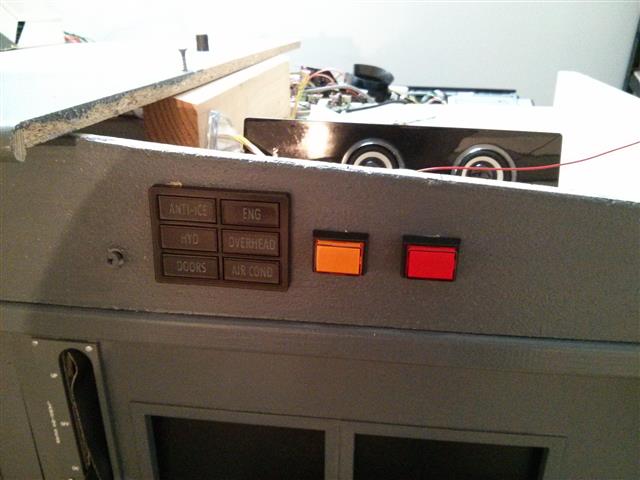
1st Officer 6 pack built in

Today I have managed to build in the hardware for the 1st office 6 pack and the master warning as well as the fire warning. (Thanks to my dad 🙂 ).

2014-12-30 19.44.26

This was the last update for 2014. In 2015 I will start wiring the indicators and switches to make it functional.

Also I will start with the aft. overhead panel and on the to do list there is also a possible migration to the Prepar3D simulator.

As well as to finish the seat and the shell. So as you can see a nicely planned 2015 will land soon 🙂

I wish you all the best for 2015!

Building a 737-800 Homecockpit [OE-LNJ]