additional flightdeck lights

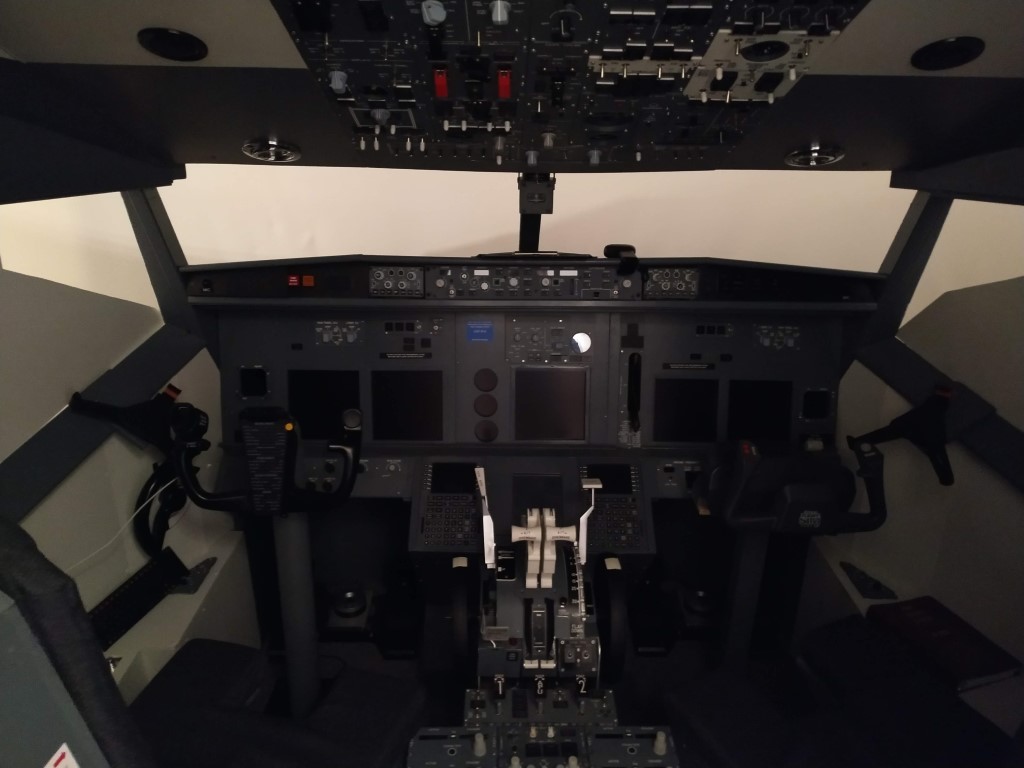
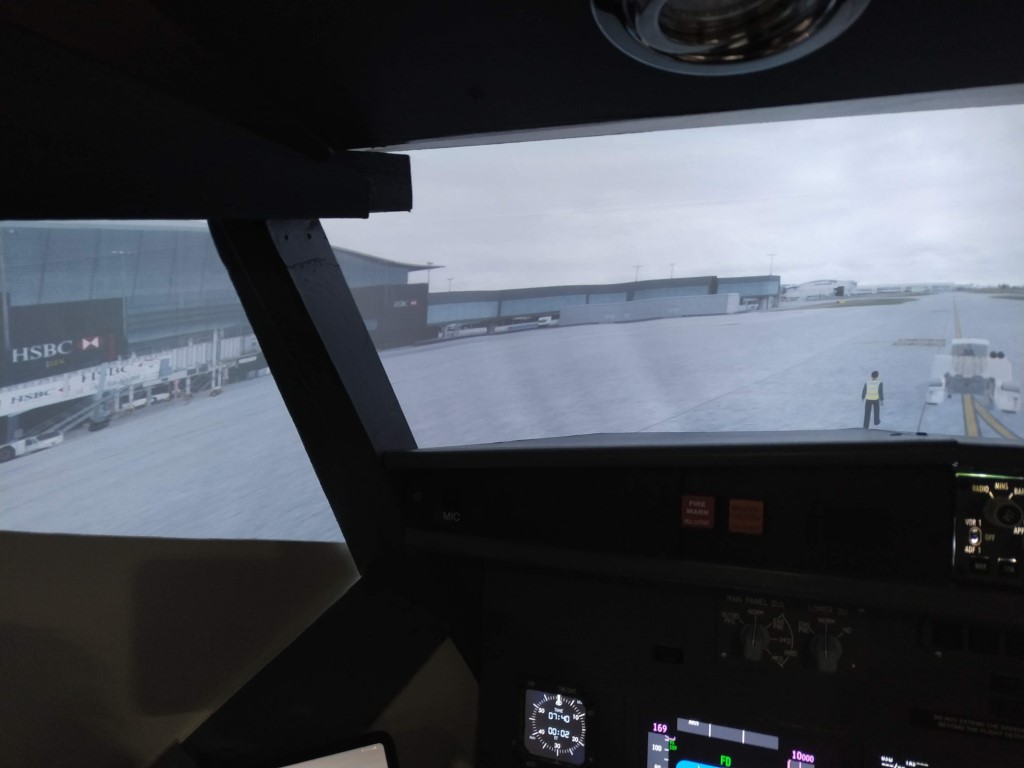
During my last flights I got asked by an Instagram follower why my flightdeck is so dark when flying in daylight (in the Simulator).

I really never gave a thought on this. But as I started thinking about the question I also had (couple of minutes later) an idea how to solve it.

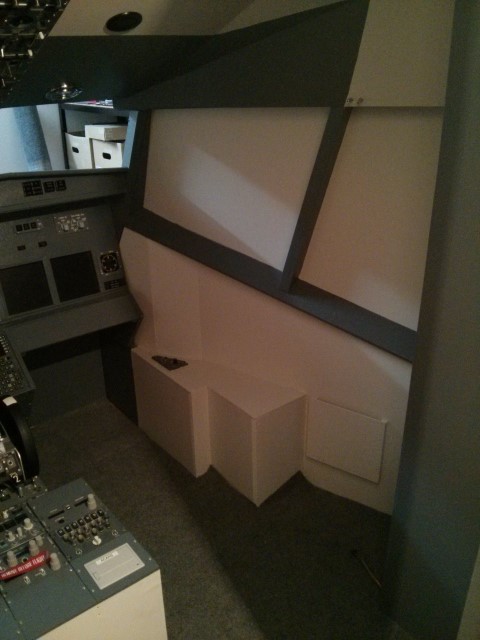
You have to know that my flightdeck is located in the basement of our house. Therefore its darker, as only one window is installed in the room (it was intended to be dark, as it was planned during house planning and building that the flightdeck will be there).

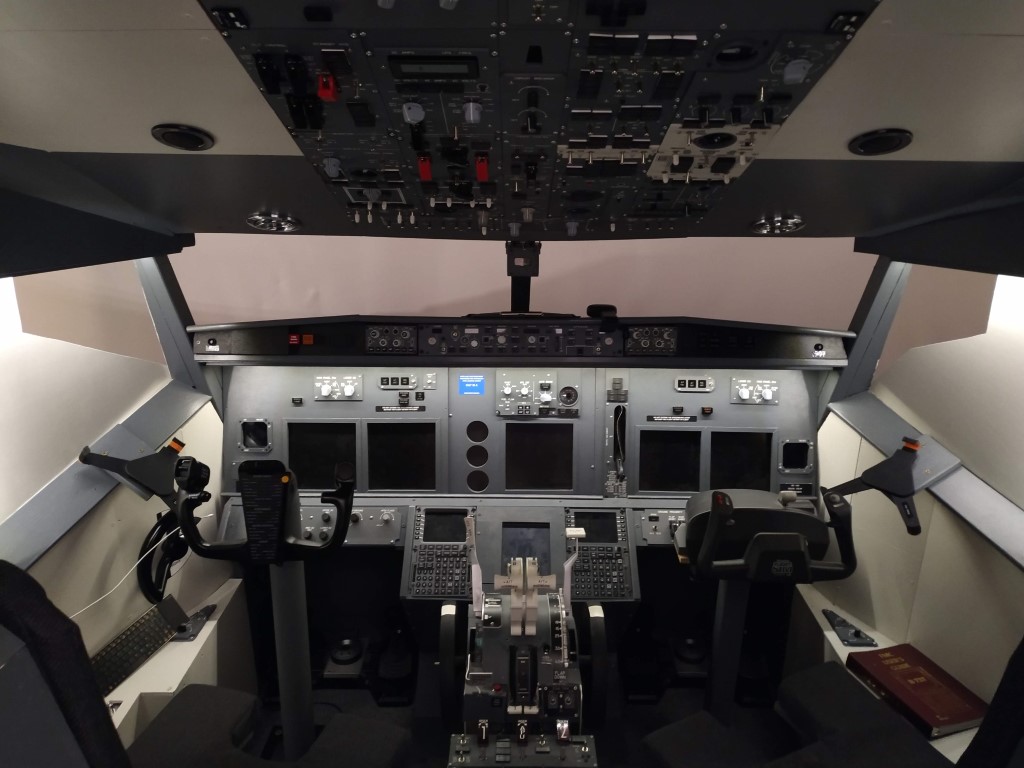
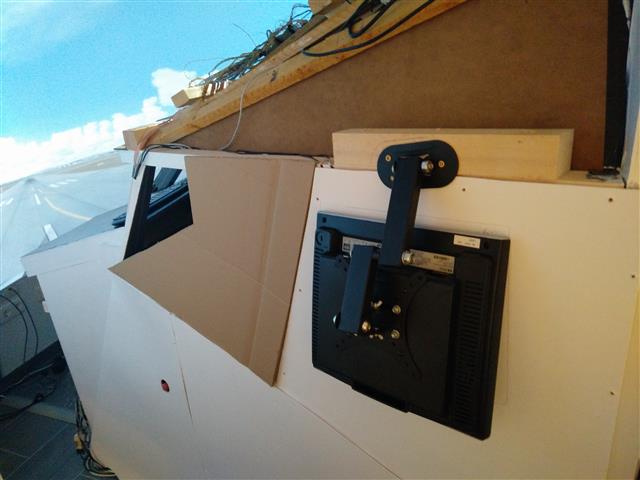
But to overcome the issue during day flights I have started to install a dim able LED strip on the captains window, below the MIP and on the first officer window. It is regulated via a dimmer manually to match the current scenery daylight.

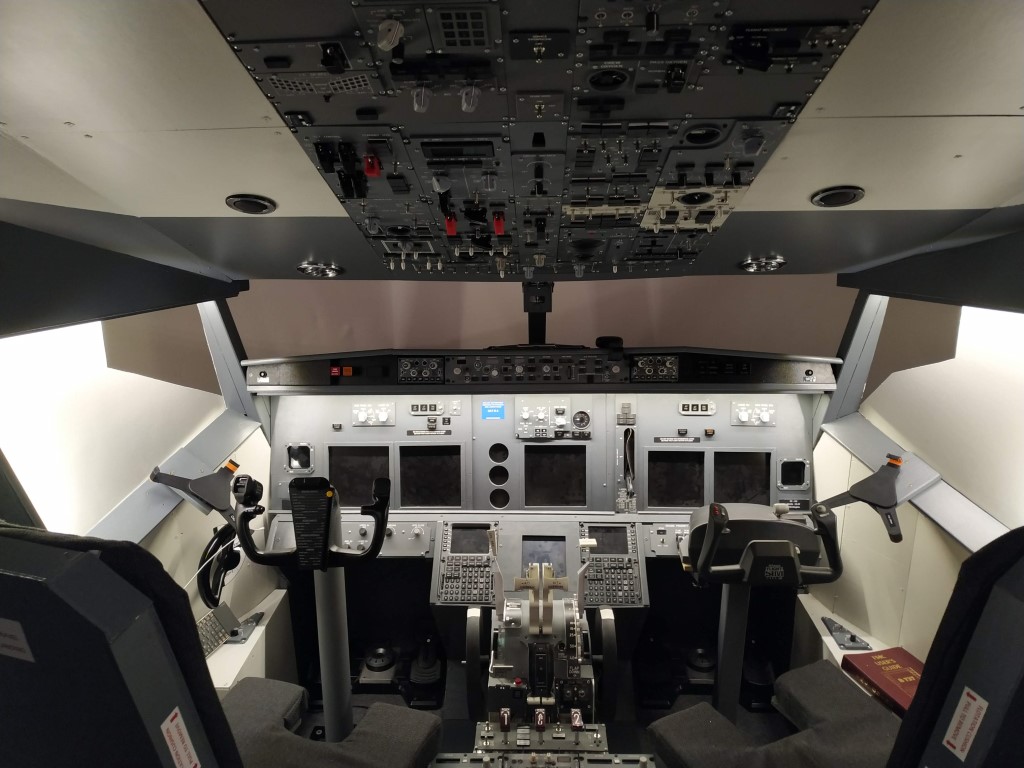
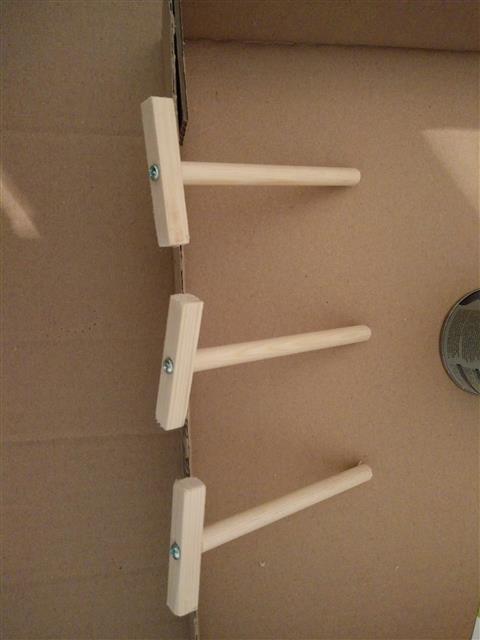
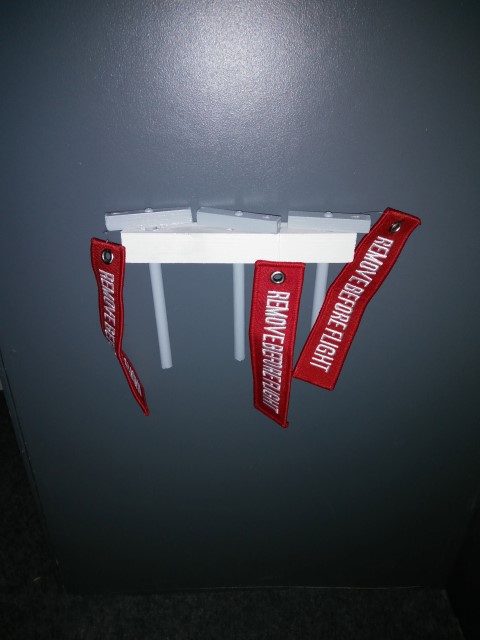
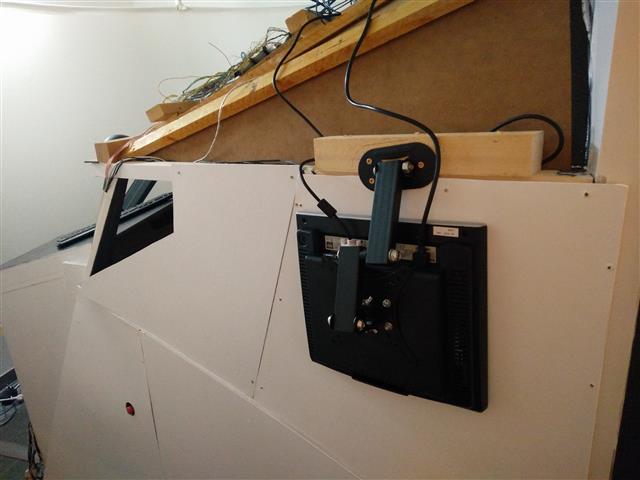
To get this done some work needed to be done to make sure that the light will not blend in the face. So I attached some painted wooden bars on the MIP structure.

Light Test on Captains side

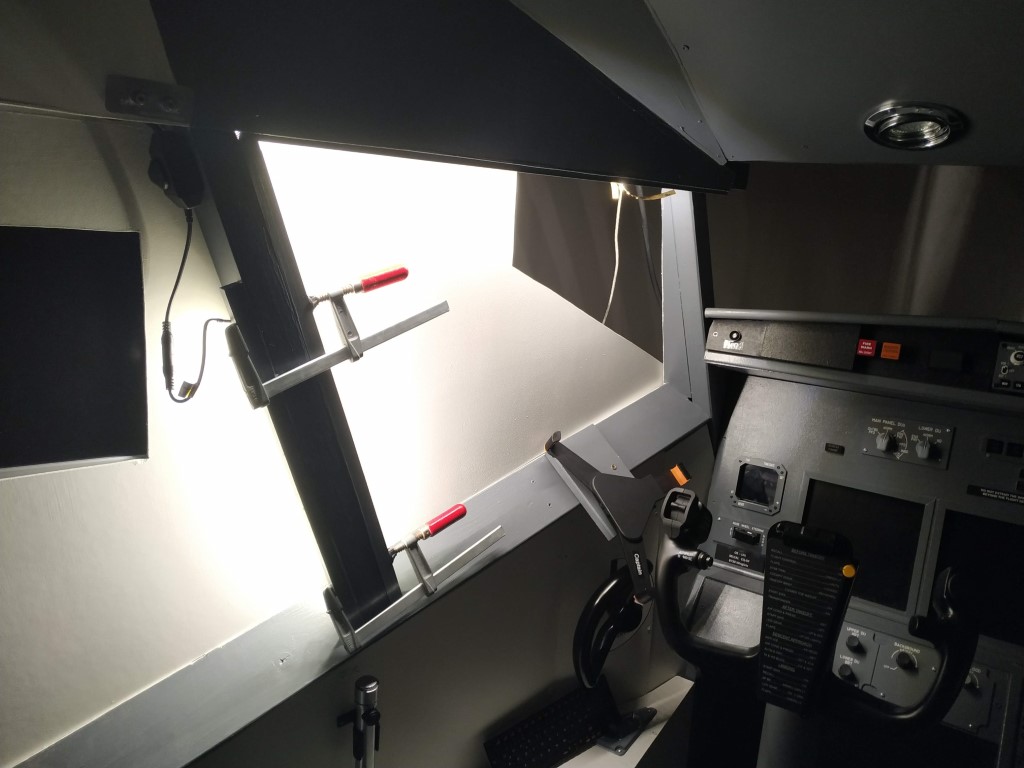
The LED strips need to be cut and re-soldered to have one strip run throught the whole flightdeck.

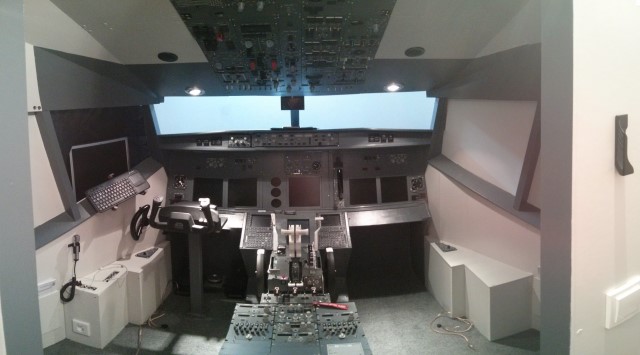
To the honest, it look quite good 🙂

Here are 3 comparison pictures.

Lights off
~50% light
full light


Tiller Maintenance – again

A couple months ago I had to change the potentiometer of the tiller, because is was defect. After a couple of flights I noticed that the steering drags to the left and does not center. So the first impression was that the potentiometer or the input card has an issue. But after some hours of trying to fix it, it got clear that it is a full mechanical issue.

I removed the Tiller handle and during that process the locker mechanism got destroyed… So I had to replace it with a 4mm screw (left).

And on the other side the locking mechanism was not strong enough to hold on to the potentiometer shaft. I removed the screw, drilled a hole in the shaft and reattached the screw, which is now holding the shaft tight.

After some stationary tests I have reassembled it. Now it works perfect and is finally fixed.

Seats finished

Yesterday my wife (thanks again 🙂 ) has finished sewing the seat cushions with the dark grey fabric. She added a velcro tape into it, so they can be easily removed and fitted on the seat. In case they get dirty a zipper was included to be able to remove the foam inside and put them into the washing machine.

Captains seat

Also 2 small stickers got applied now on the seats 🙂

Captains seat detail

They really look very nice in the flightdeck now 🙂

Strobe lights working

Yesterday I managed to get the strobe card working in the flightdeck. You can see in the full article below with screenshots. Here a short video of the placed card on the shell. Its not the final position, but the first test looks quite good.

You can download the .LUA script here Strobe Lights LUA (1569 downloads )

updated 25.09.2017 with missing screenshots below

Continue reading “Strobe lights working”

Circuit Breaker Panel and Fire extinguisher

As you can imagine an aircraft has a lot of circuit breakers. On the Boeing 737 they are located behind the cockpit crew on the walls, split up to different segments.
I was thinking lately how this can be done as a dummy installation. First I thought of cutting a 8mm round plate into a lot pieces and paint the black. This would have ended up to around 400 small pieces – for a dummy, to much.

I found in a german forum a guy who painted those panels in a very good quality. I took them and printed them onto A4 scale sticker paper, like my other decals I have done. I know, they are not the real size, but the shell itself is also not 100% real size, so I modified the size to match my shell and would be quite good to the reality.

I have applied the stickers to the First Officer and Pilot side as in real. The result looks very good and adds a nice touch to the flightdeck.

This slideshow requires JavaScript.

Finally also the small dummy fire extinguisher was placed in the flightdeck.img_20161124_125627_copy

Gear pins

While watching some Cockpit videos and documentation I noticed that my flightdeck has no gear pins. After some minutes of thinking I found a quick and inexpensive solution.

I bought a 8mm round and a 9x9mm square wood and made there my Gear pins. 5cm for the handle and 10cm for the pin itself. Drilled a 2mm hole in the handle and fixed it to the pin with a 3mm screw.

IMG_20160810_094808_copy

Than it got painted in silver/gray.
After this a 2 mm hole was drilled to fit the “remove before flight” tag, which I have purchsed on Ebay here.

gearpins

To have it stowed in the cockpit I took a 20x20mm wood and drilled 3 10mm holes. Painted in RAL7001 and mounted onto the sidewall behind the F/O seat. Now you can store and check it the steering pins are all here and secured.

Side windows and monitor

As proceeding with the curved screen and the visual setup we also closed the side windows to match your Field of View (FOV). The “interesting shape” of the windows is the result of the Point of View (POV), when sitting now in the captains, first officer or jump seat you don’t have any visual reference in the room anymore. Only the visual view from the flightdeck. And believe me, its absolute amazing and a disorientation starts to build up when rolling on the ground or banking in curves.

Also the last monitor that was needed and was standing in the captains side windows was now mounted in the second side windows from the outside.

IMG_20160506_102344_copy
with some card we created a template
IMG_20160507_171200_copy
the final part was cutted from a wooden plate and painted

IMG_20160507_171208_copy

Building a 737-800 Homecockpit [OE-LNJ]