Gate monitor

a nice addition to the flightdeck and the cockpit is the little magic programm PSU, called ProSim Utlis from Humberto in Portugal.

It is freeware and hooks into the ProSim:737 Suite. The latest feature is a very nice one, its called Gate monitor.

With this you can show like a real gate monitor the actual status of the flight. Here a small comparison:

And the picture below shows the Tablet mounted besides the entrance to the flightdeck.

2015-09-27 20.12.16

Gatemonitor and decal

Painting the shell

During the last days we have started an finished painting the shell. Outside as well as inside.

This slideshow requires JavaScript.


After the base color the RAL9002 was applied inside the cockpit. After that the RAL7011.

2015-09-16 18.08.50
1st time paint with RAL9002 and RAL7011

After the 1st paint a second layer was applied.

2015-09-21 19.49.49
finished paint of the flighdeck

Outside of the cockpit the door was painted in RAL7011 and the walls left and right from the door in RAL9002 to have not a whole dark front in the room.

2015-09-21 18.44.22
Flightdeck door

The glareshield was painted in black and the plankings on the side in white.

This slideshow requires JavaScript.

Document side holder

I do have some charts printed out and when I don’t need them they are lying around in some places. When I need them I can’t find it.

So I decided to make one small addition to my cockpit a document side holder. One for the Captains side, one for the FO side and a smaller third one for the great 737 Book from Bill Bulfer.

2015-08-20 20.49.53

This slideshow requires JavaScript.

Dome planking finished

We have finished the planking in the ceiling now. Wow, it looks great.

Also we closed the windows to the first officer side, as there is no video wall current installed. So your view will not be disturbed.

On the captain side it will follow also with a black fabric to include also the monitor for vpilot, in case someone is typing a message.

This slideshow requires JavaScript.

Looking forward for the next flight *big smile* 🙂

Bodyshaker

A long while ago I read from bodyshaker, didn’t know what this will be.

Now a couple of years later I have ordered one via Ebay from Germany (link) and tried it with my small amplifier, which I am using for the ATC audio.

2015-06-23 12.31.00

I can’t show any videos right now, because I have to mount it on the seat and verifiy how the cable would be the best idea to wire, but I can tell you thats *AMAZING*.

I am using the FSPS Cockpit Sounds (now freeware) to generate the shaker effects.

Those include current:

  • Speedbrake wind vibrations
  • Flaps wind vibration
  • Gear dump vibration
  • Gear wind vibration
  • Gear RPM bumps (the faster you roll the more its shaking)
  • Turbulence simulation (from ProSim Audio)

Once the speaker is built into the cockpit I can make a video, maybe the vibrations of the seat can be visualized.

Finished sideplanks and reworked dome planks

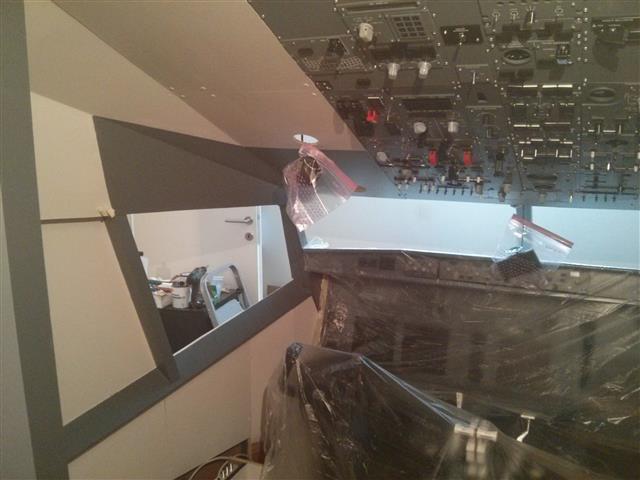
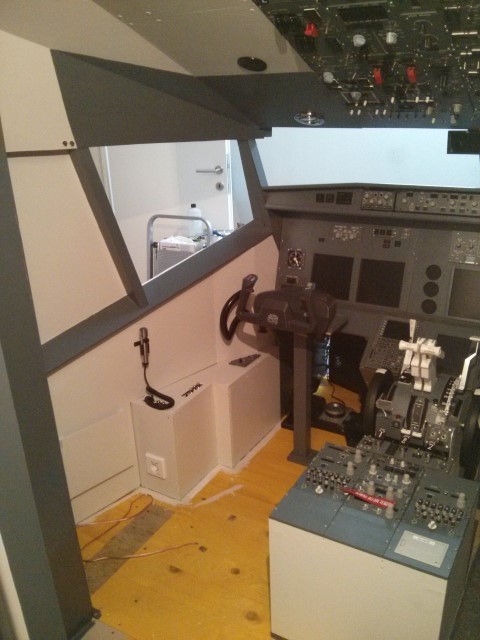
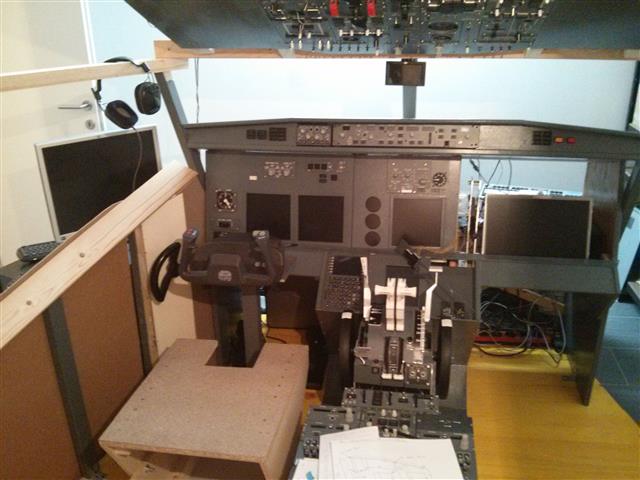
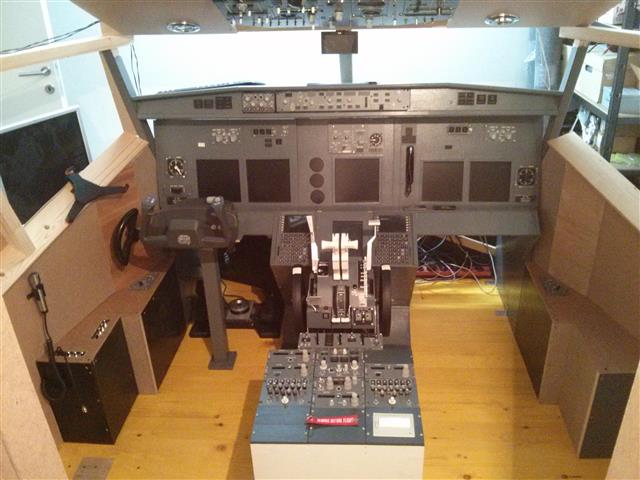
Today we have archieved a lot. We have finished the planks on both sides.

2015-05-21 18.59.47

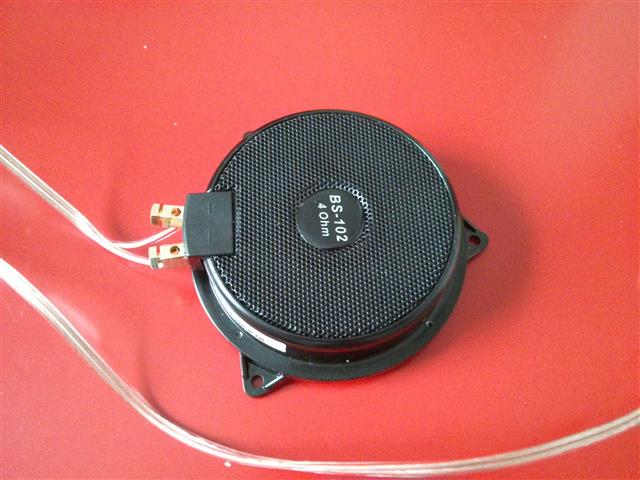
As well as made some corrections to the dome planks, which meant that all the existing plates had to be removed and replaced with new ones. During this change the map lights and the corresponding light switch were moved to a new place and seperated from the speakers.

Photo 21-05-15 19 52 54


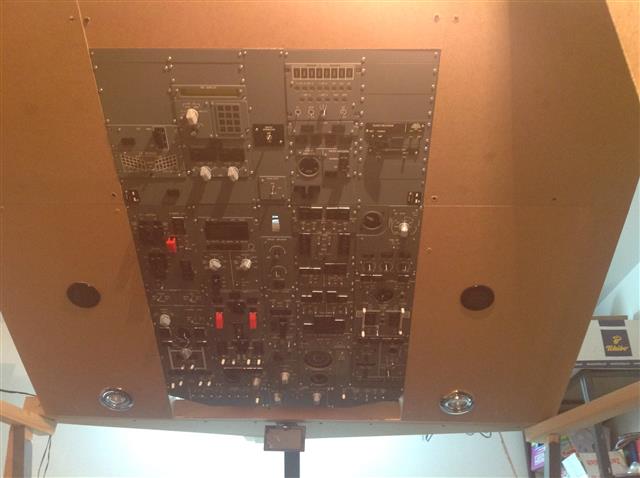
Therefore in the sidewalls the map light panel was built in. The chart light is a potentiometer and will be used to change the brightness of the CPT and FO Screens independant.

This slideshow requires JavaScript.

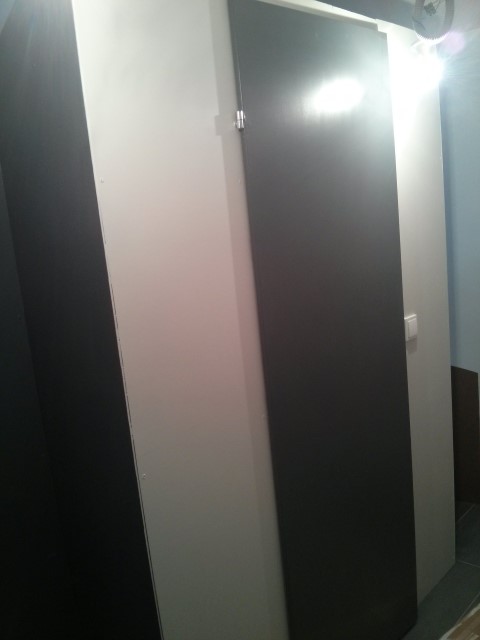
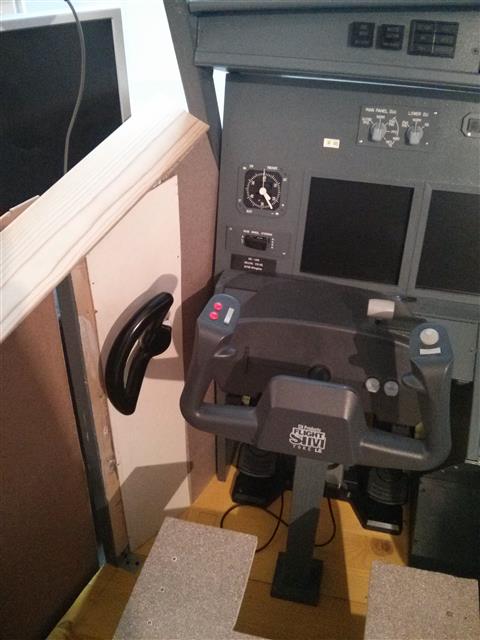
Also the last window on the Captain side was closed to reduce the distractions from the side 🙂 FO window will follow.

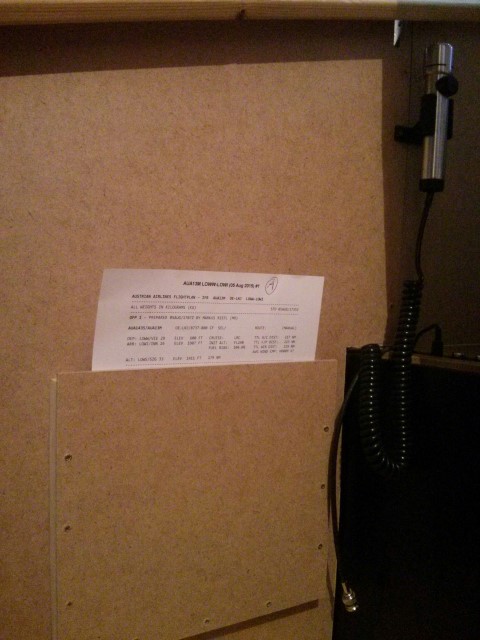
The handset microphone was also placed into its final position. The microphone has one push button on itself, now you can also communicate headset free during the flight. If you push the button the PTT sequence via FSUIPC will be transfered to the vpilot client.

Photo 21-05-15 19 53 27

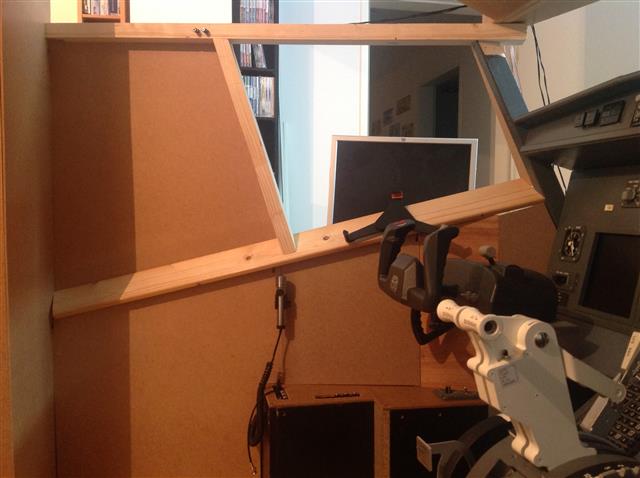
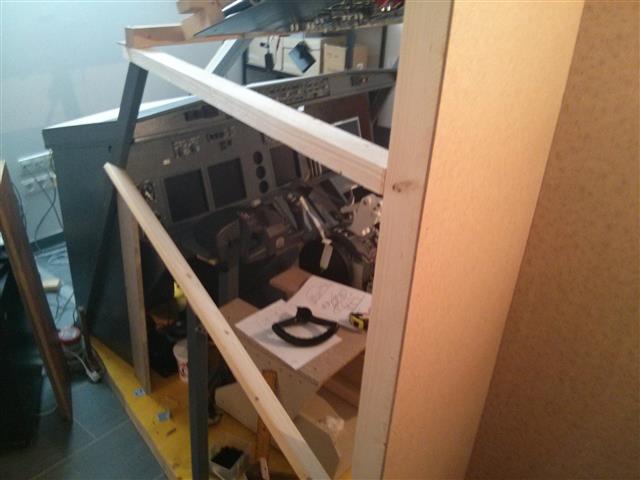
Next step is to finish the last gap in the ceiling.

Tiller, Captain Sidewall and Shell lifting

Today we have started on the captain sidewall.

We figured out that it won’t be easy to build this because I havn’t thought about this one in the planning of the shell… So basically we have not the required space that we would need to fit the sidewalls. But the whole structure can not be changed anymore and we have to live with that.

We will figure out a compromise of reality and what we can build…

So far we got the following:

2015-02-24 19.36.19

2015-02-24 19.36.31

The tiller will be removed and the plate will be replaced as it is not good enough to stay in the cockpit. Current the tiller is mounted just for testing.

Also we lifted the whole construction of the overhead 4 cm higher to archive more space between the glareshield and the overhead. The error happened in the year 2009 when we built the MIP. There we didn’t stuck to the measurements from markuspilot.com and an error was included in the MIP size. It is 3cm to high. When we started in late 2014 the shell we havn’t measured the MIP and we started withe the real measurements from the manual. Also there we made a 1.5cm mistake that will sum up to 4.5cm smaller view out of the front window.

This error was corrected now and looks like this:

We took also the structure that we used to lift as our above window line. Not 100% accurate but I can live with that.

2015-02-24 16.28.05


Building a 737-800 Homecockpit [OE-LNJ]