![Building a 737-800 Homecockpit [OE-LNJ]](https://737cockpit.info/wp-content/files/2021/04/v5-clouds.png)
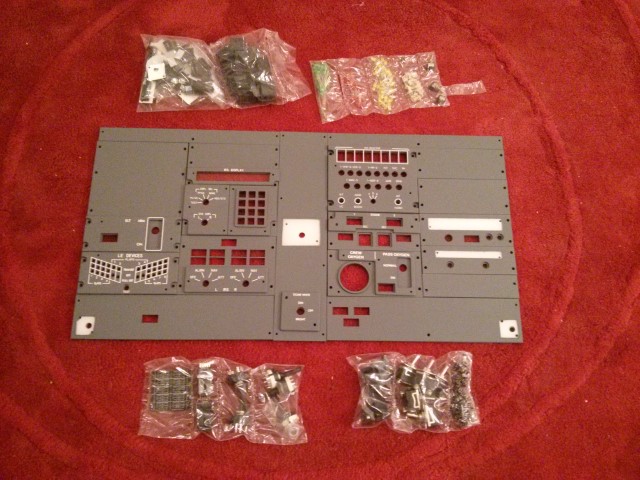
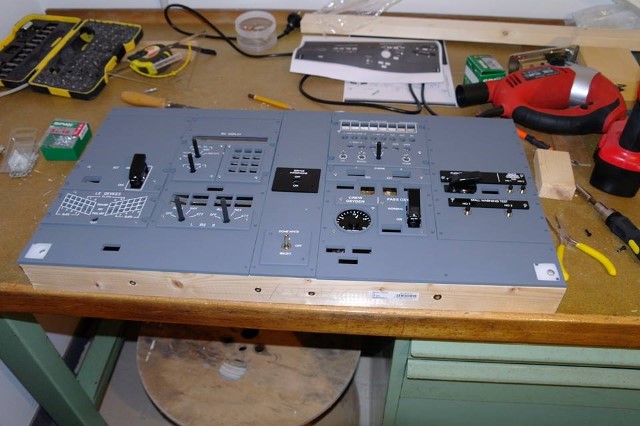
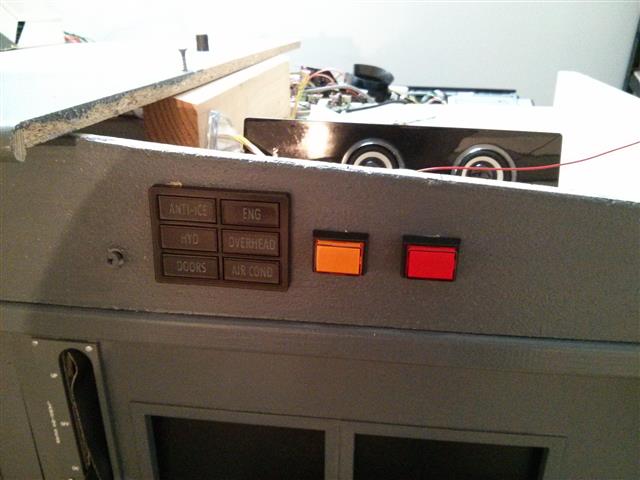
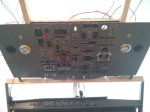
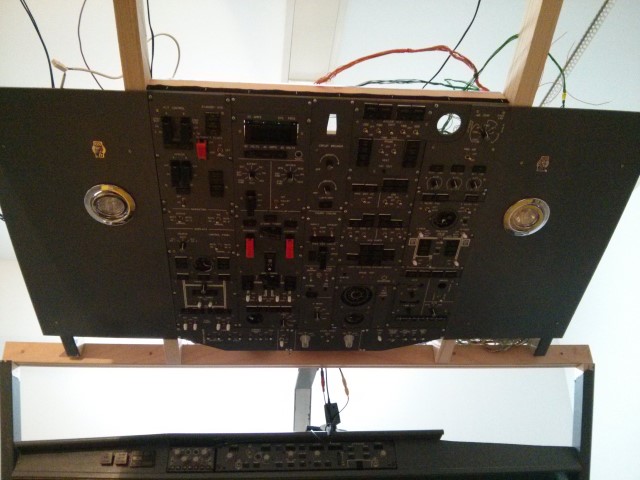
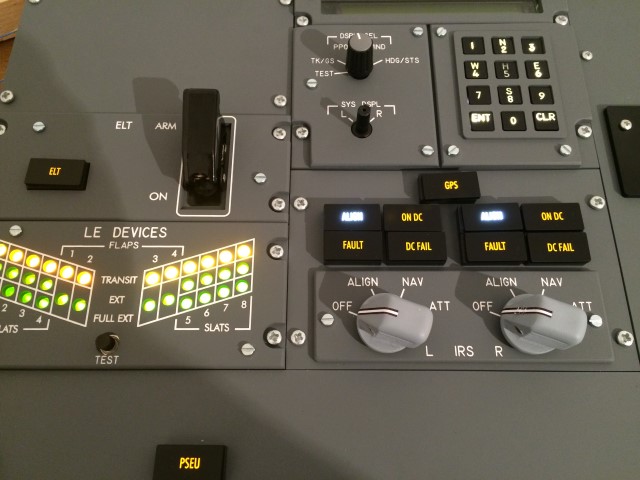
Yesterday I have finished the wiring of the afterwards overhead panel. I have now connected all switches, LEDs and my backlight for the keypad.
A first short test looks very promising. Attached you will find some pictures of the panel.
The indicator text panels are current not glued, this will be done in the next days, so they don’t appear 100% aligned on the photos below.
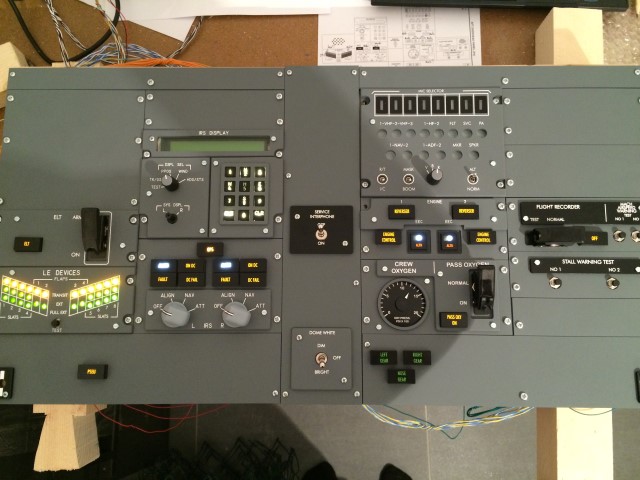
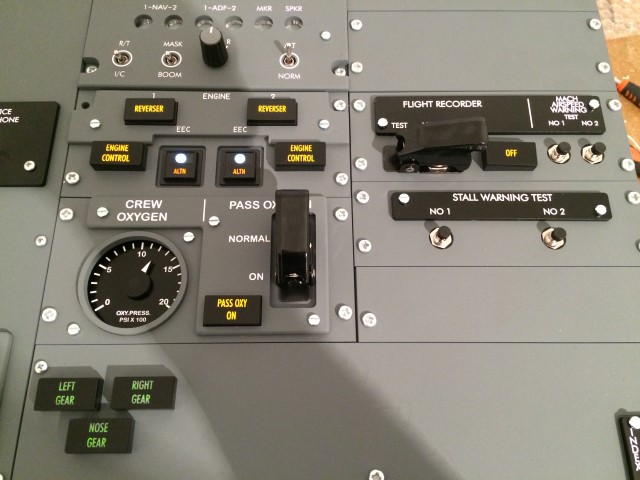
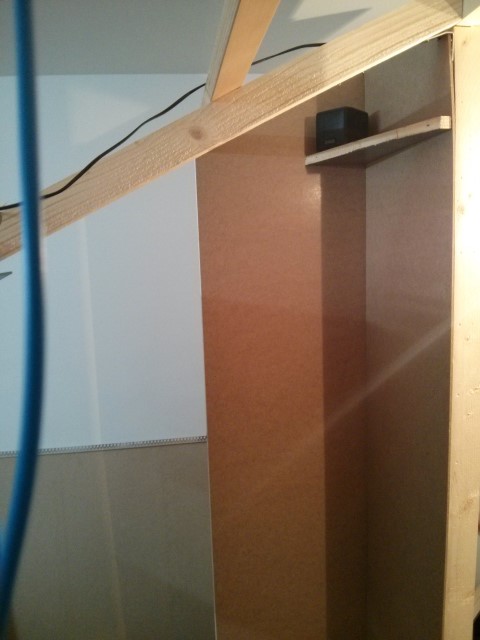
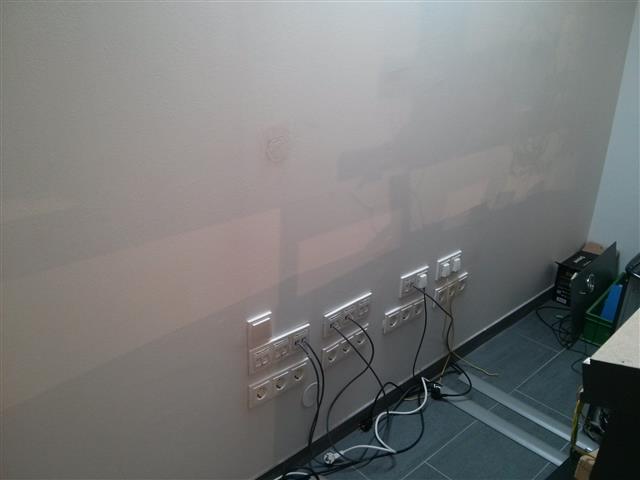
The next step is to mount it into the Cockpit and program all switches as well as the indicators.