Strobe lights working

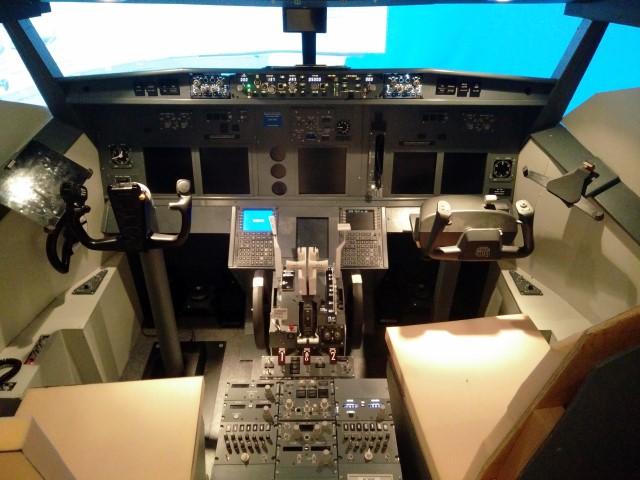
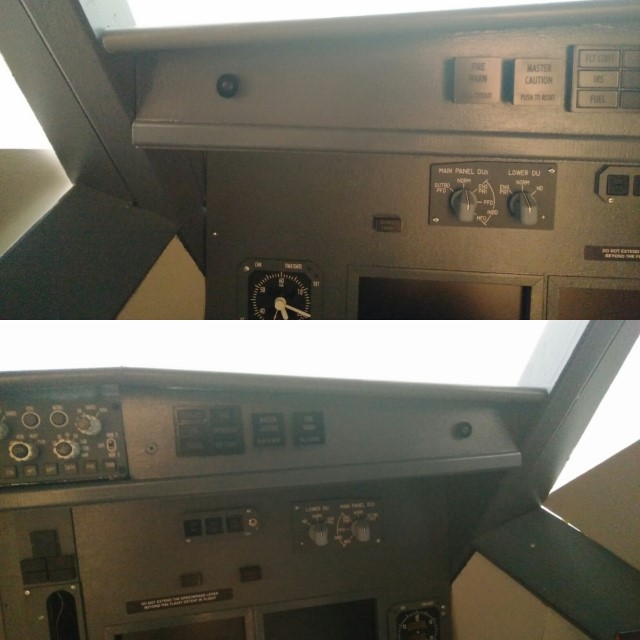
Yesterday I managed to get the strobe card working in the flightdeck. You can see in the full article below with screenshots. Here a short video of the placed card on the shell. Its not the final position, but the first test looks quite good.

You can download the .LUA script here Strobe Lights LUA (3226 downloads )

updated 25.09.2017 with missing screenshots below

Continue reading “Strobe lights working”

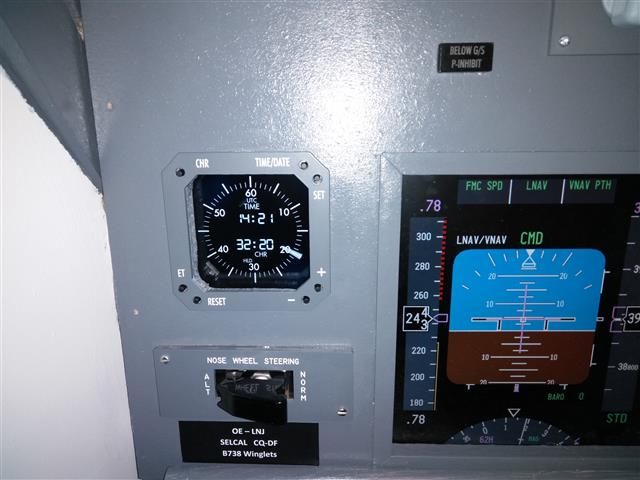
Captains Chrono

On the chrono for the MIP I had a lot ideas during the years. On top of the list there was always the Opencockpits clock – it is still there, but I was also thinking of an 5″ Monitor solution. Therefore I would have needed the 5″ monitor, a PC with a free VGA output [which I didn’t have] – or a USB VGA module and a VGA to RCA adapter to feed the 5″ monitor. So I found a cheaper solution. I bought a 8″ Windows 10 tablet on Gearbest (for around 80€) and placed it behind the MIP. With Teamviewer I can access the tablet, as it is running Windows 10 you can run also the Prosim Display Application with the Chrono to be displayed. In the MIP I have the push buttons installed and connected to the PoKey 57E Ethernet card. So the plan — 🙂

But it seems to be a little harder to get this done. Continue reading “Captains Chrono”

Circuit Breaker Panel and Fire extinguisher

As you can imagine an aircraft has a lot of circuit breakers. On the Boeing 737 they are located behind the cockpit crew on the walls, split up to different segments.
I was thinking lately how this can be done as a dummy installation. First I thought of cutting a 8mm round plate into a lot pieces and paint the black. This would have ended up to around 400 small pieces – for a dummy, to much.

I found in a german forum a guy who painted those panels in a very good quality. I took them and printed them onto A4 scale sticker paper, like my other decals I have done. I know, they are not the real size, but the shell itself is also not 100% real size, so I modified the size to match my shell and would be quite good to the reality.

I have applied the stickers to the First Officer and Pilot side as in real. The result looks very good and adds a nice touch to the flightdeck.

This slideshow requires JavaScript.

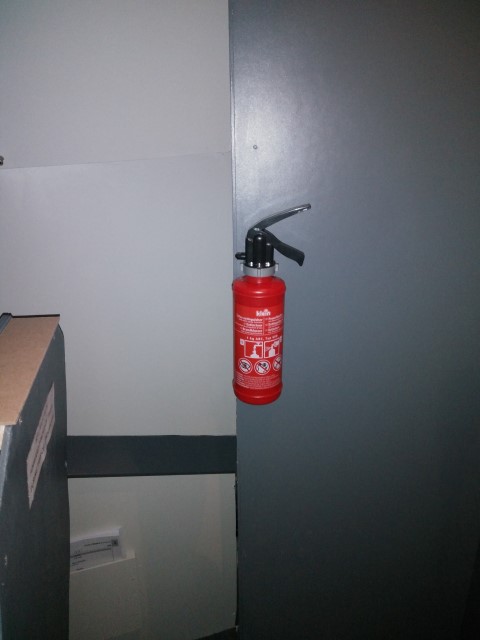
Finally also the small dummy fire extinguisher was placed in the flightdeck.img_20161124_125627_copy

Gear pins

While watching some Cockpit videos and documentation I noticed that my flightdeck has no gear pins. After some minutes of thinking I found a quick and inexpensive solution.

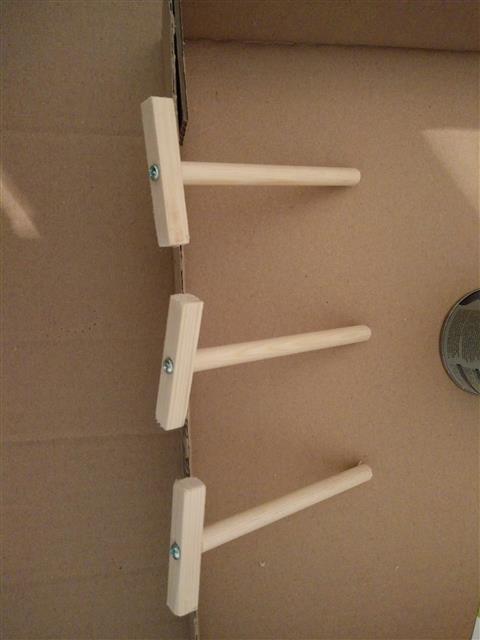
I bought a 8mm round and a 9x9mm square wood and made there my Gear pins. 5cm for the handle and 10cm for the pin itself. Drilled a 2mm hole in the handle and fixed it to the pin with a 3mm screw.

IMG_20160810_094808_copy

Than it got painted in silver/gray.
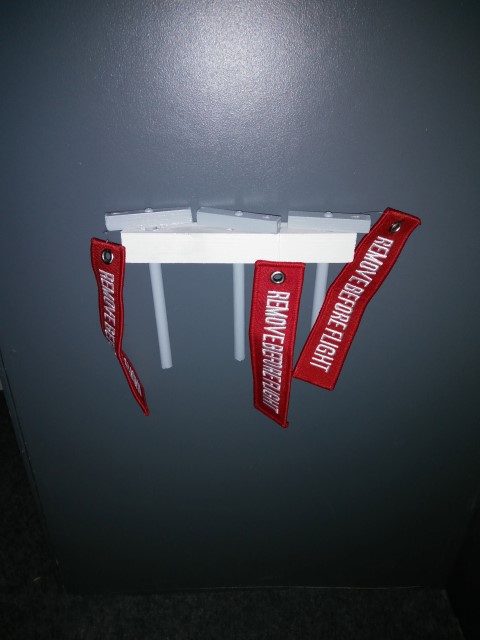
After this a 2 mm hole was drilled to fit the “remove before flight” tag, which I have purchsed on Ebay here.

gearpins

To have it stowed in the cockpit I took a 20x20mm wood and drilled 3 10mm holes. Painted in RAL7001 and mounted onto the sidewall behind the F/O seat. Now you can store and check it the steering pins are all here and secured.

EICAS Buttons

After some time I started to work on some small parts again – I have started working to implement the lower EICAS push buttons for ENG and SYS in the MIP Panel. Those were never assembled since I started the MIP in 2010. BUT, to get this started, first the EICAS plate must be removed from the cockpit, that was not possible, because all the cables were connected directly to the Joystick and LED cards. So first I had to built in some Sub D connectors to make it unplug-able.
Then I thought it would be a simple and quick solution with the 4 switches 🙂 🙂 Haha, it turned out to be more sophisticated.
I had to take a print plate and attach the 4 push buttons on it.
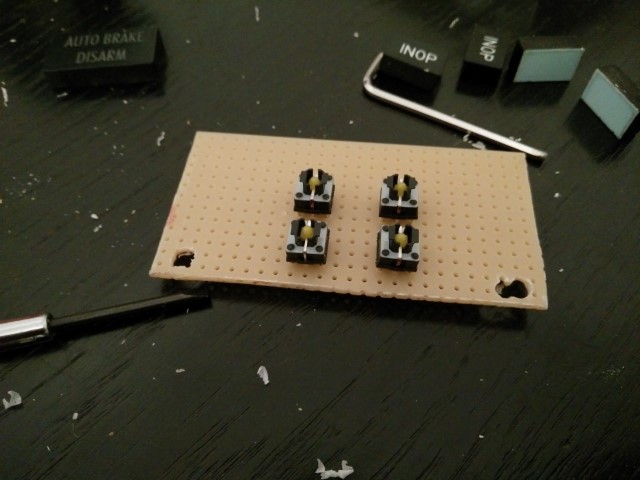
img_20161020_200932
Then the plexiglass needed to be removed in a way that it will not break, so I drilled some 10mm holes into it and the print plate will be fixed on 2 points with screws and the other part with a super glue to hold that together.
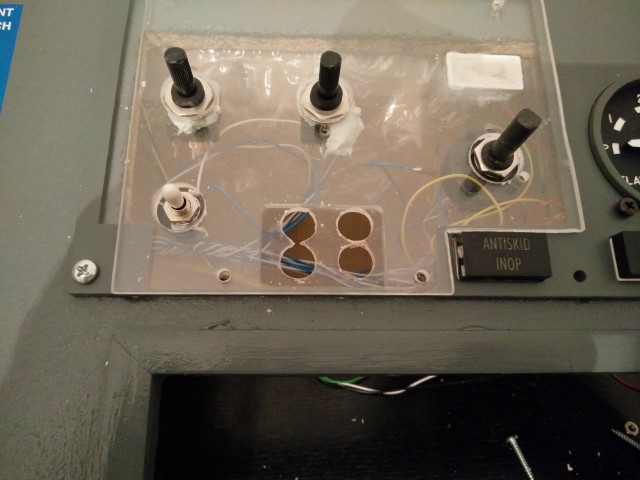
img_20161020_200938

The buttons will be backlit and connected to a Joystick card to have it available in ProSim.
Current it is not finished as I want also to add a background light for the flaps gauge.

Update: 31.10.2016

The PoKey57E card arrivied today and was built into the MIP, behind the Captains Panel. I had to add a second self built GND card, as PoKey cards only have 3 GND connectors for possible 51 switch inputs. This card was mounted next to the PoKey card.
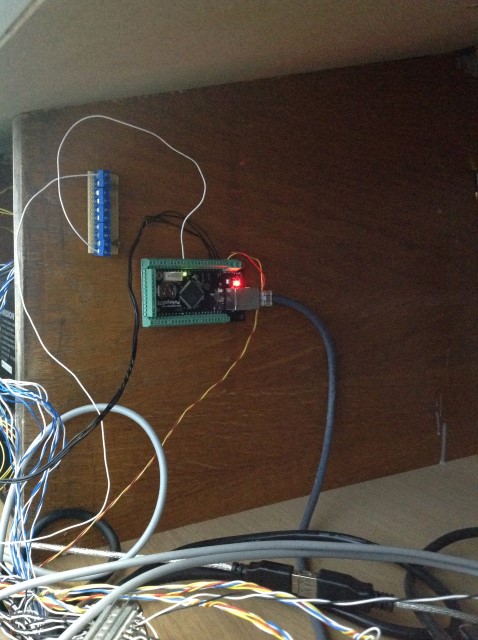
photo-31-10-2016-14-31-55

The programming of the PoKey card is very easy. Only assign an IP Address (or leave DHCP) and enable PoKey driver in Prosim. As soon as you push a button Prosim will recognize this. Very cool and saves USB slots 🙂

And here a picture of the finished EICAS buttons.
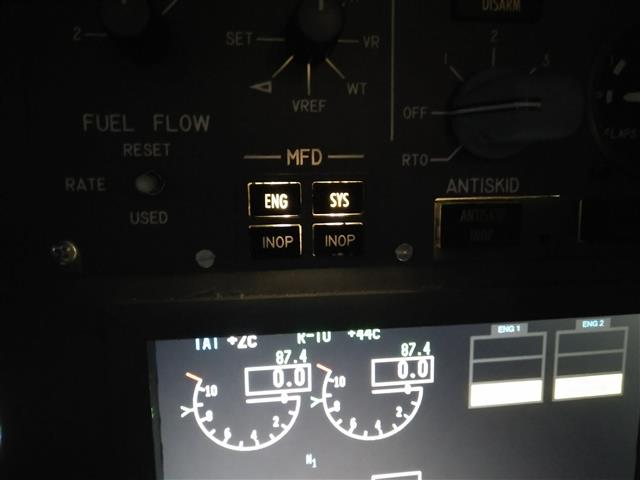
img_20161112_214332

Yoke delivered

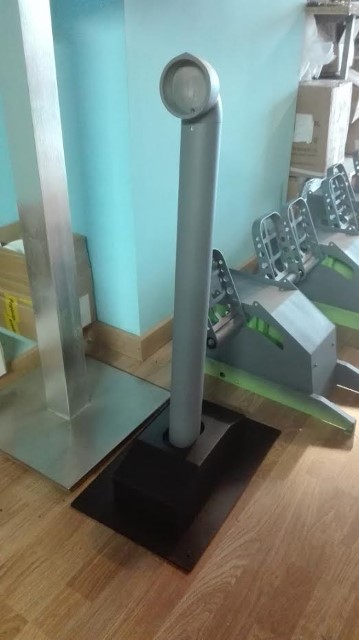
After a couple of months in production the Yoke was delivered from Pedro.

img_20161018_125855

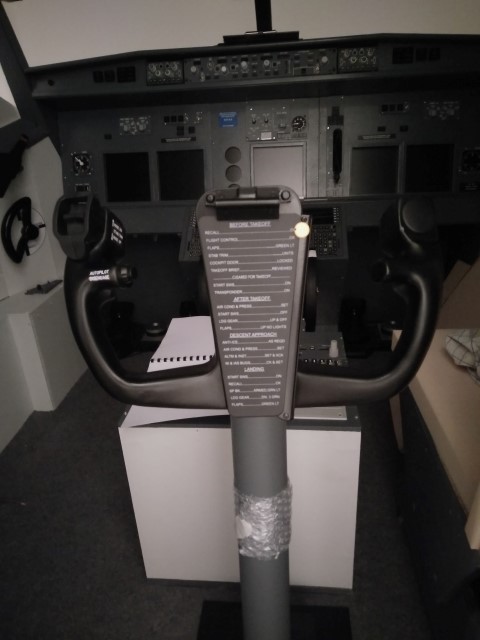
I have added the Clipboard from Agronn, purchased from Aviationmegastore. The clipboard fits nicely to the Yoke.

The yoke was moved into the Captains position, the old yoke was now mounted in the first office side.

img_20161018_144820

Next on the list is to finish the seats and than to add background lights to the MIP and the push buttons for the lower EICAS, which are stored since 2009 in the box.

Yoke update

In one of my last posts I spoke about Yokes. After weeks of research and thinking I decided me for a yoke from Pedro from Simujabs. The order was placed now and I will provide here further updates.

Yoke
(c) Simujabs – Captains Yoke

Pedro is also developing a clipboard and is in the final phase. For this I will wait until my Yoke is finished production and will see which product I will pick.
Opencockpits has one by themselves, I have to check if this will fit with Pedros yoke.
The Agronn Clipboard is working with Pedos Yoke, this was confirmed by some persons.

Yoke research

Current I am in the phase of searching for a Yoke. The last part that makes the Homecockpit complete.
I am not in the need of a dual link yoke system, as 95% of the flights are done alone.
I have found a nice comparison of the yokes, that are available on the market. http://www.my737ng.com/what-the-yoke/
Only the Opencockpits one is missing, so I created a new one, removed the PFC and added the Opencockpits.

FeaturesSimujabsOpencockpitsAGRONN ACE
Cost inkl. Shipping to Austria1003€ (direct from Pedro)1364€ (direct from Opencockpits)1896€ (via Aviationmegastore)1621€ (via Aviationmegastore)
Country of productionSpainSpainTurkeyCanada
Yoke MaterialFiberglass ResinResinAluminiumAluminium
Yoke FinishPaintedPaintedPowder-coatedPowder-coated
Yoke Rotation Limit~180°~180°~180°~90°
Yoke Neutral Position0° Vertical0° Vertical7° Forward0° Vertical
PTT SwitchSingleSingleSingle Two-WaySingle
Column FinishPowder-coatedPaintedPowder-coatedPowder-coated
Tension LoadingSpringSpringGas-DamperGas-Damper
SensorsPotentiometersPotentiometersHall EffectPotentiometers
Clipboard IncludedNoNoYesYes
Letteringalready attachedstickers includedLaser EngravedSilk Screened
Real Aircraft ButtonsNoNoYesNo
Yoke Position Units Labelalready attachedstickers includedYesYes
WebsiteSimujabs YokeOpencockpits YokeAviationmegastoreAviationmegastore

I will continue my research during the summer. The goal is to have a decision late August / early September.

Building a 737-800 Homecockpit [OE-LNJ]