SELCAL panel

Also from hispapanels I got the dummy SELCAL panel. But I decided to make it as a functional panel.
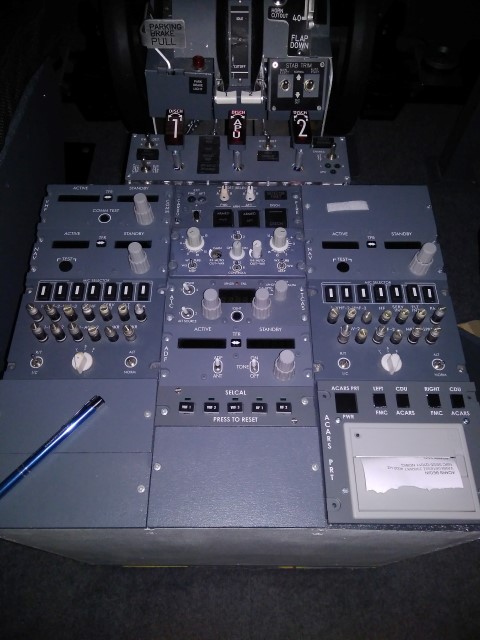
So I made some modifications. The green LEDs came with the panel and where glued into it. To have some round push-buttons installed a whole must be drilled into the panels.

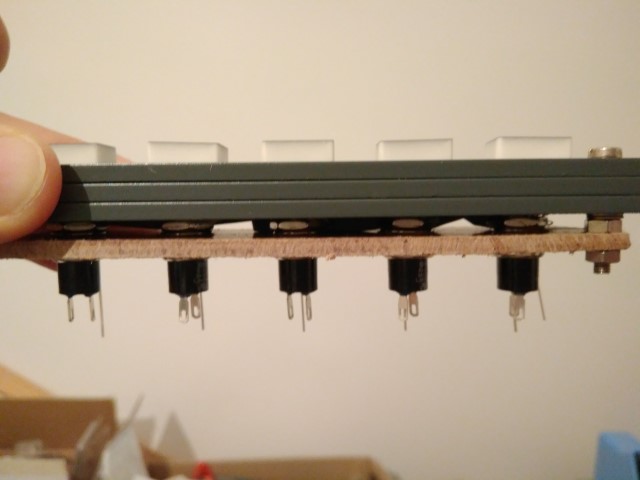
I took some 6mm buttons to be placed under the push buttons. The buttons are fitted on a small helper wooden part.
In a future release of Prosim the SELCAL panel will be enabled by the Prosim Team. It can be linked to VATSIM via the PSU (ProsimUtils) and vpilot. I will make a separate entry in the blog when it is available.

The buttons and LEDs are planned to be connected to another Pokeys Ethernet card.
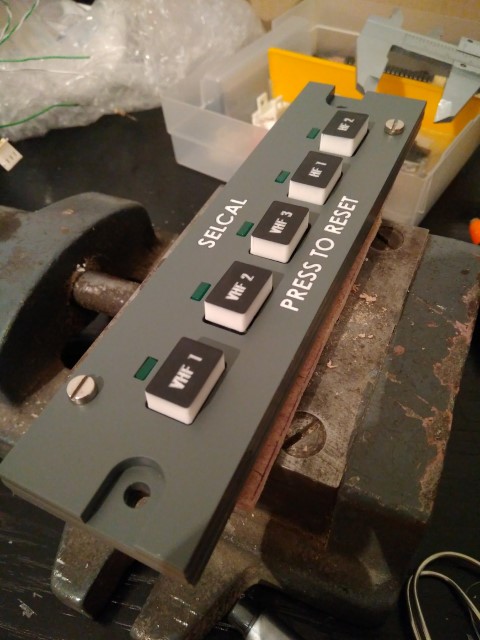
The only drawback is, that the buttons are now a little higher than original, as the push-button is placed below.

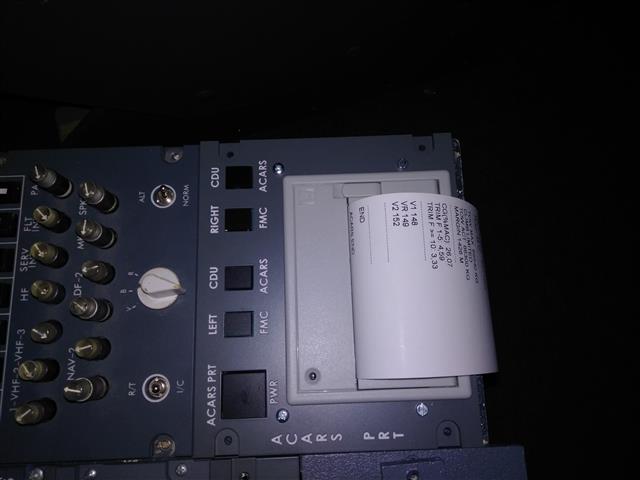
ACARS printer panel

When I got my ACARS printer, back in 2011 I installed it in my homemade pedestal box without any panel.

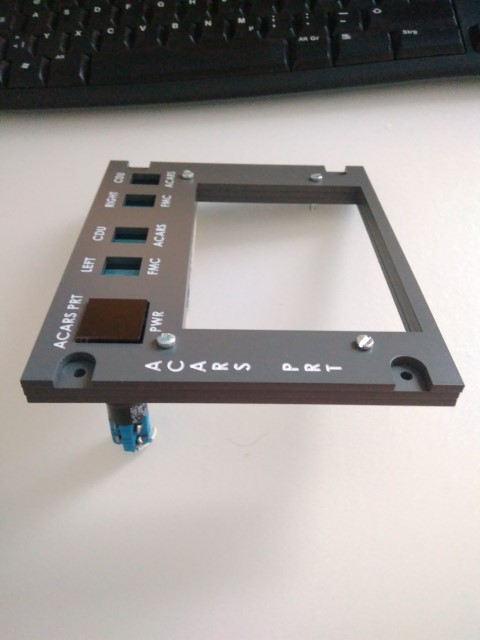
Now, years later I found that Hispapanels offers a nice panel for the printer. I measured my pedestal and found that it fits very well 🙂

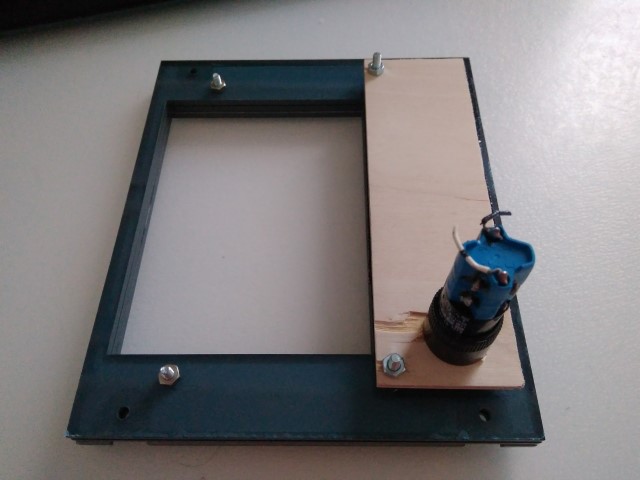
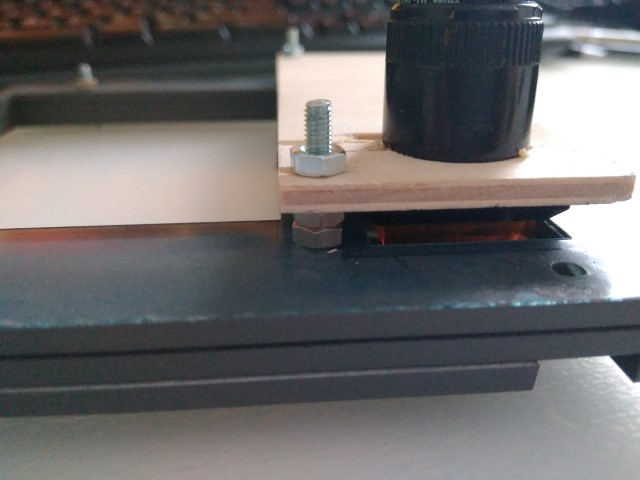
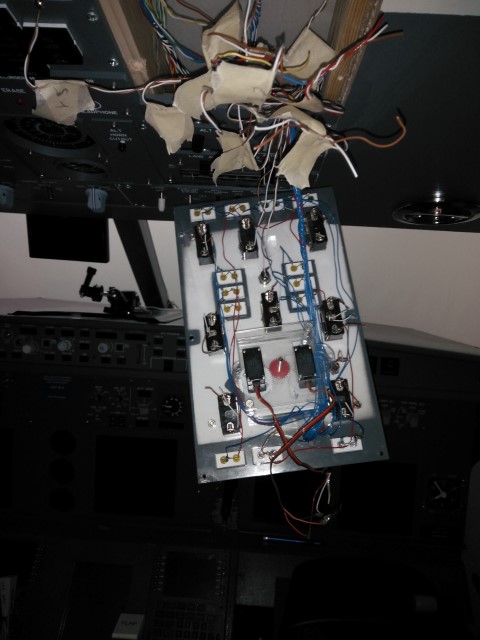
My plan is that I connect buttons beyond the dummy switch plates, that I can use it for future functions in the cockpit. Also the power switch should be wired and functional. For this I will have to built a construction below the panel that holds my buttons in place.

For now only the power button was built in and connected to cut the power to the printer. This is needed when the printer needs to be restarted, happens not very often, but sometimes.

Captains / First Officer Glare Lightning Panel

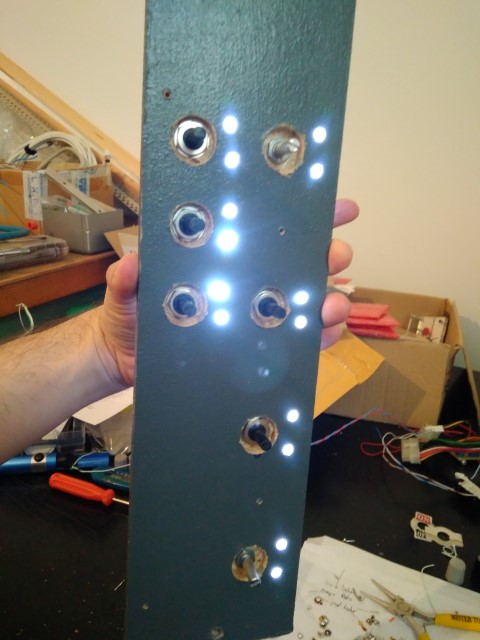
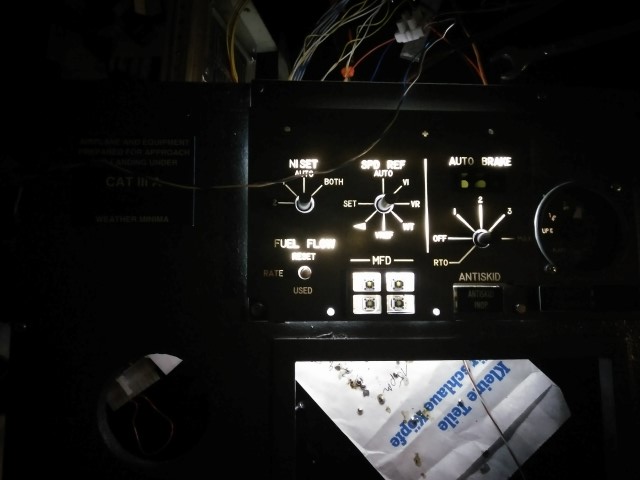
A long missed part was now built in. The captains and the first officer glare lightning panel. With this you have the option to Dim the PFD, ND, EICAS instruments. They are connected to the Pokeys57E card and are fully functional within Prosim.

The panels are also backlit, but not with LED strips – On this ones I used normal round 5mm LEDs. Drilled a 5mm hole and mounted them from the back to make a spot light on the corresponding engraved text. To fix them I glued it on the back.

This slideshow requires JavaScript.

Also 2 rotary switches are built into the captains side, with them its possible to select the manual values for N1, etc in the MIP panel.

This slideshow requires JavaScript.

The configuration is done via Prosim for the encoders:


Pressurization Gauge and Backlight for the panel

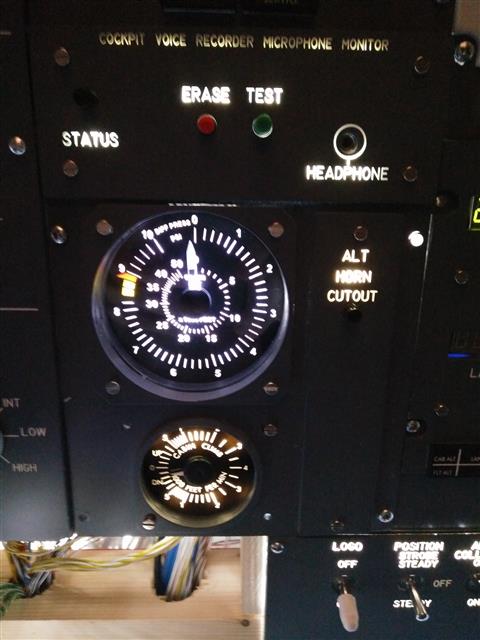
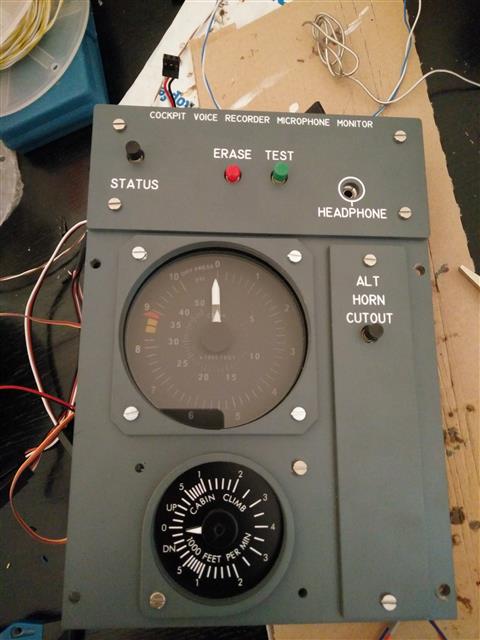
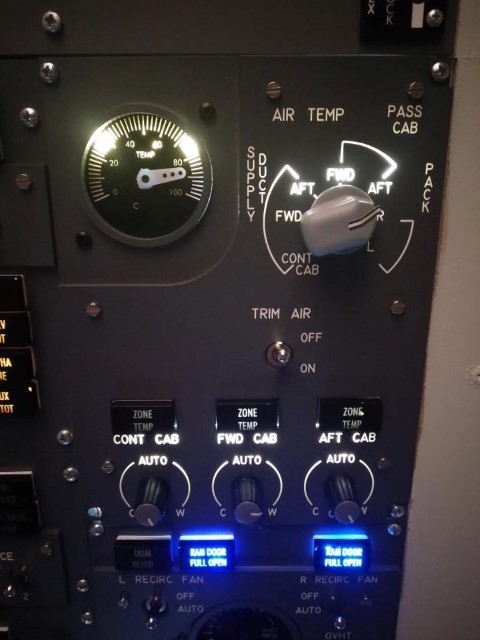
During the last days of March I also modified the module with the pressurization gauge. Until now I didn’t had a working pressurization gauge (dual needle), I found the one from Tom on customsimparts.com. Like the Flap gauge, a very good quality and price. This one was made as a customization, as the default size would not fit into the Opencockpits Overhead panel.

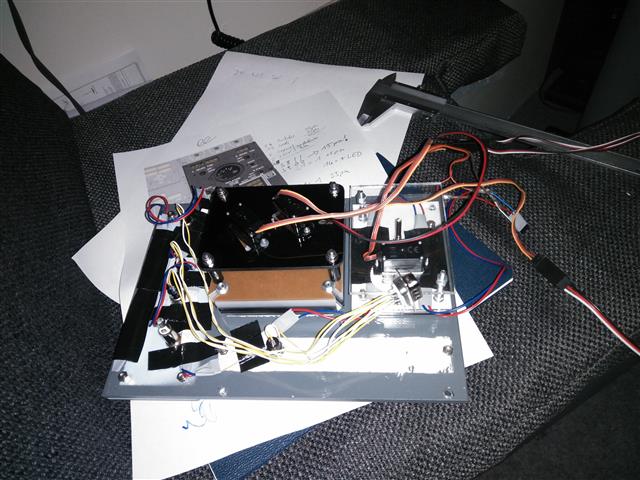
Again, I took the chance and installed a 9 pin connector for the module to be easily unplugged and removed. The 3 Servos as well as the 12V for the background light were connected to separate connectors.

To have it fit into my handmade overhead structure, I had to cut a hole into the acryl glass.

It looks really good now.

First time I also created a video to see how much work it is to get a very simple panel backlit. I made 2 versions, the original 1:1 length and a 3 minutes time-lapse version.


New Flaps gauge and N1 selectors

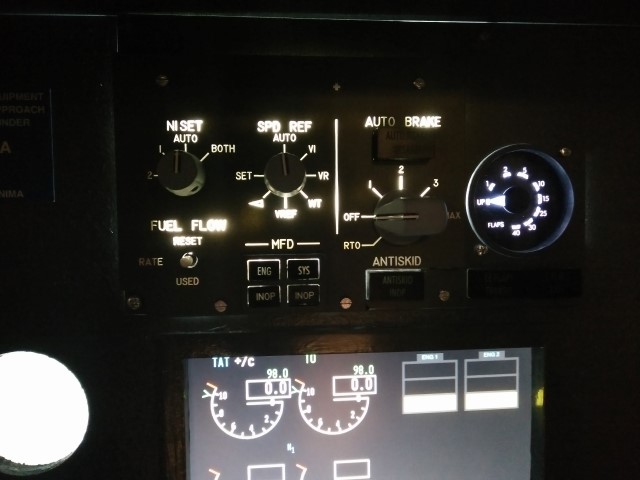
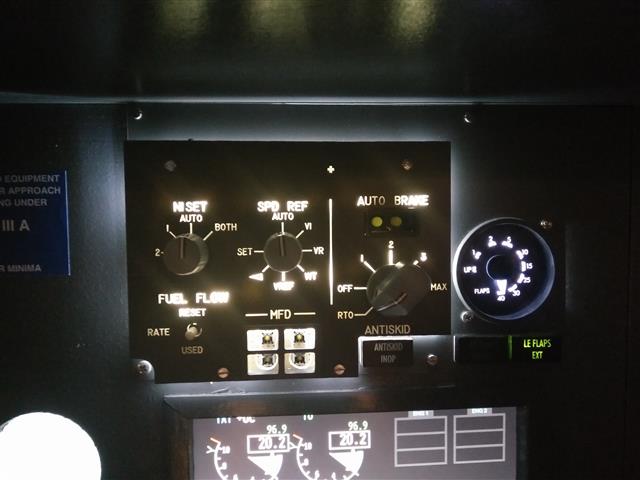
A new handmade flap gauge is now replacing my old gauge. The new one is from Tom, who runs the customsimparts.com. Tom provided all the help and drawings to fit it into the MIP. He can make them custom to fit any circumstance within the Module. If you are searching for a Gauge set or a single one, he should be definitely contacted.

When I had the middle MIP panel removed I took the chance to replace the dummy switches for the N1 settings with functional switches now, all are connected to the Pokey57E card. Normally this are rotary encoders combined with switches. The switch sets the function, the rotary encoder the value. Therefore I will use 2 rotary encoders and connect them to the glare lightning panel.

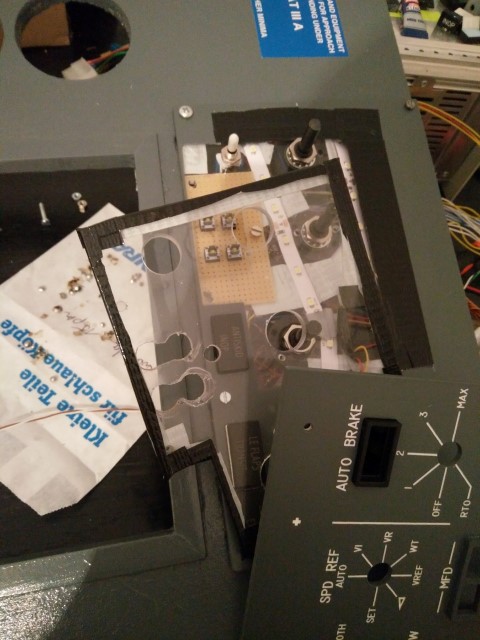
Also the Backlight was included now in the MIP panel. Therefore the Autobrake Indicator had to be replaced due to light reflections from the panel.

To reduce the light that exits the panel I covered the edges with an black adhesive tape.

Looks better now.


FWD Overhead update – Part 2

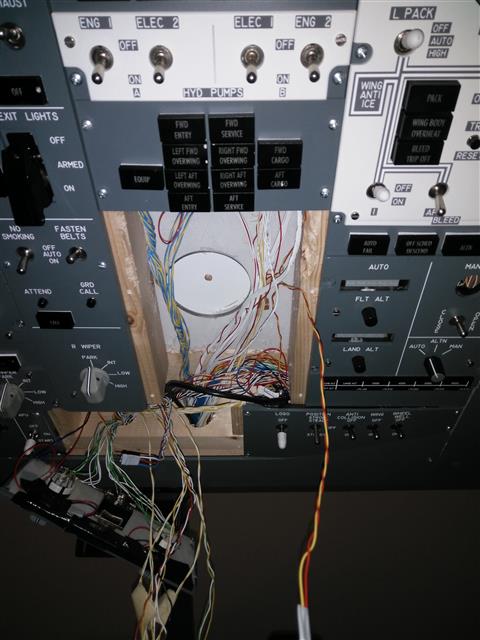
The next in line was the pressurization panel. Therefore I counted first how many connections would be needed. I will need a 25pin, 15 pin and a 9 pin connector to cover all LEDs, switches and backlight for this panel. Wow.

Greatfully I had help from my dad and we started on one evening with cutting, numbering all wires and connecting them to the connectors. Due to not so good lighting we stopped this after the 14 LED wires and a couple of switches and decided to continue one week later as it got very late….

Module in the Overhead

During this time I have reworked the panel itself. All LED connections and switches were rewired and Backlight Lighting was installed.

This slideshow requires JavaScript.

In another night session for nearly 3 hours, we managed to wire the remaining connectors and reinstall the module. About 1.5 hour was dedicated for error searching and solving…

This slideshow requires JavaScript.

It looks really great in the overhead now.

This slideshow requires JavaScript.

FWD Overhead update – Part 1

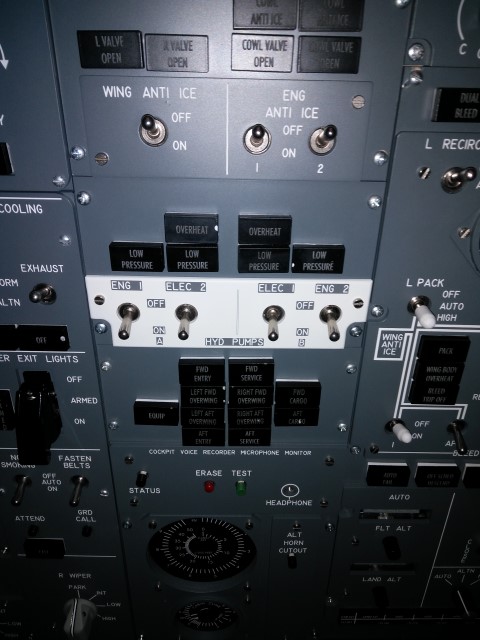
I have accomplished an update of the FWD Overhead. As Opencockpits is providing a set with the nice light grey plates for some sections I have upgraded them now.
Part 1 was simple. It included the HYD Pump panel. Looks very nice now.
The next panels – Fuel, Bleed and Generators – will be more complicated. Those need to be fitted as well with connectors as I am planning to add to all modules.
Also the LED boxes need to be removed and there for need to be re-soldered in the back. Will be tricky and will take longer than this one.


Seats finished

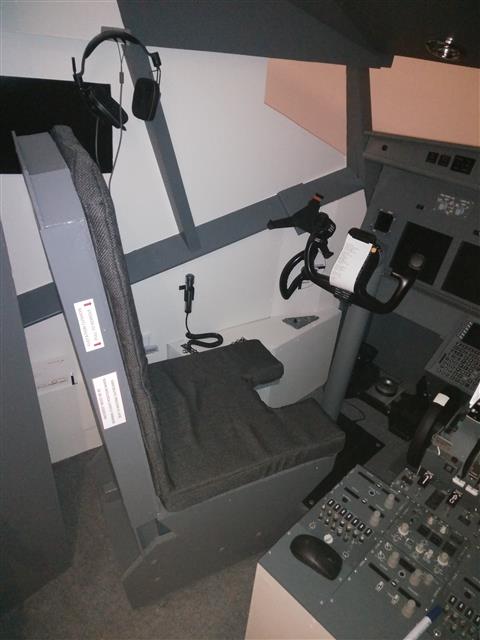
Yesterday my wife (thanks again 🙂 ) has finished sewing the seat cushions with the dark grey fabric. She added a velcro tape into it, so they can be easily removed and fitted on the seat. In case they get dirty a zipper was included to be able to remove the foam inside and put them into the washing machine.

Captains seat

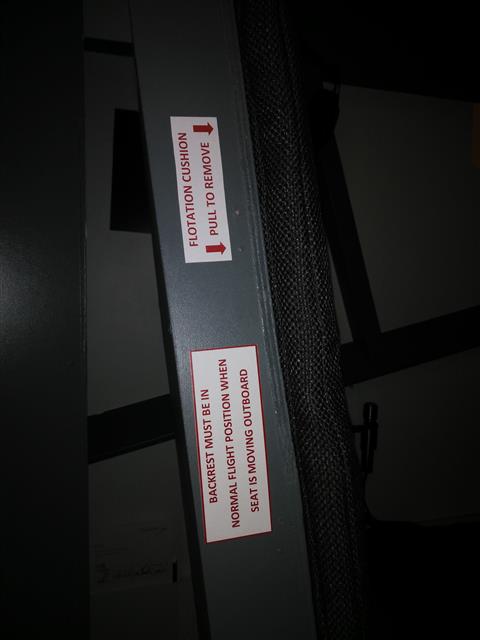
Also 2 small stickers got applied now on the seats 🙂

Captains seat detail

They really look very nice in the flightdeck now 🙂

first retrofitted overhead module

This weekend the first Overhead section module was retrofitted with backlight and a connector to allow to be easily removed from the overhead structure.

During the work the servo from the gauge got damaged, because a cable was wrong connected 🙁 But, it could be easily changed so that the “inop” sticker could be removed quickly.
All switches and controls are functional now.

Building a 737-800 Homecockpit [OE-LNJ]