I can provide you a short update video from the status as of March 2017.
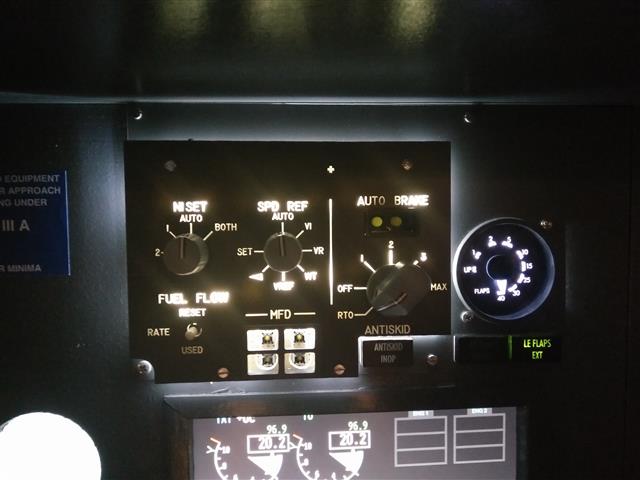
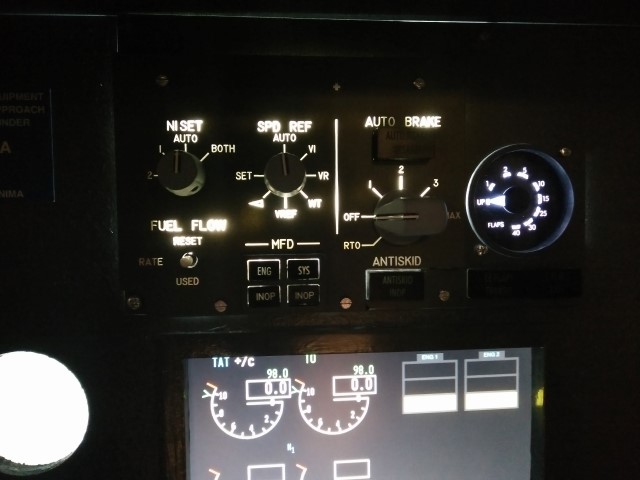
In this video you will see the new back-lit Press. Panel in the overhead, the new Flap Gauge and the back-lit Autobrake panel.
Building a 737-800 Homecockpit [OE-LNJ]
using ProSim737
I can provide you a short update video from the status as of March 2017.
In this video you will see the new back-lit Press. Panel in the overhead, the new Flap Gauge and the back-lit Autobrake panel.
A new handmade flap gauge is now replacing my old gauge. The new one is from Tom, who runs the customsimparts.com. Tom provided all the help and drawings to fit it into the MIP. He can make them custom to fit any circumstance within the Module. If you are searching for a Gauge set or a single one, he should be definitely contacted.
When I had the middle MIP panel removed I took the chance to replace the dummy switches for the N1 settings with functional switches now, all are connected to the Pokey57E card. Normally this are rotary encoders combined with switches. The switch sets the function, the rotary encoder the value. Therefore I will use 2 rotary encoders and connect them to the glare lightning panel.
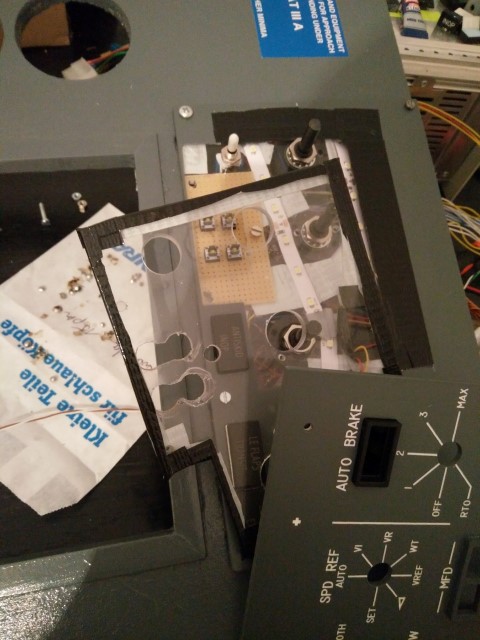
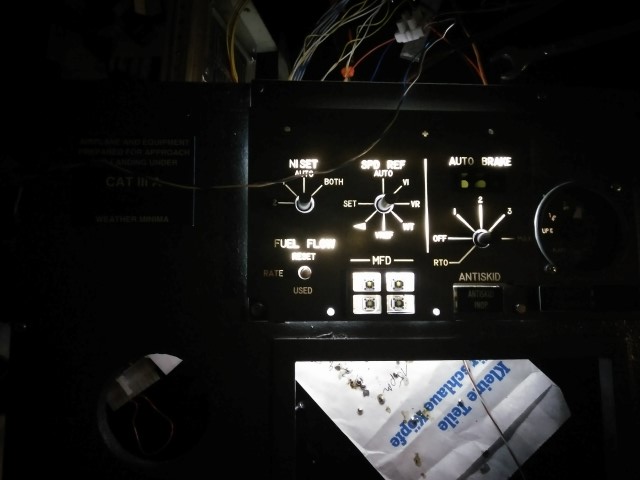
Also the Backlight was included now in the MIP panel. Therefore the Autobrake Indicator had to be replaced due to light reflections from the panel.
To reduce the light that exits the panel I covered the edges with an black adhesive tape.
Looks better now.
Together with Michael from Germany and Benny I realized a longer project part on the list.
Turbulences.
Now, thanks to Benny, we have a .dll file which reads the actual Turbulence data out of the API from Activesky 2016. With a .lua script and manual created sounds we are feeding Prosim and Prosim Audio with random shaking sounds. Each Sound file is 1 second long and changes every second randomly, so you will not hear a sound twice.
The turbulence can be none, light, moderate, heavy and severe. With the turbulence now the flight feeling is more accurate and makes really fun to fly.
The next in line was the pressurization panel. Therefore I counted first how many connections would be needed. I will need a 25pin, 15 pin and a 9 pin connector to cover all LEDs, switches and backlight for this panel. Wow.
Greatfully I had help from my dad and we started on one evening with cutting, numbering all wires and connecting them to the connectors. Due to not so good lighting we stopped this after the 14 LED wires and a couple of switches and decided to continue one week later as it got very late….
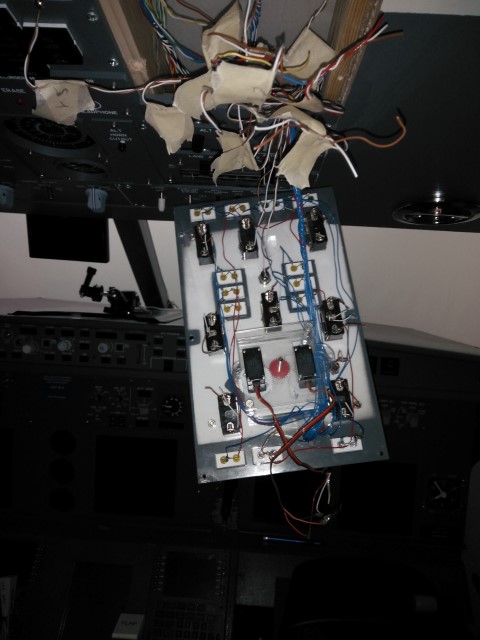
During this time I have reworked the panel itself. All LED connections and switches were rewired and Backlight Lighting was installed.
In another night session for nearly 3 hours, we managed to wire the remaining connectors and reinstall the module. About 1.5 hour was dedicated for error searching and solving…
It looks really great in the overhead now.
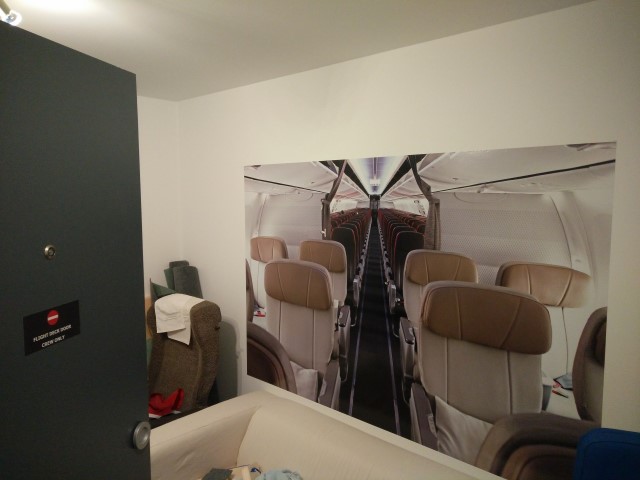
A long other item on the to do list can be ticked off now. The Cabin photo on the wall behind the flightdeck entry.
When you now look out of the flightdeck you can see the Cabin of the aircraft.
Looks really nice. Thanks to my wife for the idea back in Summer 2015. And a very big thank you to my dad and my brother who helped applying this on the wall, was not easy – as every time when I touch something in or around the flightdeck.
During the last weekend a couple of videos where created. The best was the flight OS287 from Innsbruck to Frankfurt.
I created a multi cam video, which was not easy to cut, but for the first of this kind, quite good.
I hope you enjoy it, like we did 🙂
Continue reading “OS287 Innsbruck to Frankfurt and a lot other videos”
I have accomplished an update of the FWD Overhead. As Opencockpits is providing a set with the nice light grey plates for some sections I have upgraded them now.
Part 1 was simple. It included the HYD Pump panel. Looks very nice now.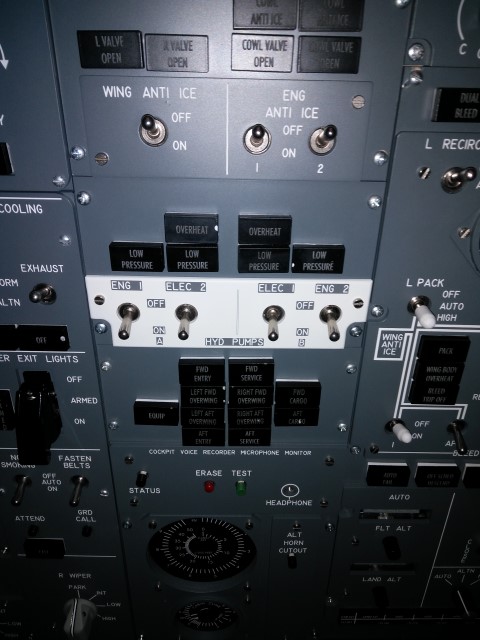
The next panels – Fuel, Bleed and Generators – will be more complicated. Those need to be fitted as well with connectors as I am planning to add to all modules.
Also the LED boxes need to be removed and there for need to be re-soldered in the back. Will be tricky and will take longer than this one.
Yesterday my wife (thanks again 🙂 ) has finished sewing the seat cushions with the dark grey fabric. She added a velcro tape into it, so they can be easily removed and fitted on the seat. In case they get dirty a zipper was included to be able to remove the foam inside and put them into the washing machine.
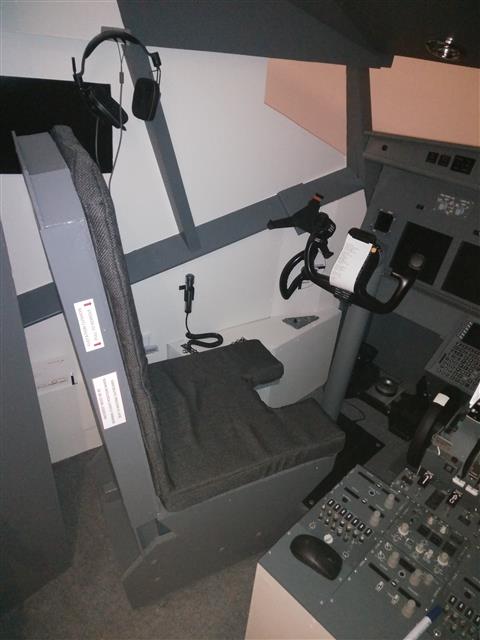

Also 2 small stickers got applied now on the seats 🙂
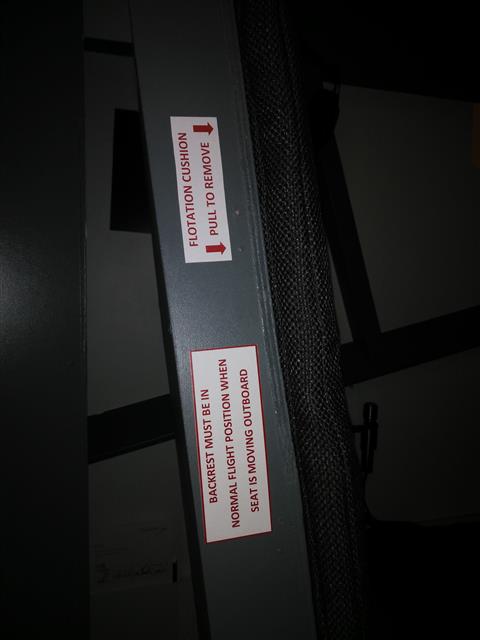
They really look very nice in the flightdeck now 🙂
Today VATSIM Germany held an online event about CPDLC usage.
So I jumped in with a short flight from Innsbruck to Frankfurt, with Munich Radar and Langen Radar on CPDLC.
Within the sort video you get see a transmission with ProSimUtils (PSU) in combination with the Hoppie ACARS network.
Here you can follow the current live ACARS communication from every current logged on pilot and ATC.
And a short video after the landing in Frankfurt.
This weekend the first Overhead section module was retrofitted with backlight and a connector to allow to be easily removed from the overhead structure.
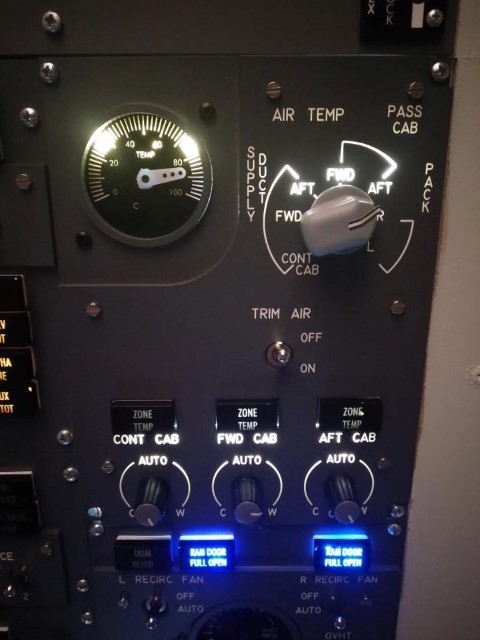
During the work the servo from the gauge got damaged, because a cable was wrong connected 🙁 But, it could be easily changed so that the “inop” sticker could be removed quickly.
All switches and controls are functional now.