MCP changed

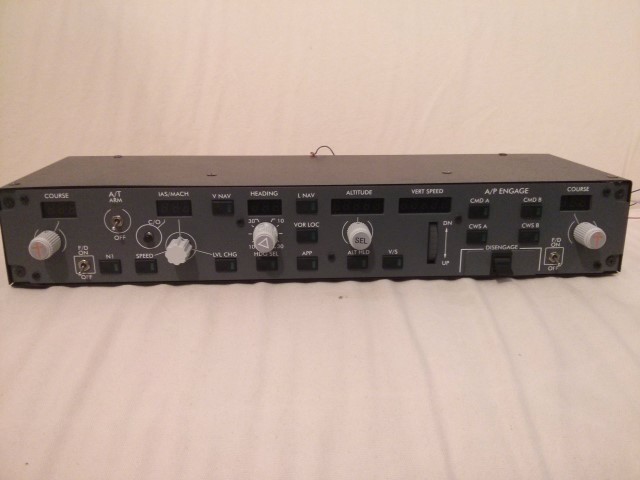
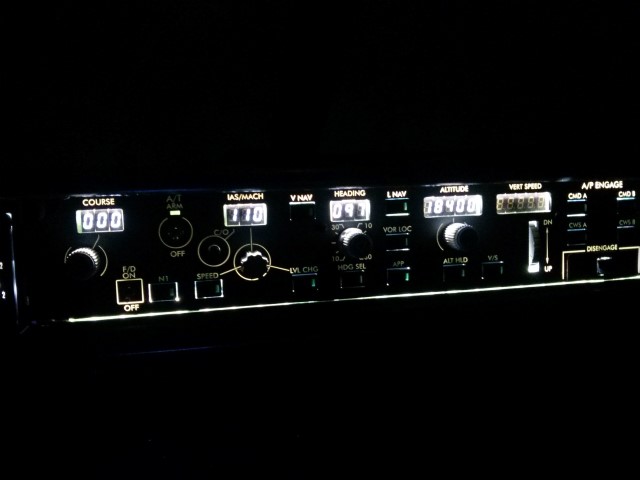
I changed my MCP from a v2 to a v3 from Opencockpits, as a guy sold a nice v3 MCP. The v3 has some new features that are very useful:

  • fully backlit (warm white)
  • SPD_INTV:Pushbutton speed intervention (not available in V2)
  • IAS/MACH: It shows the selected speed and warnings of excess or lack of speed (no warnings available in V2)
  • BANK SELECTOR: Pressing it select the maximum angle of roll or bank angle (not available in V2)
  • ALT_INT: Pushbutton of altitude intervention (not available in V2)
  • Indicator of CPT Flight Director armed (CPT F/D, no available in V2)
  • Indicator of FO Flight Director armed (FO F/D, no available in V2).

I changed the 7 segment digits from my v2, as they were white with the v3 ones.

This slideshow requires JavaScript.

As the v3 version is a non box version I had to slightly modify the Glareshield to be able hold the new MCP.IMG_20160525_152324_copy
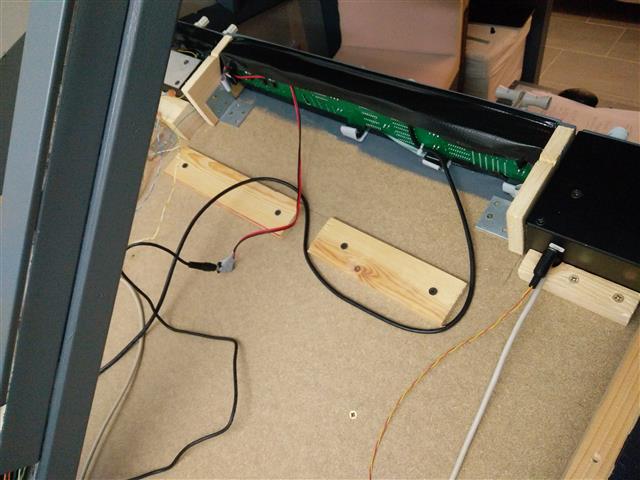
Therefore I am now selling my v2 MCP. If you are interested, drop be a short message.

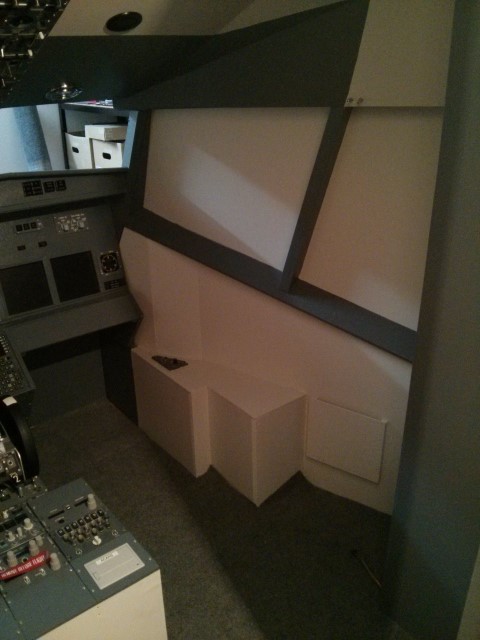
Side windows and monitor

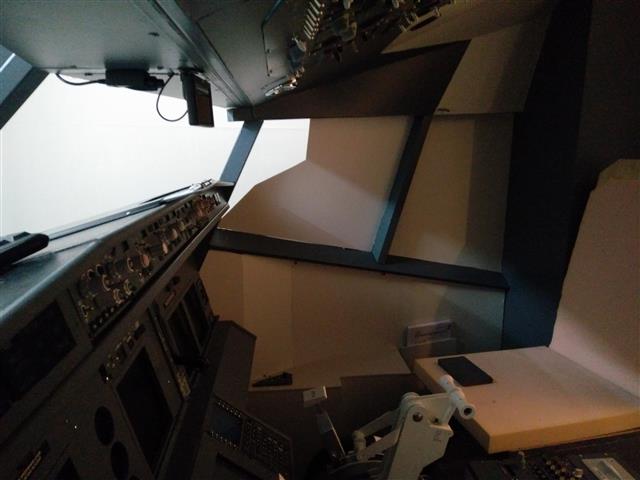
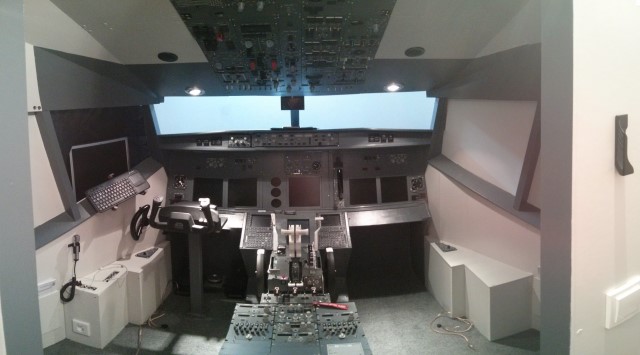
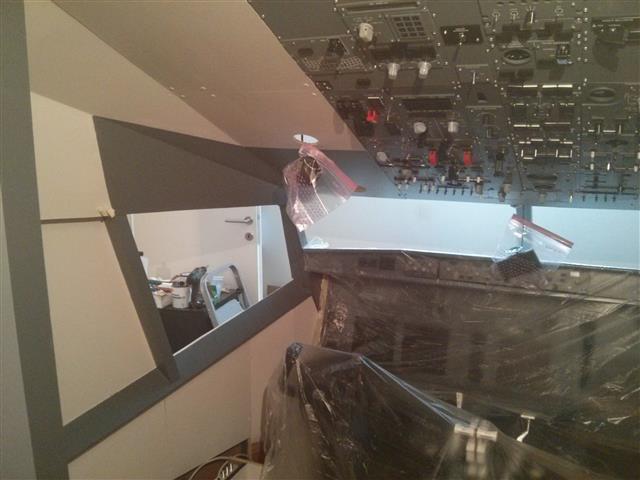
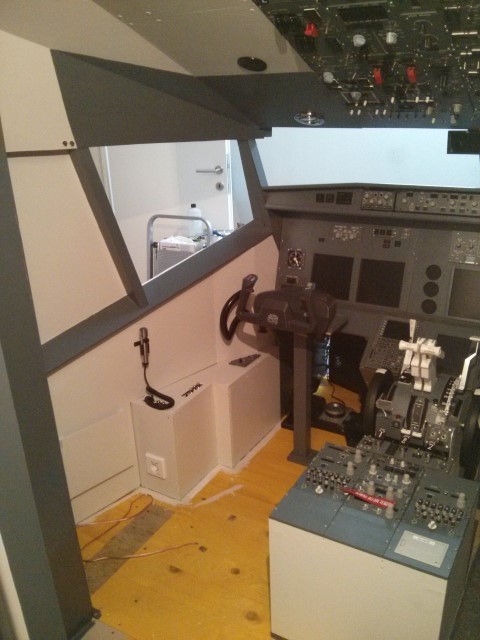
As proceeding with the curved screen and the visual setup we also closed the side windows to match your Field of View (FOV). The “interesting shape” of the windows is the result of the Point of View (POV), when sitting now in the captains, first officer or jump seat you don’t have any visual reference in the room anymore. Only the visual view from the flightdeck. And believe me, its absolute amazing and a disorientation starts to build up when rolling on the ground or banking in curves.

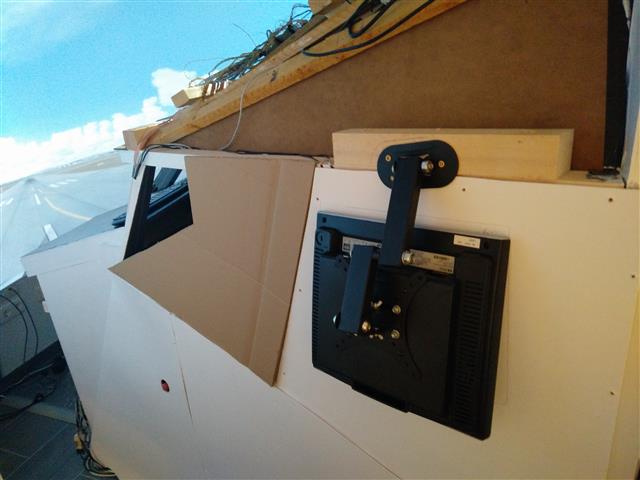
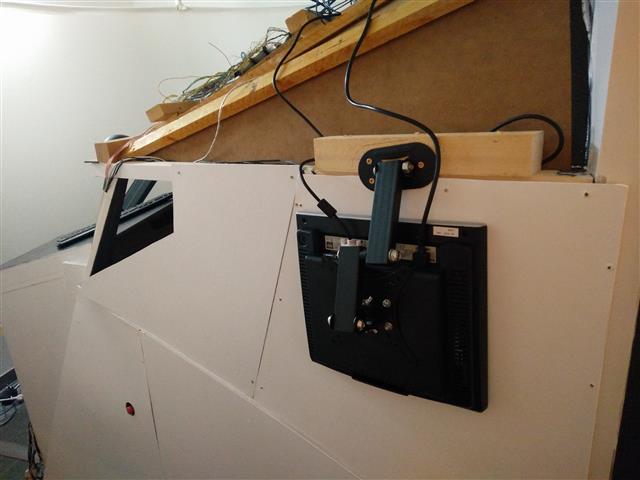
Also the last monitor that was needed and was standing in the captains side windows was now mounted in the second side windows from the outside.

IMG_20160506_102344_copy
with some card we created a template
IMG_20160507_171200_copy
the final part was cutted from a wooden plate and painted

IMG_20160507_171208_copy

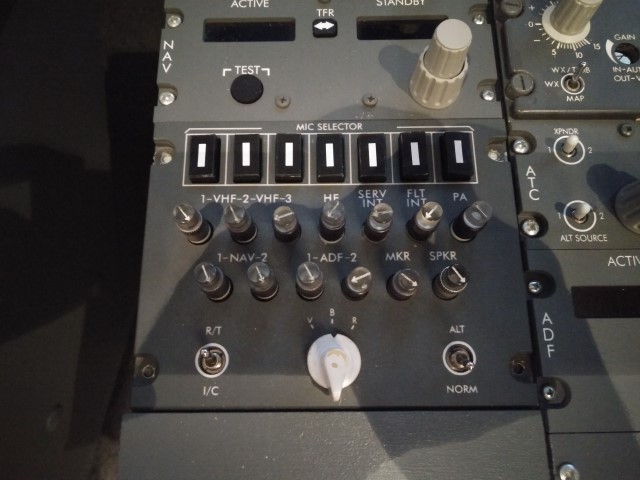
Audio Selector Template

My old Audio Selector Panel, which I purchased second hand years ago, was lacking on the button decals. Those looked used and started to peel off.

Therefore I have now created new decals. In case you need it, you can download it here. Audio Selector Decals (2083 downloads ) .

I printed it on a sticker paper and cut them manually. So a nice and simple fresh look for the old fake buttons.

IMG_20160514_212946_copy

Preview below:

audio_decals

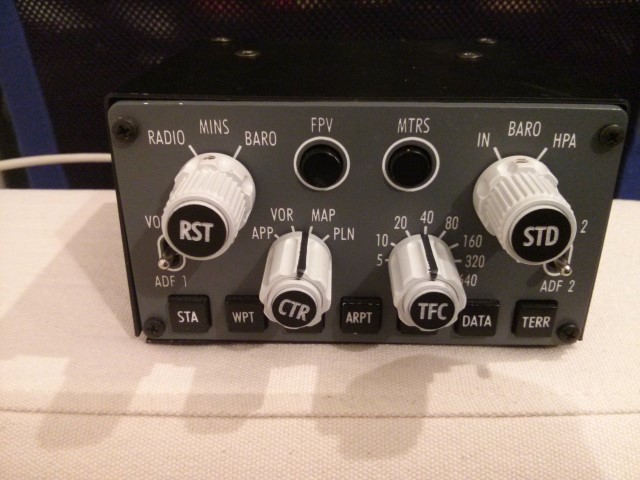
F/O EFIS

This is the first modification done in 2016. Back in 2015 I bought an used and modified EFIS to be built into the First Officer side.

Now I had the time to built it into the cockpit. Sounds simple, took nearly 2 hours… Because I had to modify the First Officer’s six pack section, this needed to be cut. But to cut it, it had to be unmounted and the wires needed to be soldered to a connector to allow unmounting from the glareshield.

This slideshow requires JavaScript.

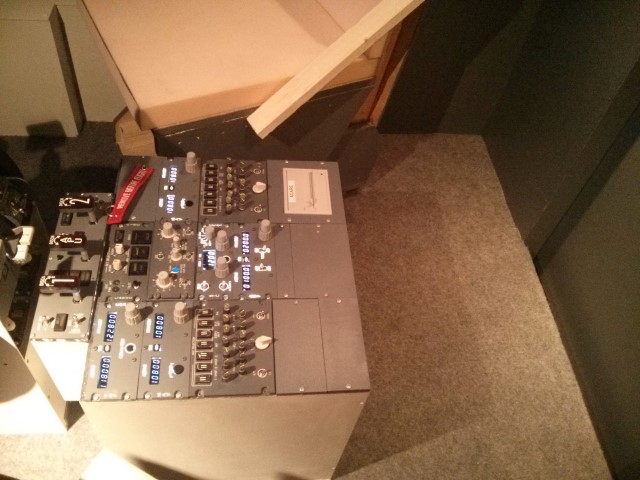
Background Lights for Overhead started

This weekend I started with the first 2 sections of the overhead. I think those were the easiest ones 🙂

This slideshow requires JavaScript.

As the modules can not be unmounted from the OC, because the cables connect direct from the switches and LEDs to the controller cards, the work must be done inside the flightdeck… quite a hard work to archive 🙁 But the result will look fantastic, I guess.

MCP and EFIS upgraded

Yesterday the MCP and the EFIS (both from Opencockpits) received a major upgrade.
New knobs were placed on them from Alvaro from Peru.

They look fantastic.

2015-11-01 19.43.17

2015-11-01 22.22.38

And finally the MCP got a real backlight. I took some 5m LED strip from ebay, they are cutable and placed one on the top and one on the bottom of the cover.

A little they are shining through, but this won’t disturb you in the Flightdeck. If it’s disturbing, I can also cover this with a black tape. But current I will leave it as is.

2015-11-01 22.37.18

Gate monitor

a nice addition to the flightdeck and the cockpit is the little magic programm PSU, called ProSim Utlis from Humberto in Portugal.

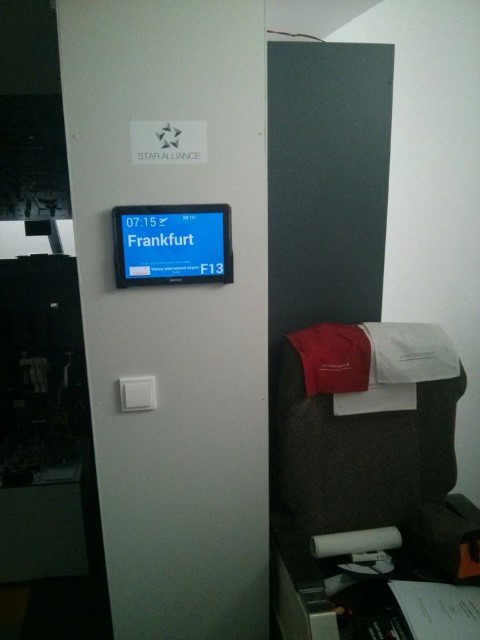
It is freeware and hooks into the ProSim:737 Suite. The latest feature is a very nice one, its called Gate monitor.

With this you can show like a real gate monitor the actual status of the flight. Here a small comparison:

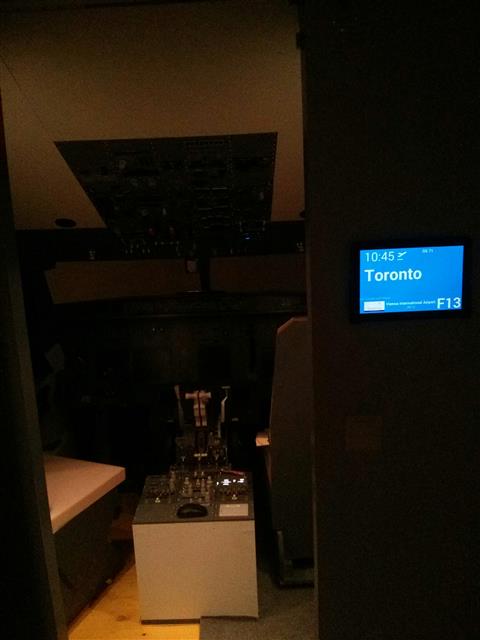
And the picture below shows the Tablet mounted besides the entrance to the flightdeck.

2015-09-27 20.12.16

Gatemonitor and decal

Painting the shell

During the last days we have started an finished painting the shell. Outside as well as inside.

This slideshow requires JavaScript.


After the base color the RAL9002 was applied inside the cockpit. After that the RAL7011.

2015-09-16 18.08.50
1st time paint with RAL9002 and RAL7011

After the 1st paint a second layer was applied.

2015-09-21 19.49.49
finished paint of the flighdeck

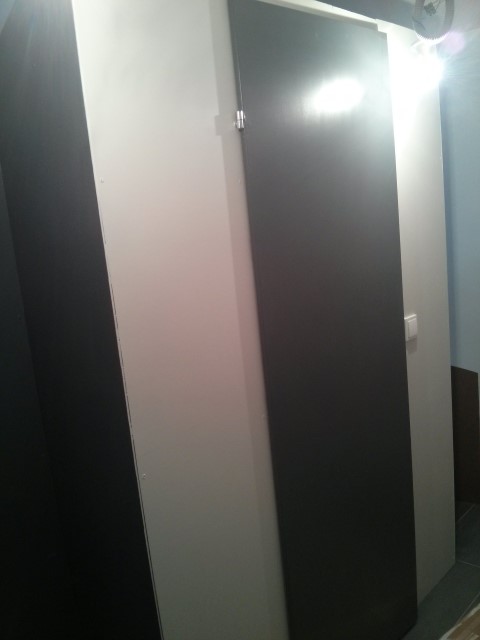
Outside of the cockpit the door was painted in RAL7011 and the walls left and right from the door in RAL9002 to have not a whole dark front in the room.

2015-09-21 18.44.22
Flightdeck door

The glareshield was painted in black and the plankings on the side in white.

This slideshow requires JavaScript.

Building a 737-800 Homecockpit [OE-LNJ]