ACARS printer panel

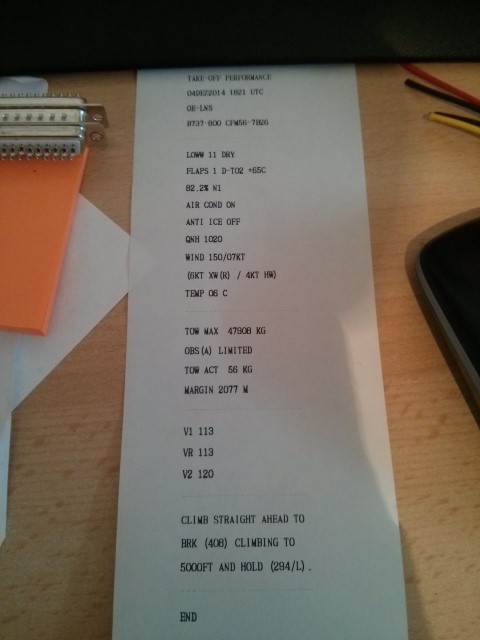
When I got my ACARS printer, back in 2011 I installed it in my homemade pedestal box without any panel.

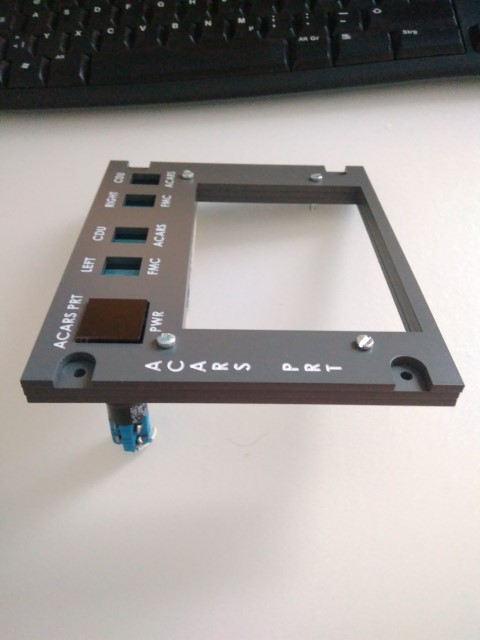
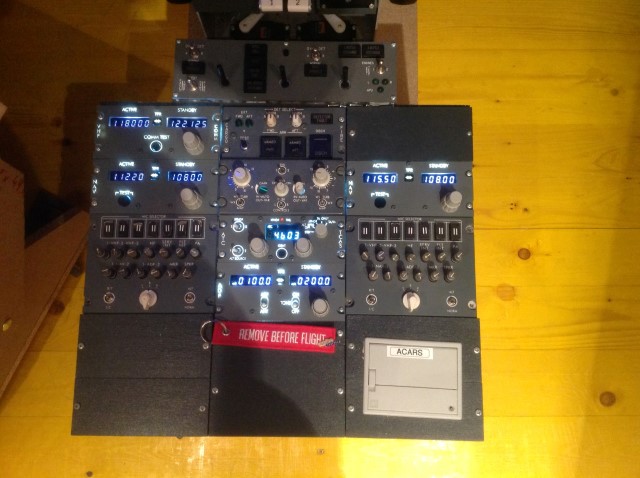
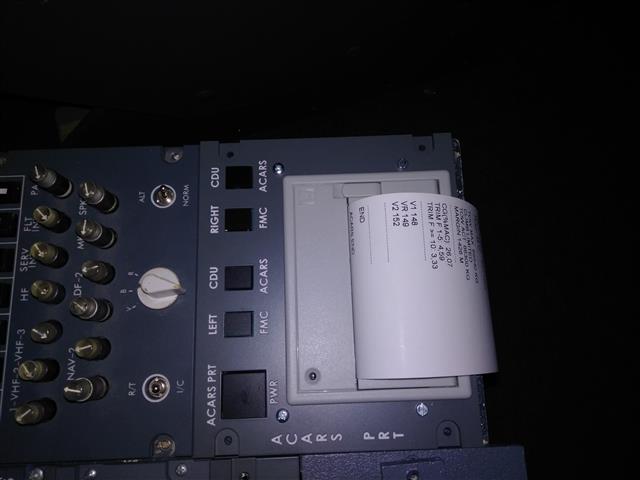
Now, years later I found that Hispapanels offers a nice panel for the printer. I measured my pedestal and found that it fits very well 🙂

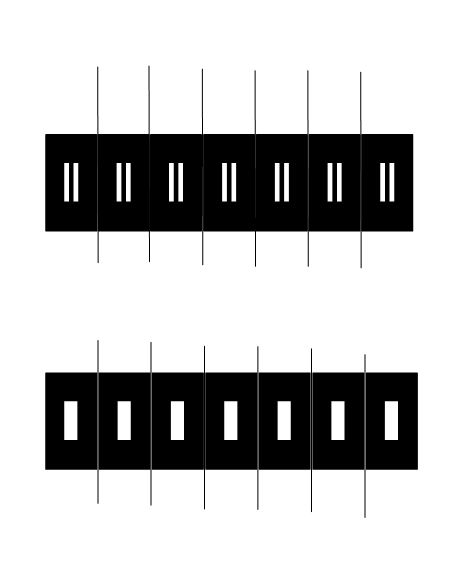
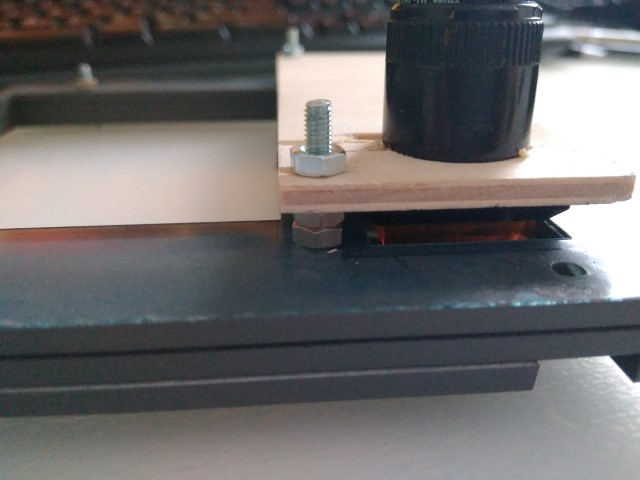
My plan is that I connect buttons beyond the dummy switch plates, that I can use it for future functions in the cockpit. Also the power switch should be wired and functional. For this I will have to built a construction below the panel that holds my buttons in place.

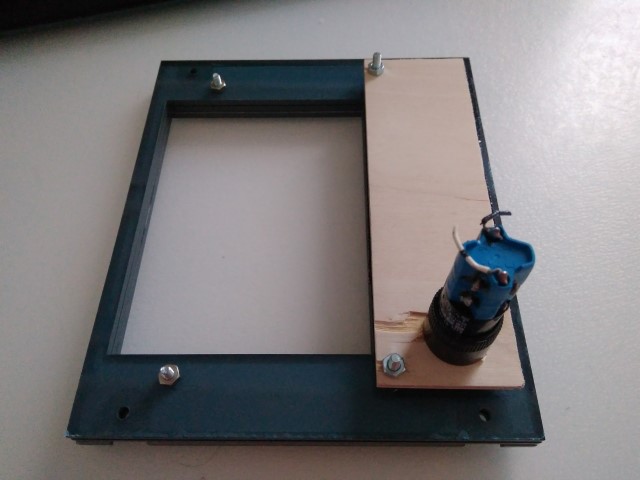
For now only the power button was built in and connected to cut the power to the printer. This is needed when the printer needs to be restarted, happens not very often, but sometimes.

Audio Selector Template

My old Audio Selector Panel, which I purchased second hand years ago, was lacking on the button decals. Those looked used and started to peel off.

Therefore I have now created new decals. In case you need it, you can download it here. Audio Selector Decals (1217 downloads ) .

I printed it on a sticker paper and cut them manually. So a nice and simple fresh look for the old fake buttons.

IMG_20160514_212946_copy

Preview below:

audio_decals

Cargo Fire Panel

Some years ago I have purchased a second hand cargo fire panel, but it was never connected until now.

I started working on a plan to connect it and once finished, the plan was executed. The one lowlight is that the Discharge button was glued into the panel, so I had no chance to use it. Therefore the function of this switch was moved to the aft. overhead, as I had there one free unused button.

SAM_4481

It turned out that I had to fully adopt the panel for my need. The 2 LEDs in the Pushbuttons were connected on their cathode and will light up when +5V are connected to the anode. But my Setup with the Opencockpits cards have the anode in common and the cathode the switched one, so the 2 buttons have to be reassembled to meet the requirement. One button worked fine with the second one the LEDs got destroyed. So I have to reinstall 2 new LEDs and connect them.

Also the 2 green lights were 12V light bulbs, which you cant see with 5V. Therefore those were changed to green LEDs.

SAM_4484


Fire handles – Part 1

Via the Prosim Forum I found a nice guy in Netherlands who is selling fire handle replicas for the Boeing 737. I bought one set.

Not a week later I had them delivered. They look nice and include also the 9 white LEDs.

2015-07-09 13.01.19

Before ordering we figured out a way to get them mounted on the Opencockpits panel.

The 3 LEDs will be wired in parallel to be connected to an OC LED Output card.

2015-07-13 22.27.11

Also the other LEDs on the Fire Panel will be rewired to reflect the ProSim logic.

Next part will be published when the firehandles are installed – this may take some time during the next weeks.

Radios with SIOC and ProSim

During the last days I have switched the SIOC Radio modules to the fabilous ProSim SIOC script from Gert.

You can download the config files and instructions from here.

With this script the Displays will go to blank when no battery power will be available.

I have made a small in simple additional configuration in ProSim:

Add the variable “Var 6415” which is “name adf1_stb” into the Prosim config tab “Analog – Radio freq input ADF2”.

As soon as I turn the knobs to change the frequency those exact turned frequency will be available to Prosim ADF2.

So I have with one physical ADF unit the possibility to simulate 2 ADF units.

IMG_0179

Also I made some additional improvement of realism. My original Boeing Audio Control panels are now working with ProSim natively as well, instead of tons of SIOC scripts. AND 🙂 the potentiometers in the switched Marker, NAV1, NAV2 and ADF1 are now connected to ProSim as well. Therefore I can now change volume of the audio from the corresponding sounds direct and smooth from my Audio Control Panel.


This slideshow requires JavaScript.

ProSim Utils and ACARS printer

Today I have managed to get my ACARS printer finally working. With the use of the great freeware tool called ProSimUtils from Humberto.

You can download it here, in the ProSim Forum.

The software itself is quite simple to configure. You need a login code from Hoppie, you can get it here.

In conjunction with Topcat you can make all the calculation from Topcat for Takeoff and landing within the CDU in your cockpit. And finally you can print the report on your ACARS printer.

It looks like this:

Acars_Print_Topcat - Copy

Make sure you have on your ProSim Server machine the printer installed (either connected or connected from a network share) as ProSim handles the printing from the server application.

Building a 737-800 Homecockpit [OE-LNJ]