Today I have created a short video from the lower DU.
Category: Cockpit sections
Frame changed from Lower DU
Today I have finished the lower display unit in my cockpit.
I changed the frame from 8mm wooden plates to 4mm, to look more realistic. Also the painting was done with RAL7011 color.
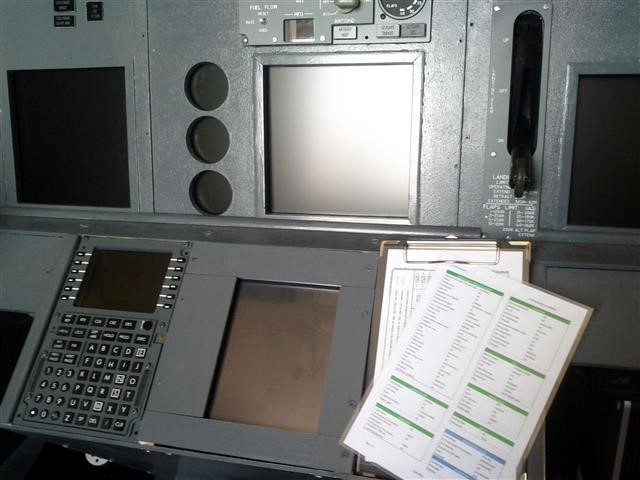
The next step is to create a digital checklist with the function from SimAvionics. Once this is finished I will create a short video to demonstrate this cool new feature in my homecockpit.
Also a multiway connector for the power is broken an need to be replaced during the upcoming week.
Lower DU – built in
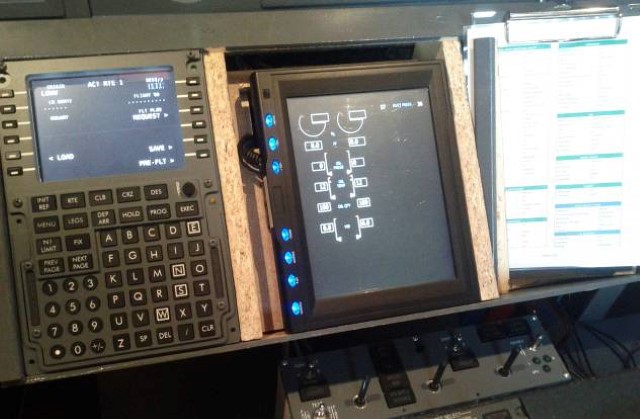
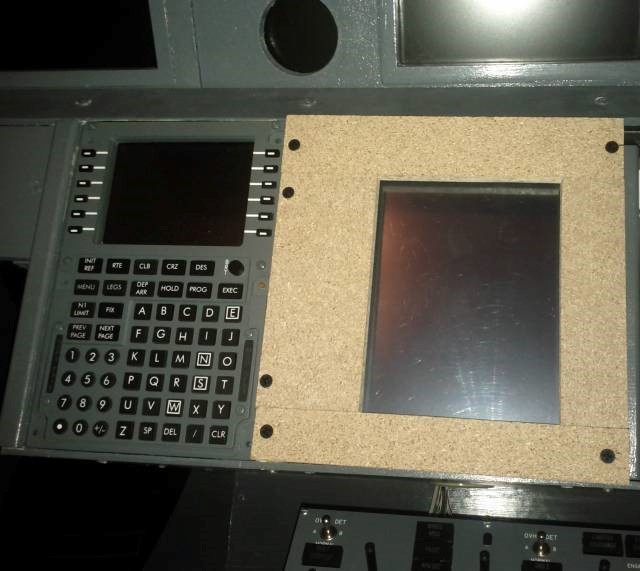
It has been a couple of days now, but we built the Lower DU Touchscreen monitor into the CDU Bay module.
Currently it is not painted in RAL7011, because it was raining the last days… I will paint it as soon as we have some better weather at home.
Lower DU monitor arrived
Today I have tested the the new 8″ touchscreen monitor who will be built into the MIP as Lower Display Unit to show some different displays from the MFD Unit via SimAvionics.
During the next weeks it will be built into the cockpit.
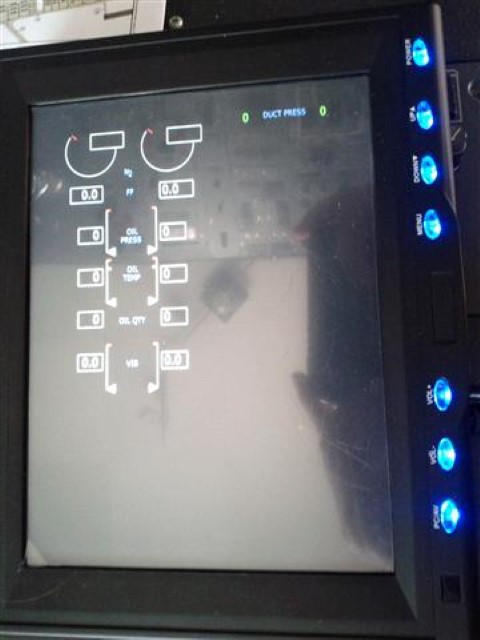
Here a photo from the monitor running the Engine status display.
Gear Leveler covering – 1st attempt
Today my wife and I made a minor improvement in the sim.
We have covered the Gear Leveler with some leather at the first attempt.
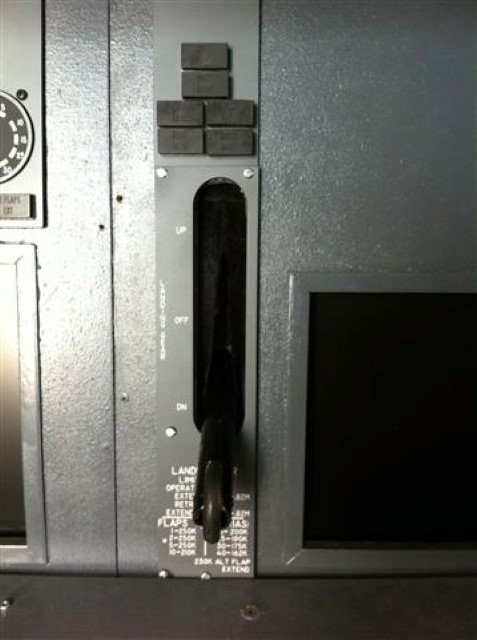
With the next attempt we will try another leather type which is more firm than this one and will be splitted in 2 parts to overlap each other.
minor updates
During the last days I have did some minor updates work.
– The newest release of SimAvionics was tested, because the 1.155 release had a new calculating function for the autopilot built it, what didn’t worked quite well with my setup as well as some other pilots. Mark improved this now and will release the reworked version soon.
– I have noticed also that my NAV1 module from Opencockpits “disappeared” sometimes – the 7 segments went off. So I have installed a powered USB HUB between the machine and the OC modules.
– On my EFIS the “STA” Button was not workin anymore. I had to disassemble the the EFIS and repair it
– Registration decals on the captains side were mounted
No other improvements were made, but a lot of flying 🙂
FO registration decal
Today I have mounted the registration decal on the first officer side.
Now I can change the decals as they are made of magnetic covers.
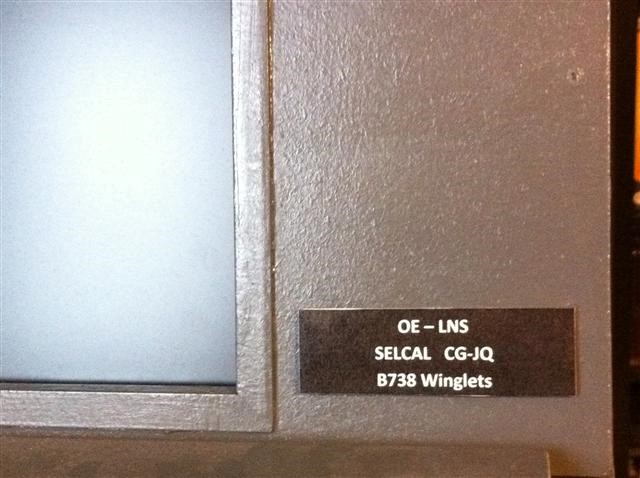

The small metal blade was mounted with hot glue on the MIP.
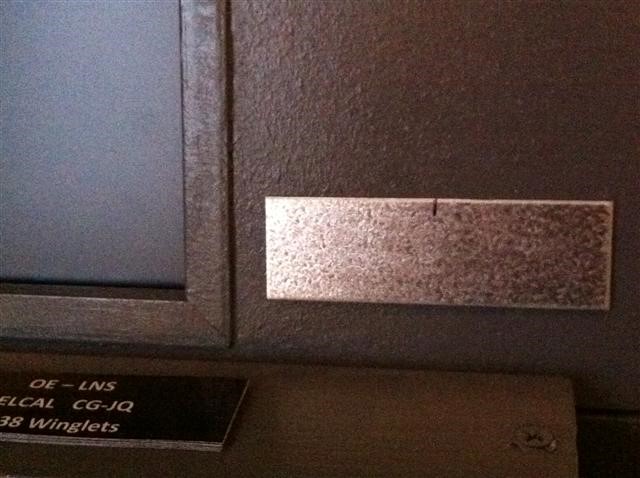
Captain side will follow soon.
MIP Decals – Registration
I have laminated a paper with a special magnetic cover to get my changeable registration decals for my cockpit.
Those small plates (one for left, one for the right side) will be mounted in the next days onto the MIP.
The registration can than easily be changed according the model loaded into FS2004.
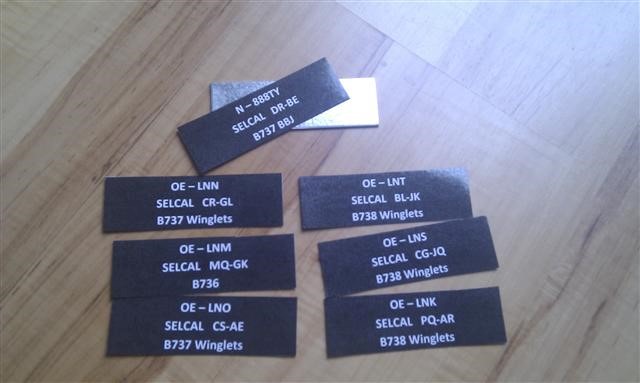
I have noticed later that some are not 100% correct. Instead of “B737 Winglets” there should be “B73G Winglets” or just for short “B73W” according the IATA. I will change this later.
Audio Panel rewired
Today I have finished rewiring the Audio Panel (both sides).
You can now control PA, Speaker, Marker, ADF1 and NAV1 also from the 1st officer side.
With implementing the programming from the last post I have now also created a video that shows the function working well with Squawkbox.
httpv://www.youtube.com/watch?v=7fiqchDdSG0
Speaker Switch working
Today I got the speaker switching working. So it is possible that I can switch the ATC audio from my headset to the speakers in the cockpit and back to only headset operation. This will be done during flights with some friends and longer cruises so that the headset does not need to be on the head during the whole flight.
Continue to the full post to see the coding. A video will follow in the next days – first I have to rewire the Audio panel and change a dummy switch to a real one.
![Building a 737-800 Homecockpit [OE-LNJ]](https://737cockpit.info/wp-content/files/2018/06/cropped-IMG_20180602_215624-4.jpg)