For my birthday I found an Opencockpits NAV module in a forum to be sold. So I grabbed it.
It perfectly fits into my pedestal. Now I have also a NAV 2 available, enabling me to start with dual channel approaches with hardware only 🙂
Building a 737-800 Homecockpit [OE-LNJ]
using ProSim737
For my birthday I found an Opencockpits NAV module in a forum to be sold. So I grabbed it.
It perfectly fits into my pedestal. Now I have also a NAV 2 available, enabling me to start with dual channel approaches with hardware only 🙂
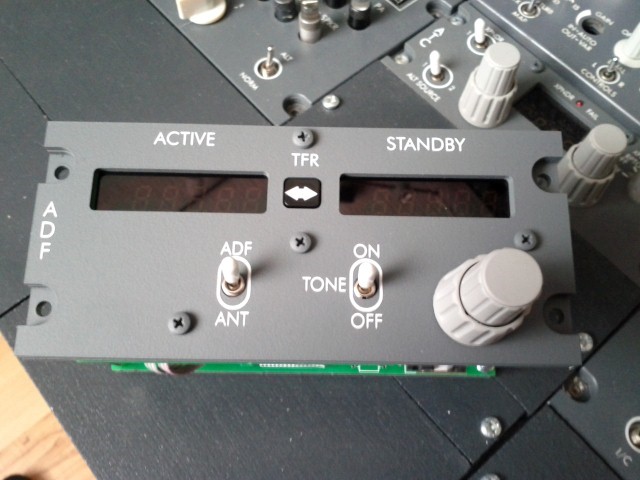
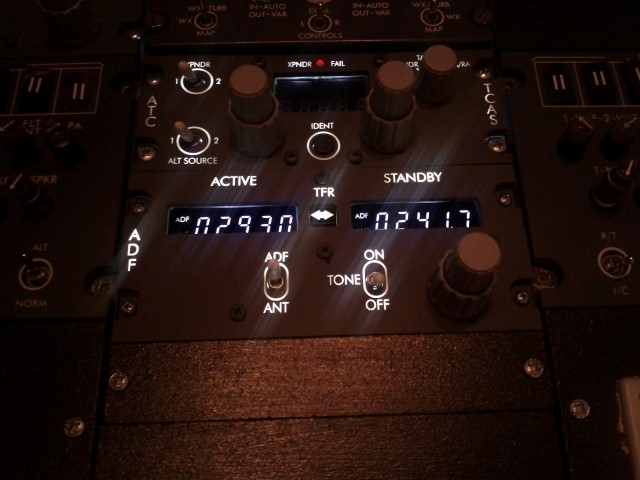
Today I have received my ADF module from Opencockpits.

I already built it into the pedestal and connected to the machine.

All is working fine 🙂
Today I have created the promised video with a Demo printing page from my working ACARS printer.
Enjoy 🙂
httpv://www.youtube.com/watch?v=13JaDlo9AVw
Updated the arcticle on 6.12.2011.
Yesterday I have picked up my newest addition from the Fedex Base on the airport.
My ACARS printer has arrivied 🙂

I started connecting the printer to my PFD machine as well as the power to my ATX power supply (5v).
I have installed the printer drivers to the Windows 7 32 bit machine and started a testprint (video will follow). And it worked. Some letters are hard to read, but thats because the 5V is maybe too low. Another cockpitbuilder connected the same device to 7V and the printing experience was better, so I will try this during the next days.
You need to connect only the +12V and +5V to the printer and therefore you will operate the printer with +7V. – as you can find it here. <– That won’t work for the USB printer version. You will need a seperate Power Supply which is capable of 7.5 – 8.5V and 15W. All other won’t work correct.
After I have bought and connected a sperate power supply the test printing was very fine 🙂

Than I ran into a new issue. I knew that there are only 32bit drivers available, but my main FS machine is operating a 64bit OS from Windows 7. I tried to connect via network share to the 32bit machine, but it won’t work, because I need the missing 64bit drivers.
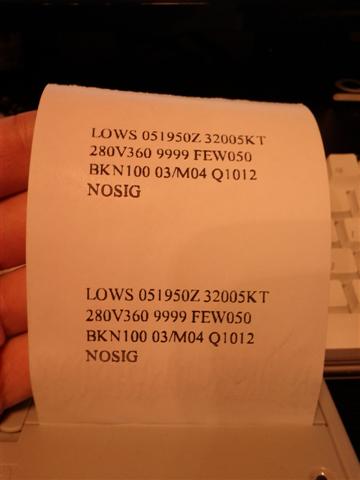
So I started a research and found that the newest version from pdfcreator is capable of running a server mode, which means the 64bit machine will print to a PDF printer share from pdfcreator. The program will generate a local .pdf file and reprints this again to the local installed thermal printer. I haven’t tried this right now, but it should work, in theory 😉 <– it’s working. You will see a photo pf metar for LOWS printed from Win64bit machine.

Detailed instructions on getting the printer working you will be able to find it here.
Read the full article for a detailed configuration of PDFCreator.
The next in the line is to install a printer into the pedestal panel where ACARS / ATIS messages can be printed. Current I am waiting for the delivery of the printer.
It looks like this – so it can easily be built into the pedestal.

More details to follow as soon as I have the printer and start testing.
During the last days I have did some minor updates work.
– The newest release of SimAvionics was tested, because the 1.155 release had a new calculating function for the autopilot built it, what didn’t worked quite well with my setup as well as some other pilots. Mark improved this now and will release the reworked version soon.
– I have noticed also that my NAV1 module from Opencockpits “disappeared” sometimes – the 7 segments went off. So I have installed a powered USB HUB between the machine and the OC modules.
– On my EFIS the “STA” Button was not workin anymore. I had to disassemble the the EFIS and repair it
– Registration decals on the captains side were mounted
No other improvements were made, but a lot of flying 🙂
Today I have finished rewiring the Audio Panel (both sides).
You can now control PA, Speaker, Marker, ADF1 and NAV1 also from the 1st officer side.
With implementing the programming from the last post I have now also created a video that shows the function working well with Squawkbox.
httpv://www.youtube.com/watch?v=7fiqchDdSG0
Today I got the speaker switching working. So it is possible that I can switch the ATC audio from my headset to the speakers in the cockpit and back to only headset operation. This will be done during flights with some friends and longer cruises so that the headset does not need to be on the head during the whole flight.
Continue to the full post to see the coding. A video will follow in the next days – first I have to rewire the Audio panel and change a dummy switch to a real one.
Today I have programmed the wired marker sound switch in my Audio Panel.
In the video you will see an Approach to ILS 11 in Vienna.
httpv://www.youtube.com/watch?v=oiuyiqHNvxg
In the full post you will find the used SIOC code, just in case you are interested in.
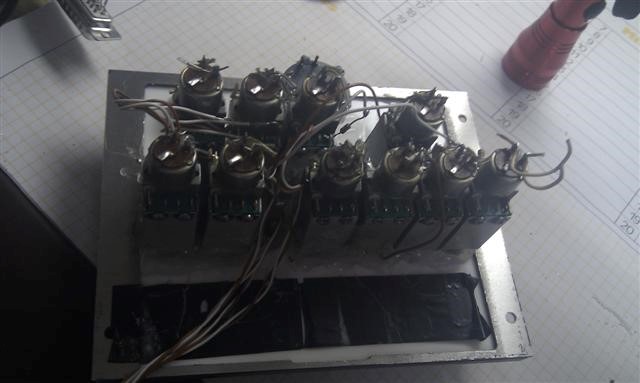
Yesterday I have wired the Audio Panel.

The following switches will be used in my Sim at the beginning.
NAV Sound, ADF Sound and Marker Sound.

Next step is programming with SIOC the functions for the Audio Sounds.