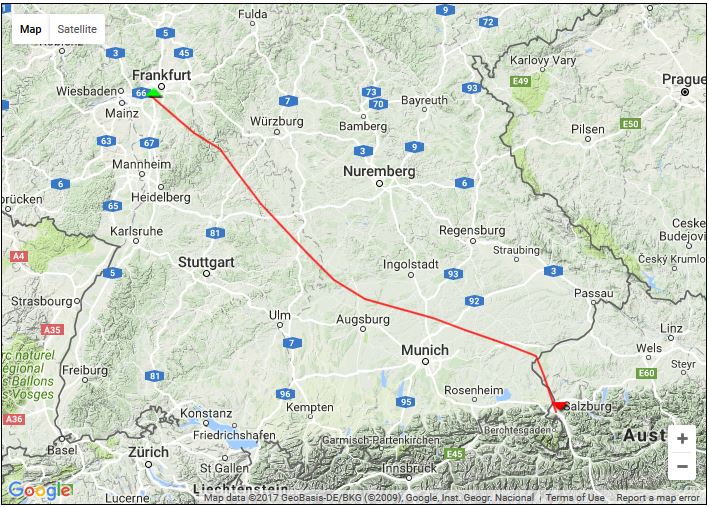
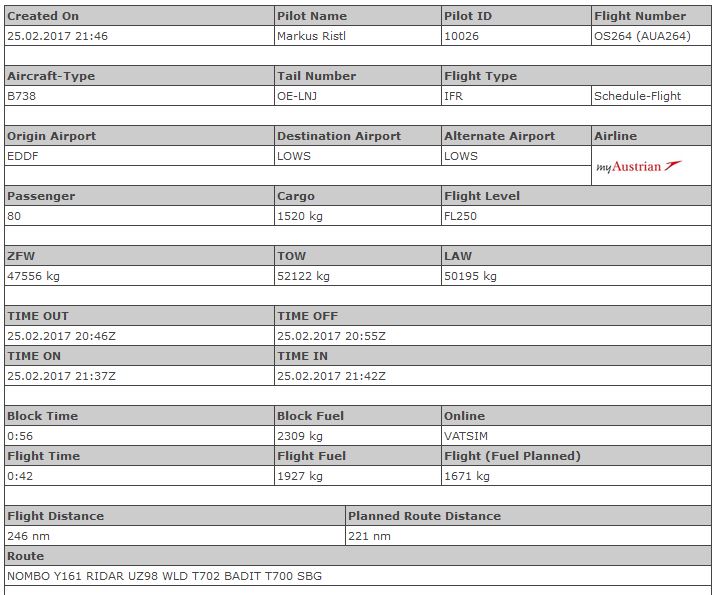
DME ARC approach Runway27 at Mumbai

I received a request from an Instagram follower to execute the DME ARC approach at the Mumbai airport for runway 27.

You can see my video below. First I will cover the charts as theoretic part. Than you can enjoy the approach from the “virtual jumpseat” in my flightdeck.

short disclaimer: I am not an airliner pilot, so it may not be 100% correct executed or explained.

Status Update Video 05/2017

I have another status update as a video prepared for you.

In this video you will see the following updates:

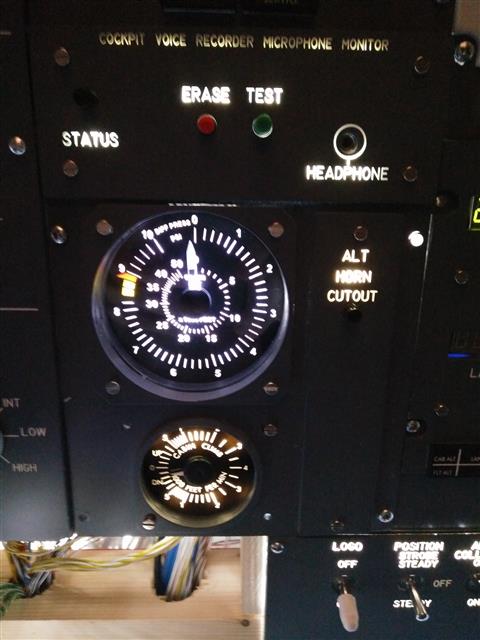
Diff Pressure Gauge built in
Background lighting on some Overhead modules finished
Glare Light Panel (Captain and FO)
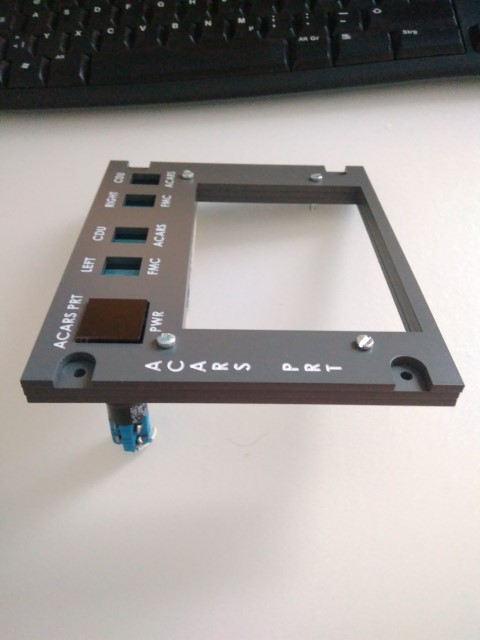
ACARS printer panel
SELCAL panel (WIP – work in progress)

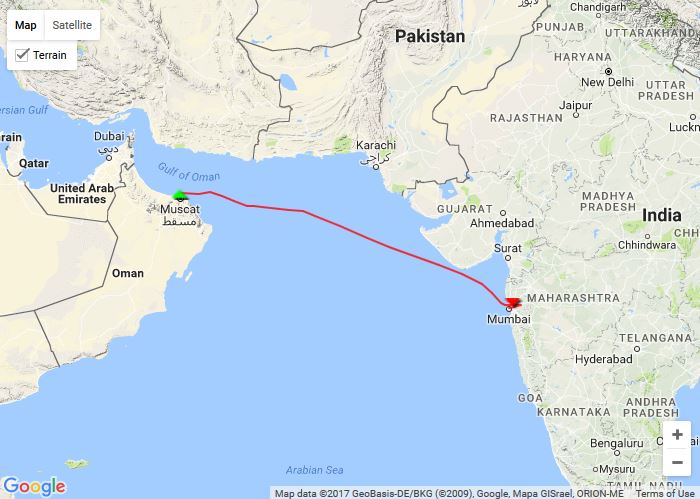
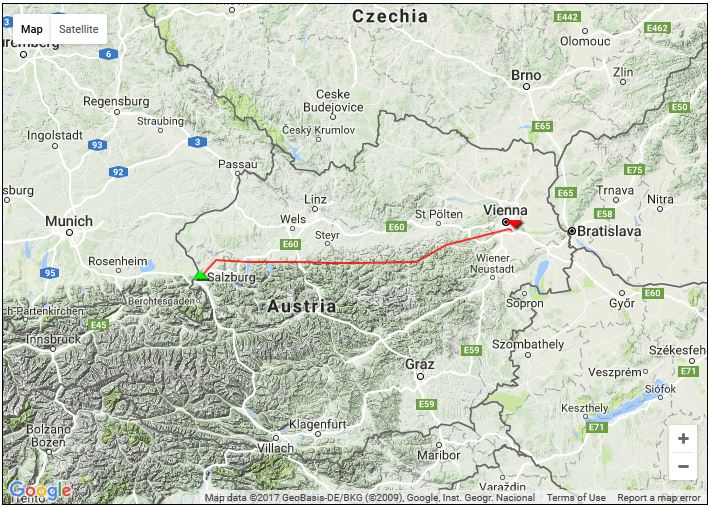
It was filmed during an online flight from Muscat to Mumbai.

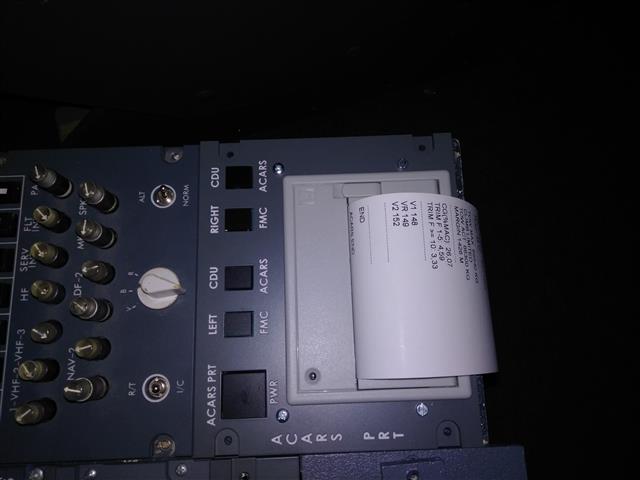
ACARS printer panel

When I got my ACARS printer, back in 2011 I installed it in my homemade pedestal box without any panel.

Now, years later I found that Hispapanels offers a nice panel for the printer. I measured my pedestal and found that it fits very well 🙂

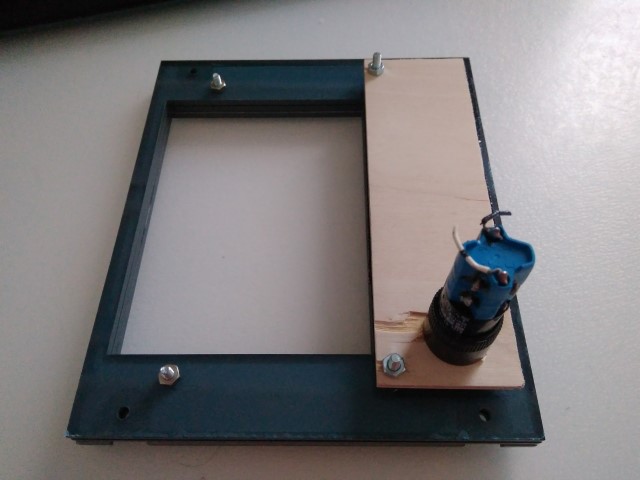
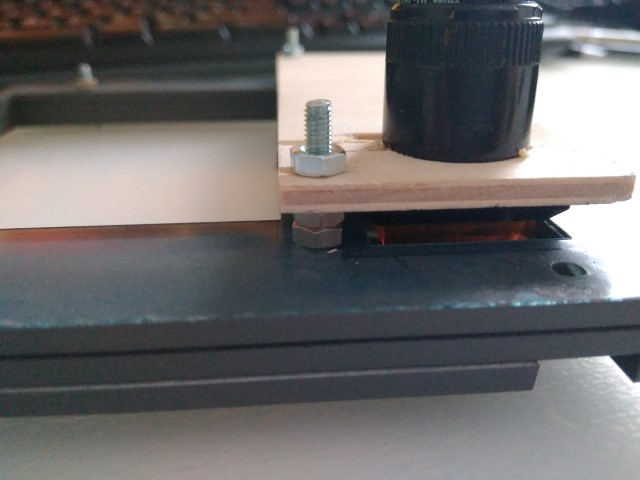
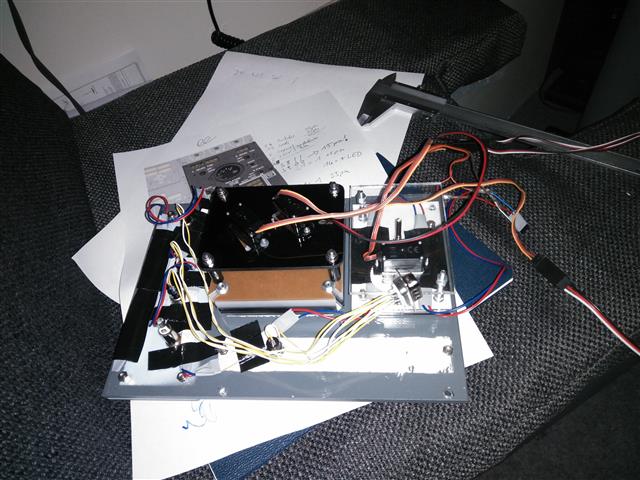
My plan is that I connect buttons beyond the dummy switch plates, that I can use it for future functions in the cockpit. Also the power switch should be wired and functional. For this I will have to built a construction below the panel that holds my buttons in place.

For now only the power button was built in and connected to cut the power to the printer. This is needed when the printer needs to be restarted, happens not very often, but sometimes.

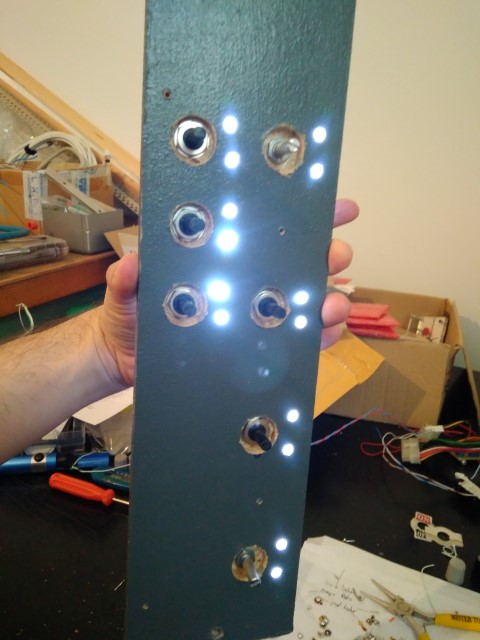
Captains / First Officer Glare Lightning Panel

A long missed part was now built in. The captains and the first officer glare lightning panel. With this you have the option to Dim the PFD, ND, EICAS instruments. They are connected to the Pokeys57E card and are fully functional within Prosim.

The panels are also backlit, but not with LED strips – On this ones I used normal round 5mm LEDs. Drilled a 5mm hole and mounted them from the back to make a spot light on the corresponding engraved text. To fix them I glued it on the back.

This slideshow requires JavaScript.

Also 2 rotary switches are built into the captains side, with them its possible to select the manual values for N1, etc in the MIP panel.

This slideshow requires JavaScript.

The configuration is done via Prosim for the encoders:


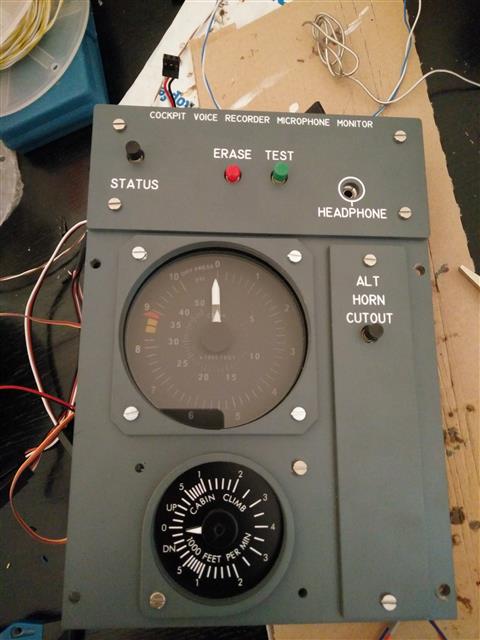
Pressurization Gauge and Backlight for the panel

During the last days of March I also modified the module with the pressurization gauge. Until now I didn’t had a working pressurization gauge (dual needle), I found the one from Tom on customsimparts.com. Like the Flap gauge, a very good quality and price. This one was made as a customization, as the default size would not fit into the Opencockpits Overhead panel.

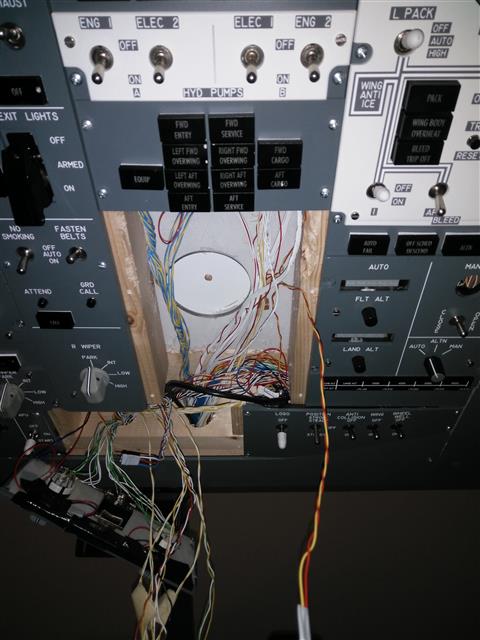
Again, I took the chance and installed a 9 pin connector for the module to be easily unplugged and removed. The 3 Servos as well as the 12V for the background light were connected to separate connectors.

To have it fit into my handmade overhead structure, I had to cut a hole into the acryl glass.

It looks really good now.

First time I also created a video to see how much work it is to get a very simple panel backlit. I made 2 versions, the original 1:1 length and a 3 minutes time-lapse version.


Building a 737-800 Homecockpit [OE-LNJ]