Gate monitor

a nice addition to the flightdeck and the cockpit is the little magic programm PSU, called ProSim Utlis from Humberto in Portugal.

It is freeware and hooks into the ProSim:737 Suite. The latest feature is a very nice one, its called Gate monitor.

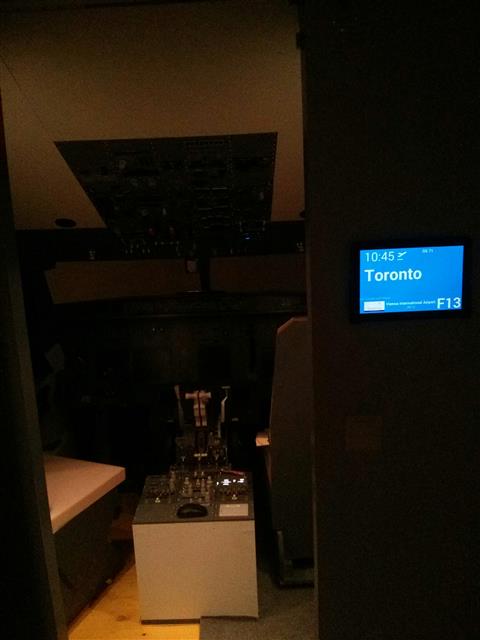
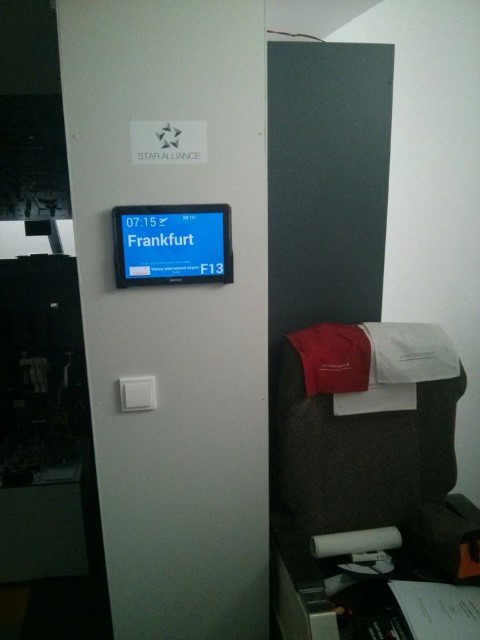
With this you can show like a real gate monitor the actual status of the flight. Here a small comparison:

And the picture below shows the Tablet mounted besides the entrance to the flightdeck.

2015-09-27 20.12.16

Gatemonitor and decal

Hand-microphone connection reworked

My Hand-microphone has gone under maintenance. The testing with the current setup was fine, on ground, no engines running. But ones you are flying and talking to the ATC via the headset, he will hear the loud background noise from the cockpit as well. That’s disturbing for the ATC and must be corrected.

So I decided to to integrate a relay into the microphone line. I mad a short drawing how this *should* work.
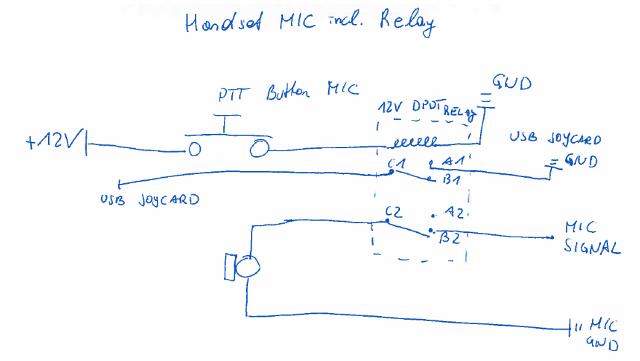
PTT-Mic (Custom)

With this wiring I ensure that only when the PTT button is pushed the microphone recognizes voice and sends it to the the OS. To have also the PTT function with vpilot available, I decided to use a DPDT relay to have 2 exits available. The second one is connected to my USB Joystick card which is again connected via FSUIPC to the vpilot client and configured via FSUIPC to send the PTT key from the Flightsimulator to the vpilot PC.

After some wiring a first test was positive.
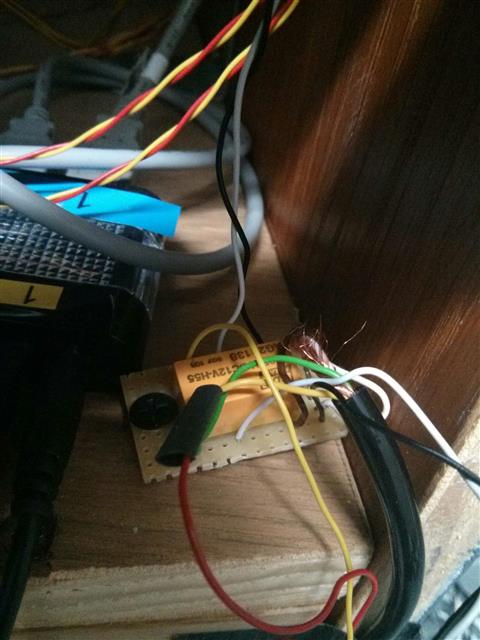
2015-07-18 17.03.28 (Custom)

It was only tested in Windows direct, no vpilot, etc. Those will follow soon.

New Hardware

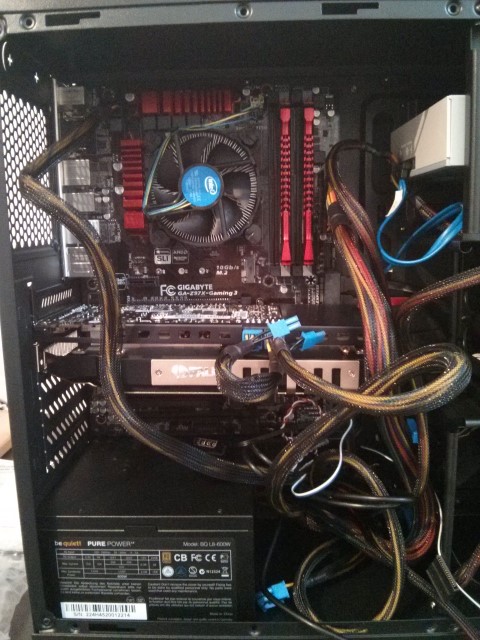
As my current hardware for the Flightsimulator PC is rather “old”, I have bought it in 2007 and upgraded the graphic card in 2009, I bought a new one.

Its a current state of the art PC with the following hardware specs:


  • Intel i5-4690K
  • 16GB HyperX Savage RAM
  • Nvidia GTX970 Palit Jetstream 4GB
  • Gigabyte Z97X-Gaming 3 Motherboard
  • 2x 512GB SSD

new-PC

all in all I have now 12 USB connectors on the PC (8 on the back and 4 in the front)

USB


Current I am in setting up FSX with all my sceneries and the PROSIM Configuration (joystick mapping, FSUIPC settings, etc.)

I am also not satisfied with the performance of FSX with the current configuration. I am tweaking and searching for the moment.

Later a move to P3D is also planned.


Seat update

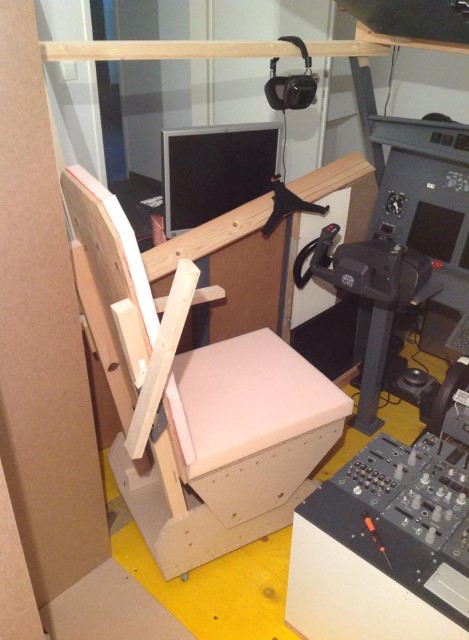
I can show you a short update from my seat, which I built as a prototype.

The arm rests can be raised and lowered. The seat height can only be changed when the bolts are removed.

The seat is not mounted on j-rails, so it can be moved with the rolls in all directions.

Still missing is the fabric cover. I am searching for a nice cover that meets the grey color.

seat (Custom)

Servo card changed

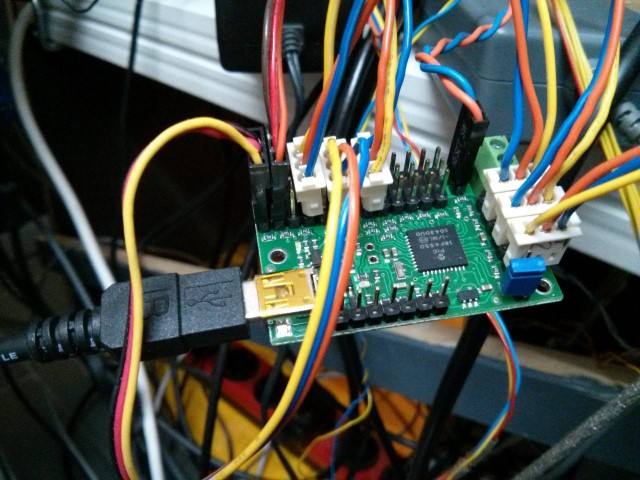
During the last week I have changed my Opencockpits Servo card to an Pololu Servo card, because I needed more than 6 servo outputs.

So I grabbed a 18 servo output card from Pololu.

Pololu Servo Card

Also the card is natively supported by Prosim, therefore no SIOC is need anymore.

The card was connected and worked as described. All Servo assignments needed to be redone in Prosim and a short testflight was successfull.

I can fully recommend the card to anyone who is looking for a servo interface.

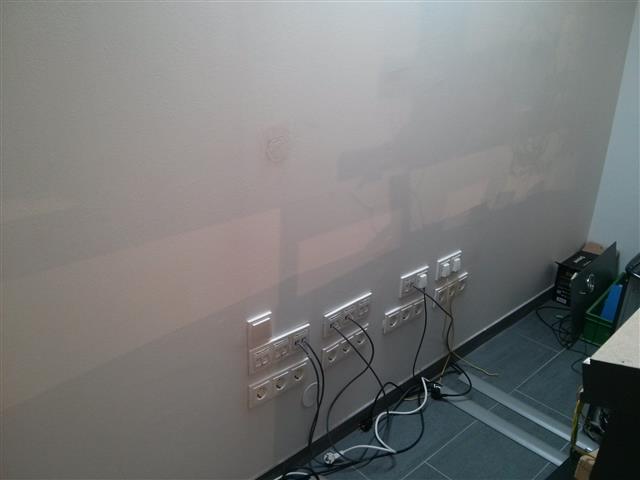
Light switch need to relocate…

During the building of the room and the wall between we have installed also a light switch and a light to have an additional lightsource when you work in the back of the cockpit.

Everyone who was working never came into their mind that the switch is direct in the projector area. Therefore it was required to move the switch out of the projections area.

This was accomplished yesterday. Below you can see an image after the move. In a couple of days it will get painted so you won’t see the plug anymore.

2014-12-08 17.36.43

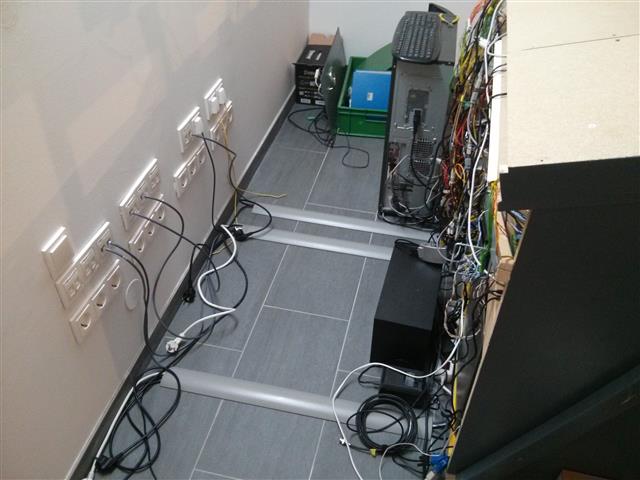
As well today I have installed a floor cable management.

2014-12-08 17.36.50

So it is easier to walk behind the cockpit for some maintenance and cleaning 😉

Network cables

The next step is done. All the required network cables are now located were they will be needed later.
In the same room as the cockpit, also the network switches for the whole house will be located in a small 19″ wall mounted rack.
During the next weekend we will finish up all cables for power and light. Hopefully the floor can be build than fast to continue with the rest.
Once the room is finished a wall will be created so that all the power and network outlets can be mounted into it.

20140112-073434.jpg

Building a 737-800 Homecockpit [OE-LNJ]