Yesterday we have finished building all the 3 monitors into the MIP.
On the Left hand side a 19″ Monitor for PFD, EICAS is done with a 15″ and the F/O PFD is a 17″ one.
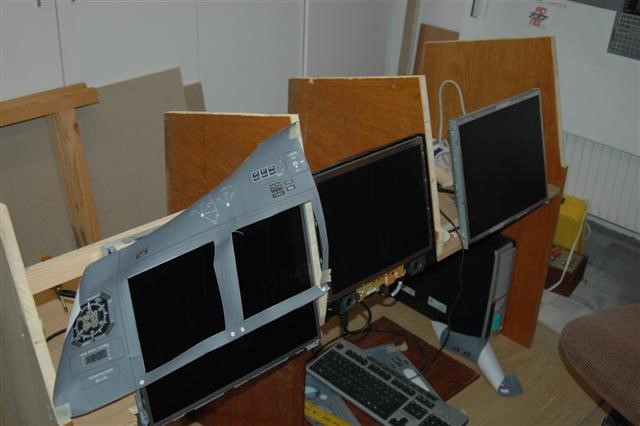
The front plate of the EICAS is also ready 🙂
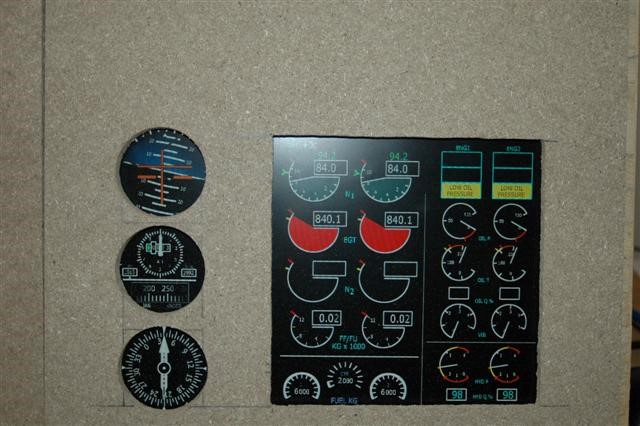
using ProSim737
Yesterday we have finished building all the 3 monitors into the MIP.
On the Left hand side a 19″ Monitor for PFD, EICAS is done with a 15″ and the F/O PFD is a 17″ one.

The front plate of the EICAS is also ready 🙂

Today we have built in the first 19″ Monitor.
See the result:
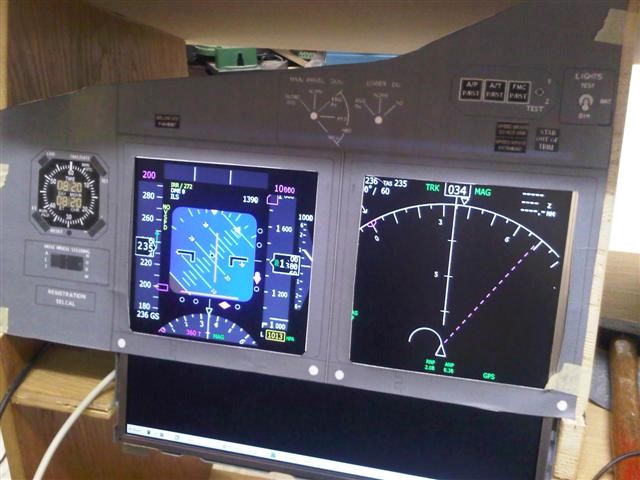
Tomorrow the EICAS Monitor will follow.
I can show you a picture of our MIP progress.
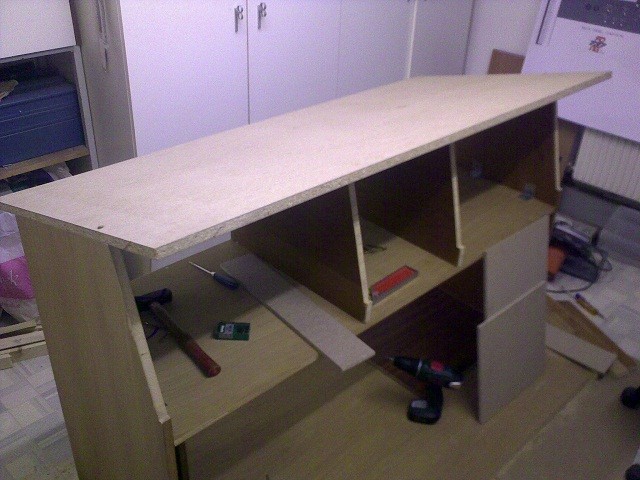
More pictures from the construction can be found in the Gallery.
Today I want to give you an overview about my Computersetup used in the Cockpit.
Click on read more to see all the details
During the last days I have programmed all my overhead to get working with the SimAvionics Software Suite.
Finally I have bought it as all is working as expected. I will post my config files in the download section during the next days.

Hello all,
During the last days I have decided to expand my project. I have found many articles from other cockpit builders who have built a MIP (Main Instrument Panel) based on wood. It will be a many handwork to do but cheaper than buy one and much more interesting :).
During the next weeks I will have to look around what material it should be and make some drawings.
The last weeks I was playing around to get the USB LCD Card working. After 2 diaplays and a l ot of wiring and re-wiring suddenly it worked. I don’t know until know where the issue was..
The LCD shows the electric panel of the Boeing 737-800. The display will be build into the overhead during the next weeks.
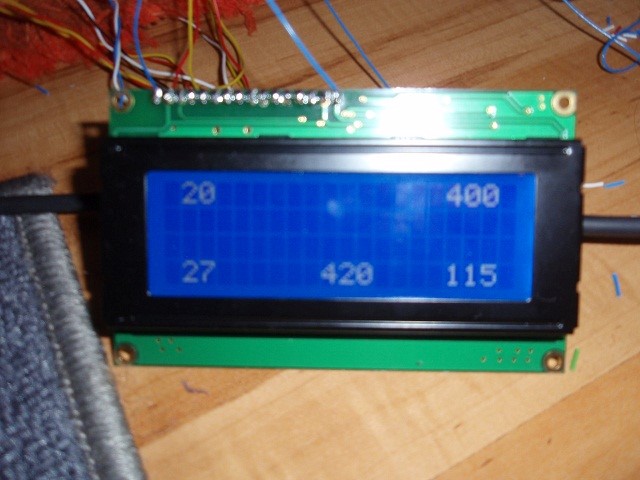
I also triggered a Welcome mesage on the LCD, when the Battery switch in in off position

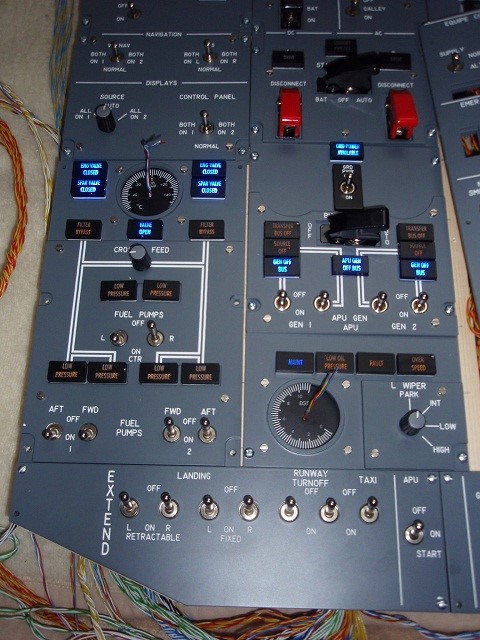
Here is a photo will all wired indicators and all are turned for a light test to on.
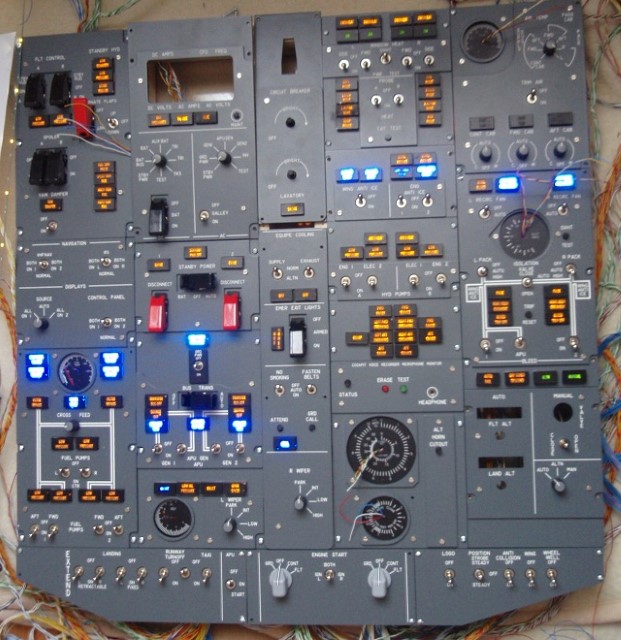
Only the 3 Joystick cards are missing, than i can wire also all switches 🙂
The LED Display is already in work.
Sorry for the blurry picture. Next time i will use a stand to put the camera on.
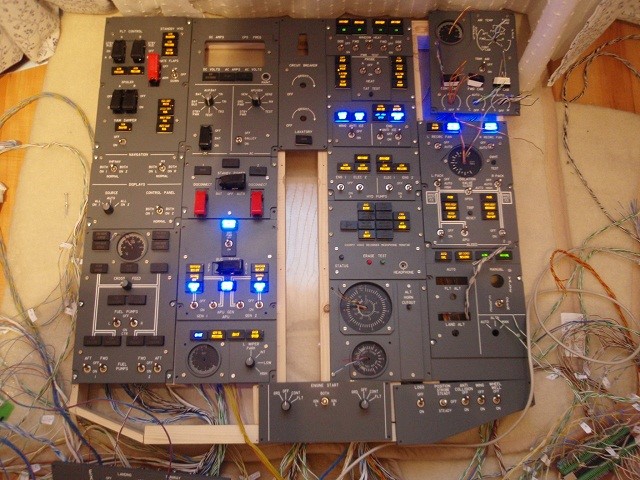
Today I can show you a photo of the Overhead complete wiring.
All sections are now wired and built onto the support structure.
To get all working I additionally need one LCDOutput card prom Opencockpits, one LCDUSBCard to get the LCD working as well as 3 additional joystick cards to get all switches up and running.
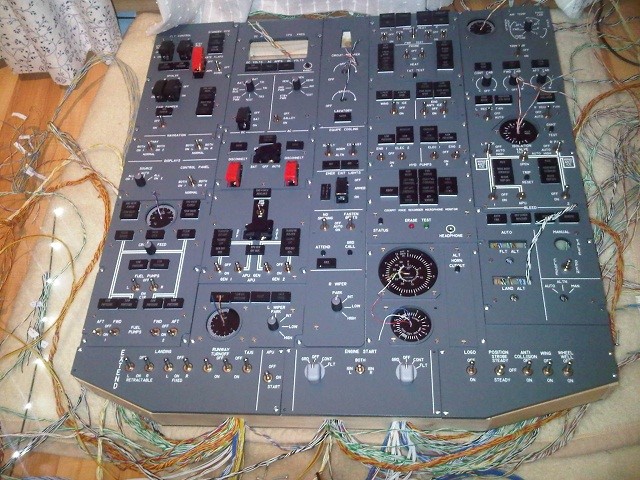
I can share 2 new pictures this weekend. Nearly all switches and indicators are wired. 5 are missing, but they will be done during next week.
I also configured the complete overhead with the Prosim737 Software. At this time I only have 1 USBOutput Card from Opencockpits so I had to disconnect some indicators, but this will change in the near future.
I also connected one servo to display the APU Start, its working great.
The next steps will be to get an LCD Display working to show up all the voltages and amps.
Here a detailed shot on the Fuel and Generator section with all inicators during a light test.
And the complete overhead.
