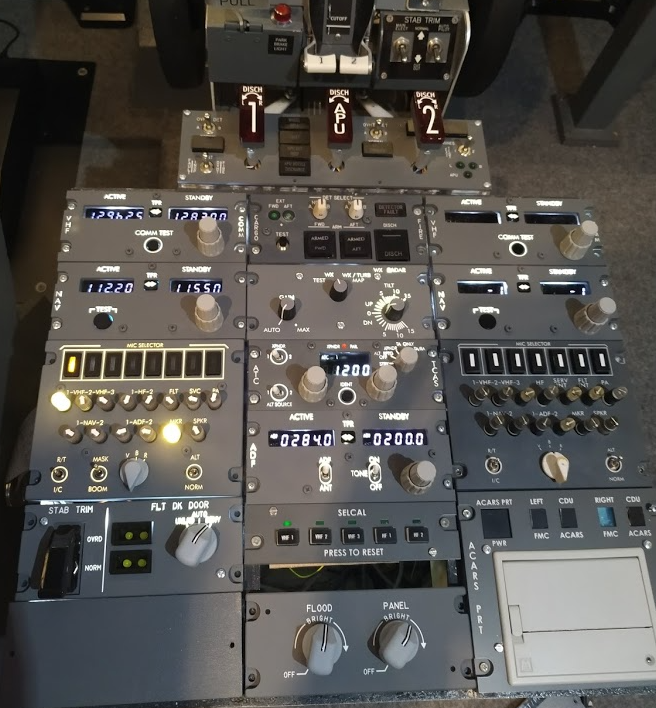
For my birthday I decided a long overdue implementation to add the ACP. With this its now possible to switch the sending COM from 1&2 to make the communication easier and more accurate.
Building a 737-800 Homecockpit [OE-LNJ]
using ProSim737
For my birthday I decided a long overdue implementation to add the ACP. With this its now possible to switch the sending COM from 1&2 to make the communication easier and more accurate.
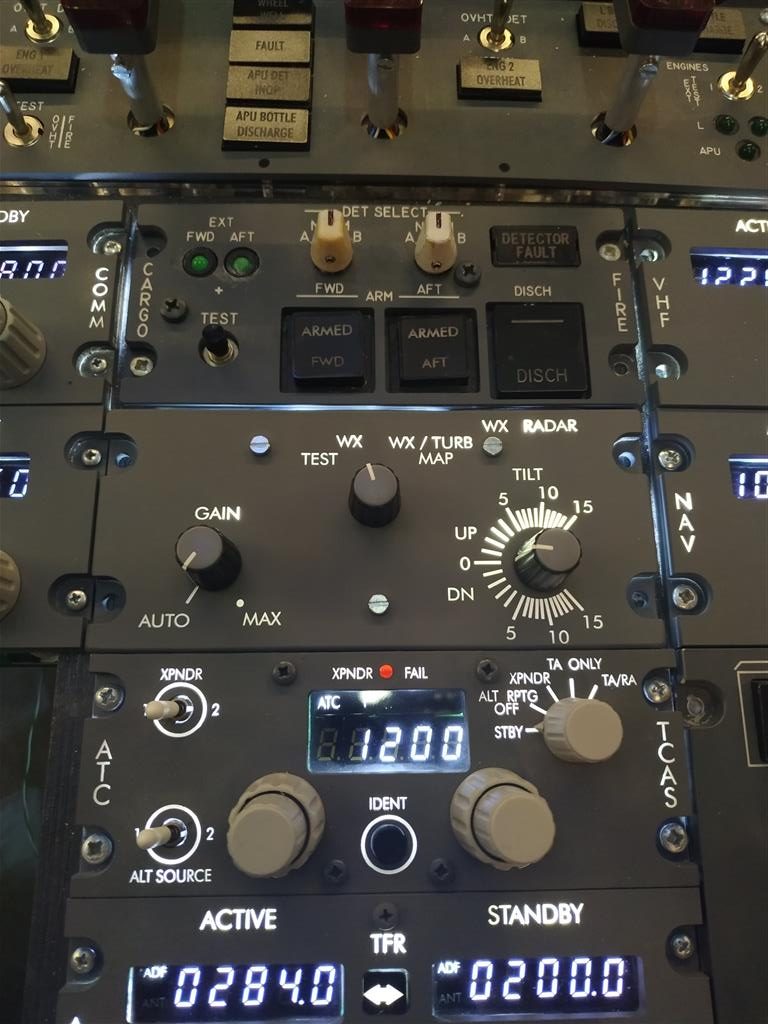
During the last purchase with Opencockpits I also decided to replace my weather radar panel to match the pedestal look with the other opencockpits panels. Of course back-lighting was also installed.
I am still searching for some knobs – if you have a hint, please contact me.
https://youtu.be/ZSHD8AsMPVc
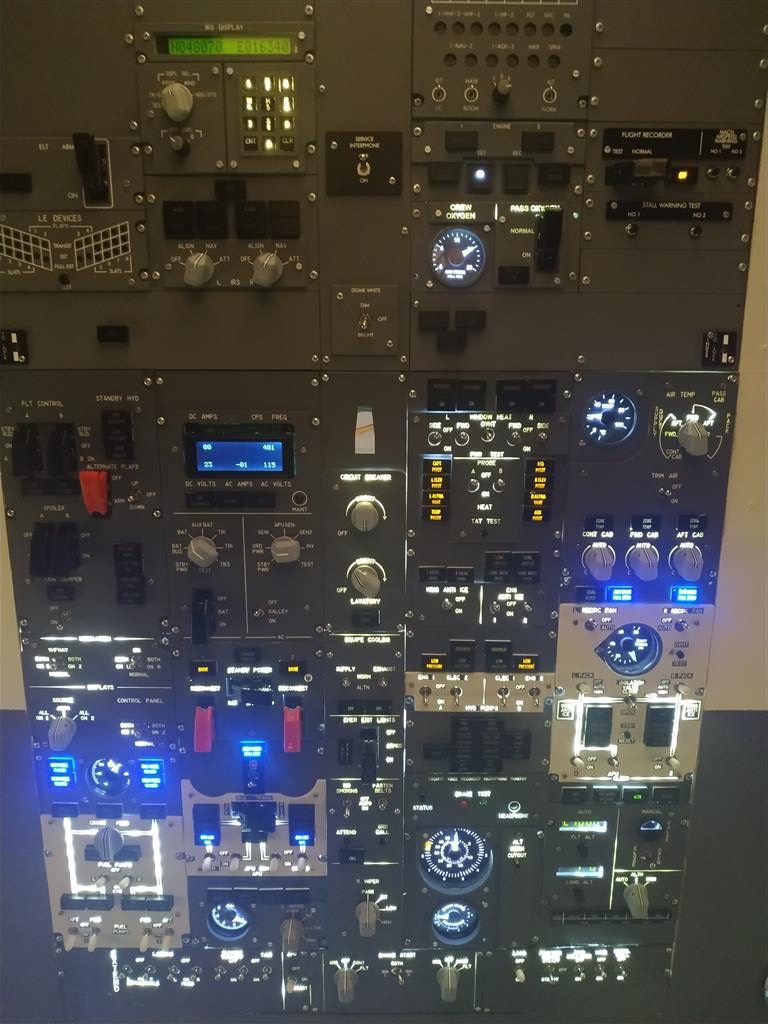
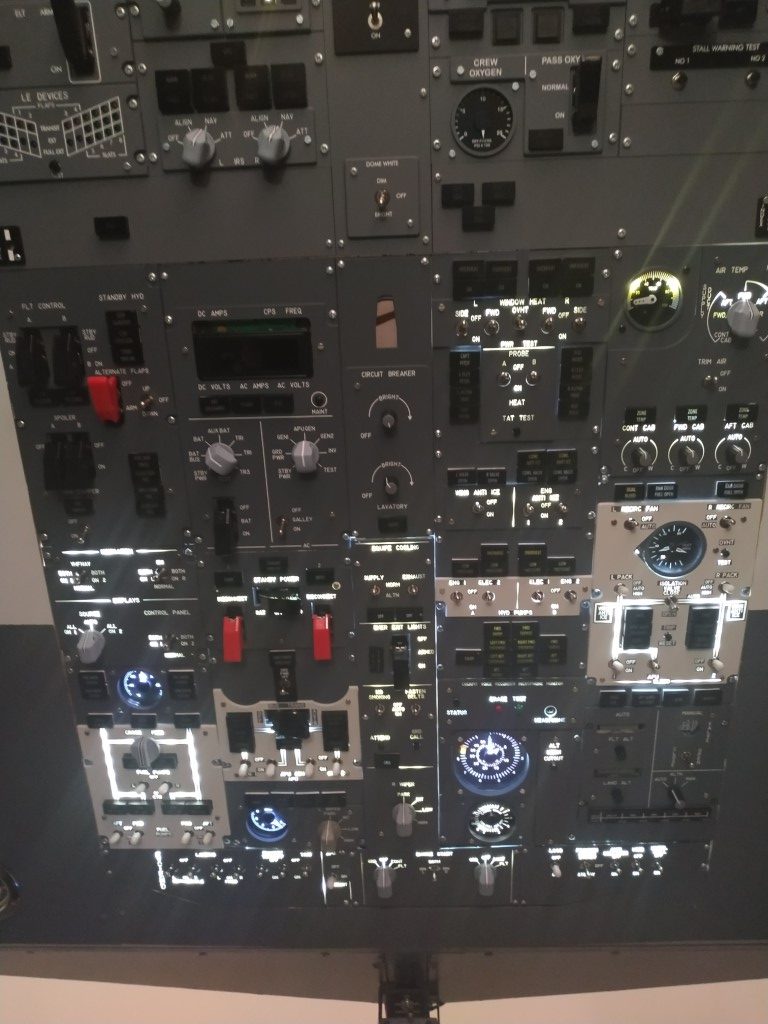
Another status update from my homecockpit progress. Here we will short cover the new upgraded backlights from most of the forward overhead as well as an outlook of the next topics like new gauges and new panels in the pedestal.
https://youtu.be/REMW6A0szeM
I used the momentum that I had for retrofitting the overhead panels. So I decided to continue to finish the missing ones.
The next 4 panels where finished after a longer time in maintenance phase – 4 more left in the forward overhead.
Also the next panel was now retrofitted with backlights. The panel sits above the Ground Power and Bus Switching Panel which I did some days ago. As this had only 3 switches and LEDs it was a rather simple one to do.
And again it looks fantastic. Sadly some color came of with the screw, but I will replace it in the near future with a new front plate.
During the last weeks I have finished the re-wiring and backlight of the Ground Power and Bus Switching Panel.
Fist it was removed from the overhead panel and all wired need to be cut, as no connectors were installed in 2009.
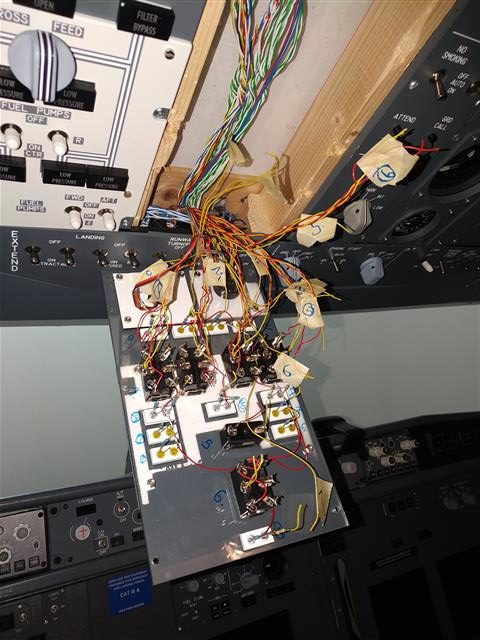
Once removed the panel was in the refitted with 12V LED strips.
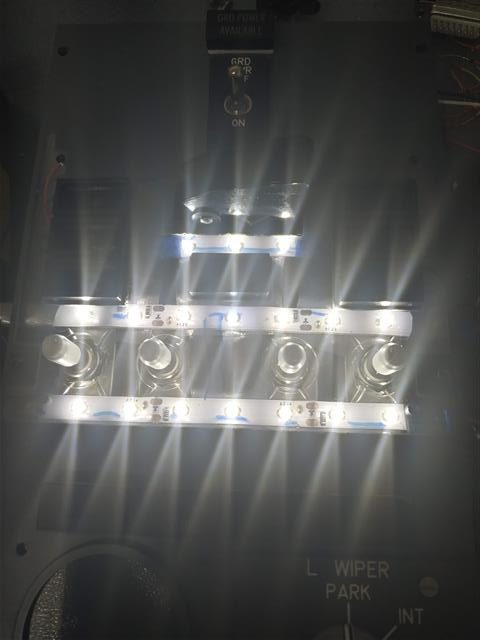
and connectors where installed in the flightdeck as well on the panels to reconnect it more easily.
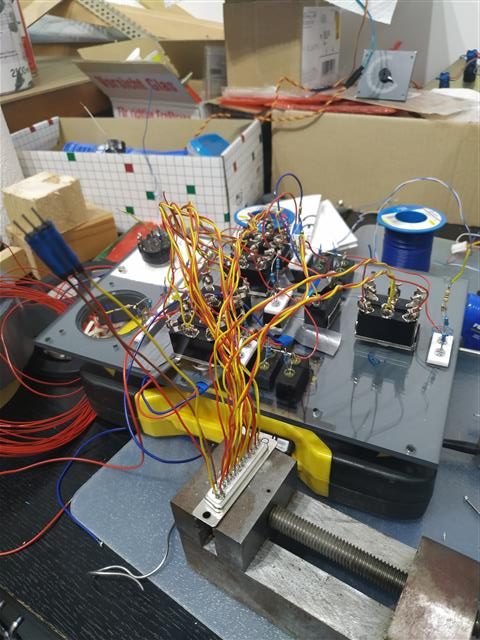
The LED boxes where replaced to black ones, that the new backlight won’t shine through.
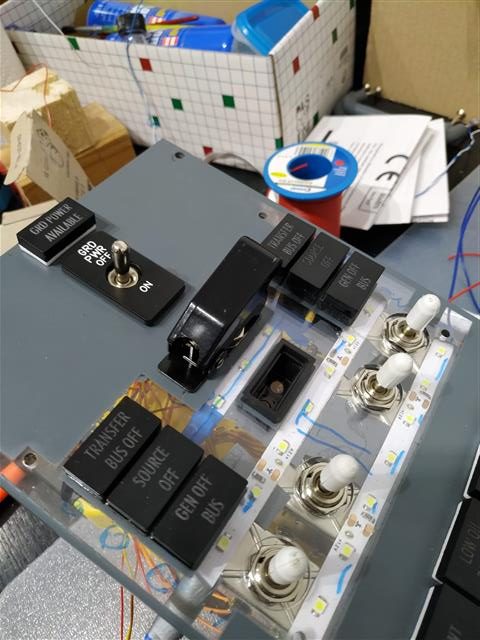
To finally reassemble it in the overhead it “only” had to be reconnected. But there the issue started…
The place behind the panel was too small to fit the new connectors in, because back in 2009 we tried a backlight through a plexiglass screen, but this was not working as expected, but there was already the full overhead built. So I needed to get some place. So I have taken some “heavy equimpent” and drilled some holes in the plexiglass.
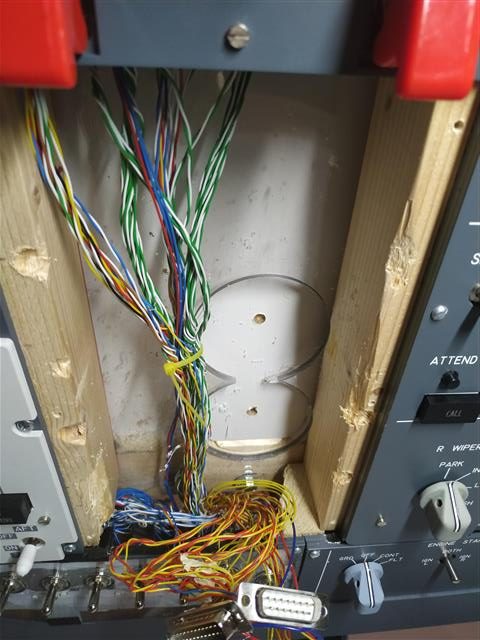
Finally finished and it looks very good.
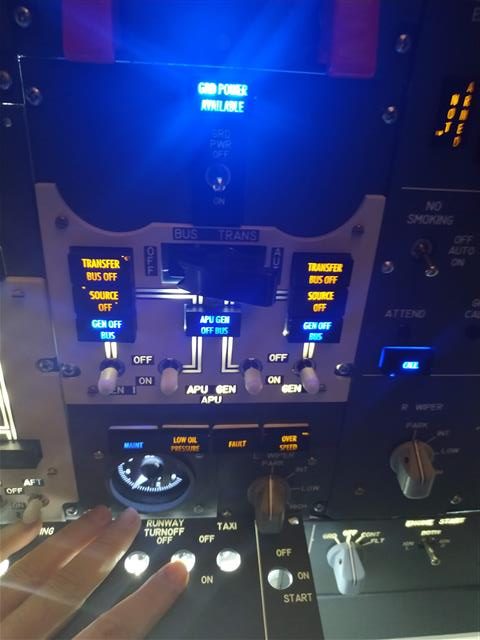
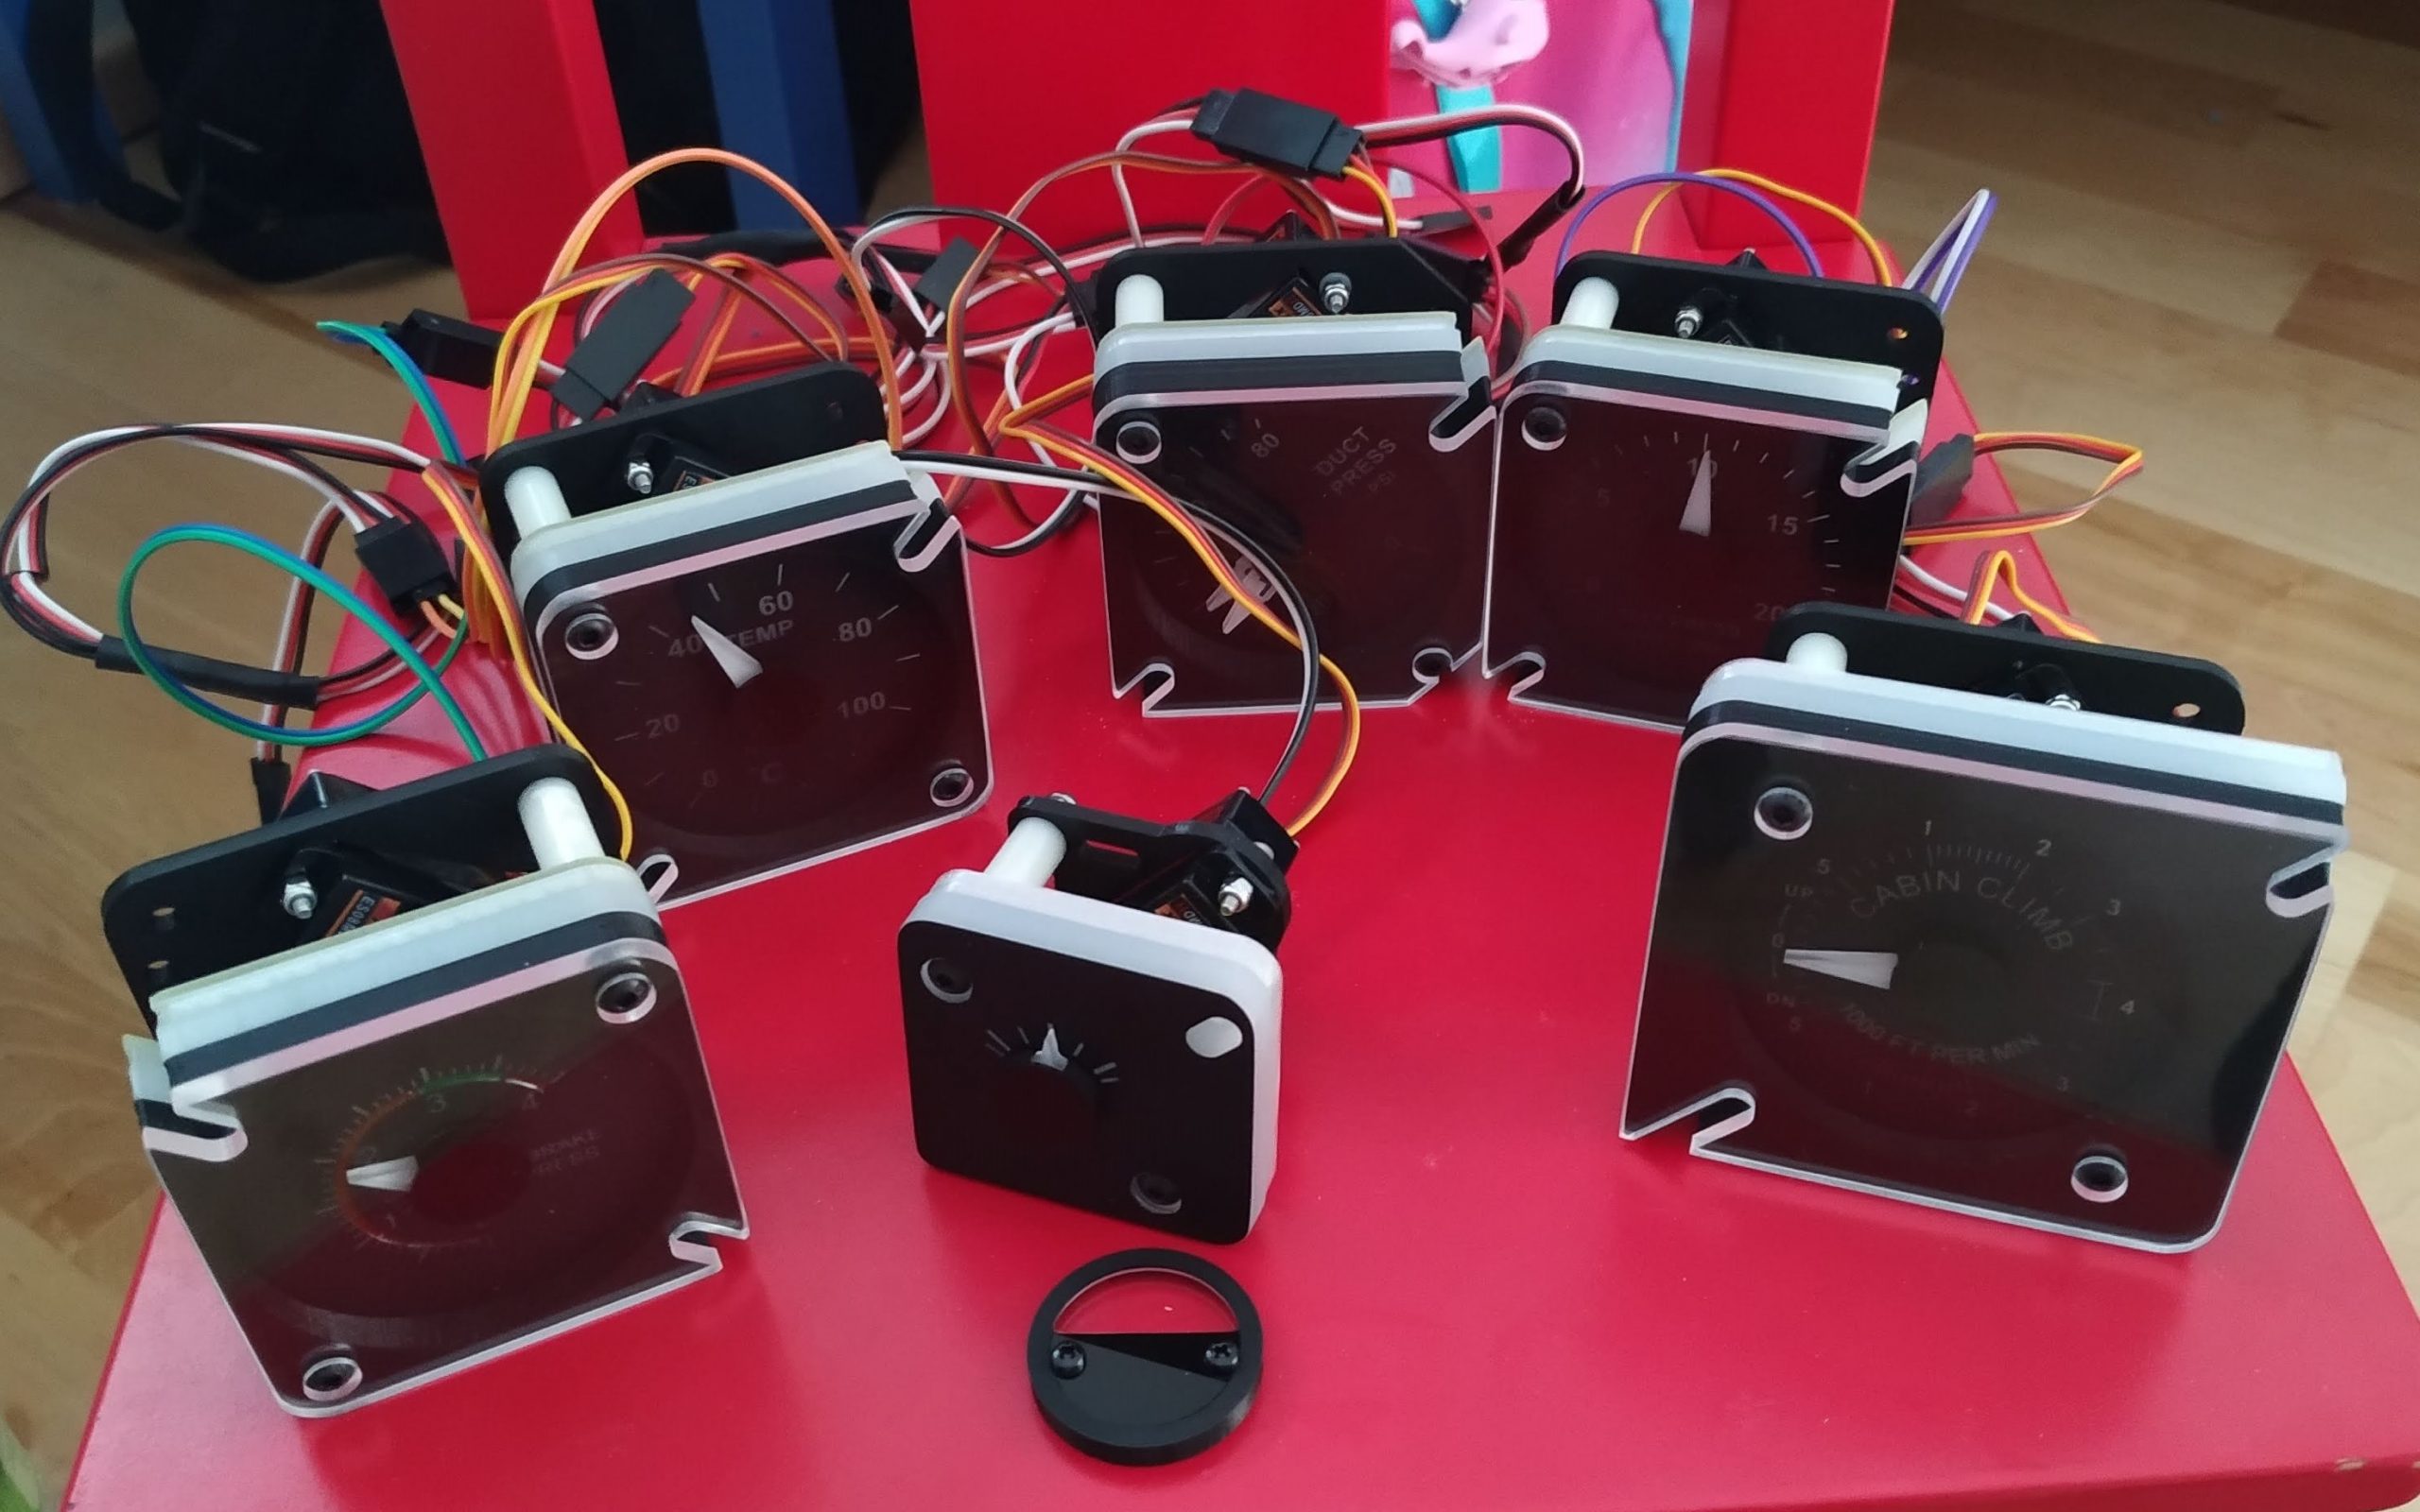
What I forgot now to mention was the thing that stared to whole “operation”. The perfect looking APU gauge was the initial driver of the retrofit. As all my retrofitted gauges, also this was bought from customsimparts.
Realtime approach for runway 04L in LFMN (Nice) during the citylink event on the Vatsim network.
https://youtu.be/i366NvYPK9g
In this realtime video you will find an explanation to the LOC DME East Approach into Innsbruck[LOWI] followed by the famous circling for runway 08.
https://youtu.be/O981jHP8cHo
Please note: I am not a real pilot, so it will not be 100% correct.
Flown online on the VATSIM network For entertaining purpose only.
I received a message from YouTube, that I have reached 100 subscribers :-).
Ok, not that much as other builders, but mainly the videos are an archive for myself and I am glad that 100 other people are subscribed to my channel.
3 years ago I have started a retrofit to my now 10 years old overhead panel. I continued now with the fuel panel, therefore it had to be cut of all of the wiring and rewire it to add backlight and a new gauge from Tom customsimparts.com.
Another step for more reality 🙂
Next on the plan: The power Source Panel with an updated APU gauge.