I have changed from programming all in SIOC code to the great free Prosim 737 from Marty.
The software is a complete Overhead logic of a Boeing 737-800 and its free. You can connect there joystick cards and via SIOC the indicators will be illumminated or not. Marty programmed also a feature that allows you to control your servos via the Opencockpits USB Servo Card.
All gauges can be easiliy build now 🙂
Stay tuned for more. Hopefully tomorrow i can show you some new pictures.
Demovideo from the Overhead
Here is also a short demo video from the sections that are working until now.
Enjoy.
httpvh://www.youtube.com/watch?v=wyd9-pFtWJI
Software Test with Overhead Panel
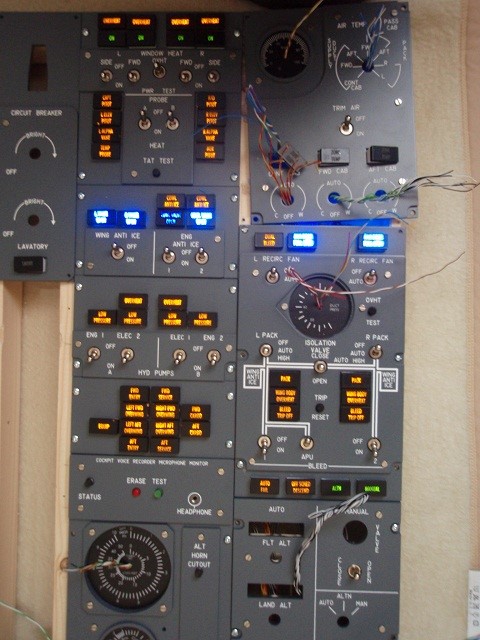
Today i have run some test with the pats of my overhead panel that are finished until now.
Here is a picture from the working sections.
Some delays
Since a couple of days iam running in a delay. I have ordered the last switches from Opencockpits, but the order has not shipped until now. So i can only wait for the delivery from Spain than i can continue the wiring of the Overhead panel.
Some wires
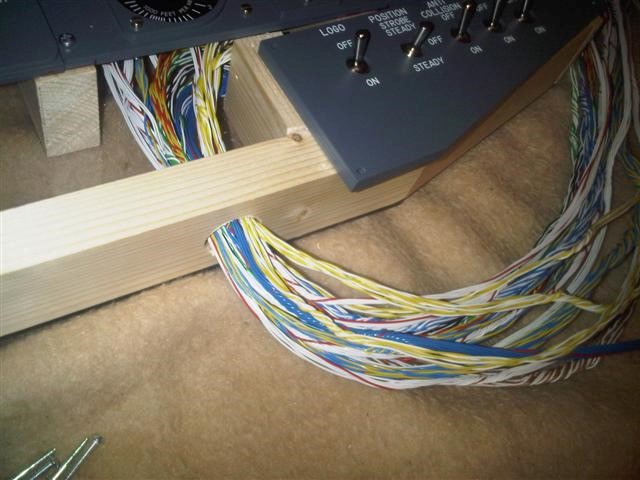
Today i continued to do some wiring.
Here a piture of one section… I don’t know how many meters of wire i used…
Section update
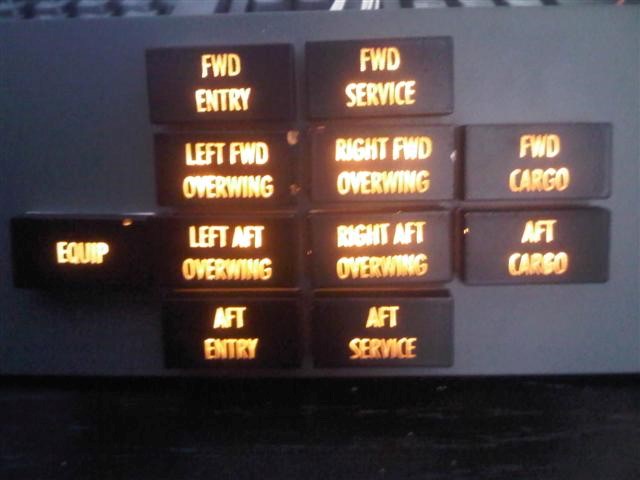
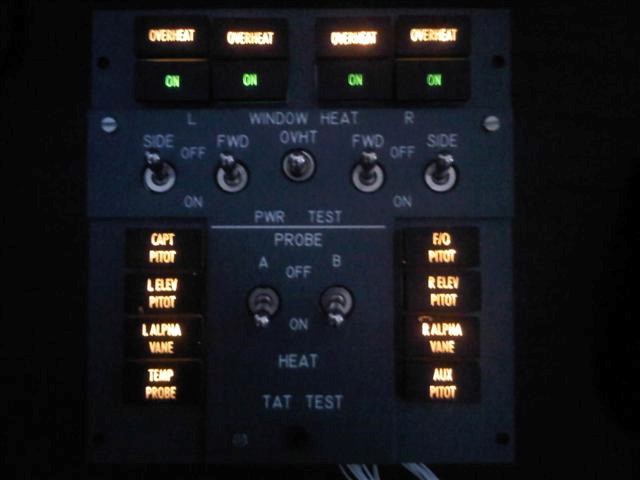
Today i wired the door section and the Window Heat section.
Status Update 2010
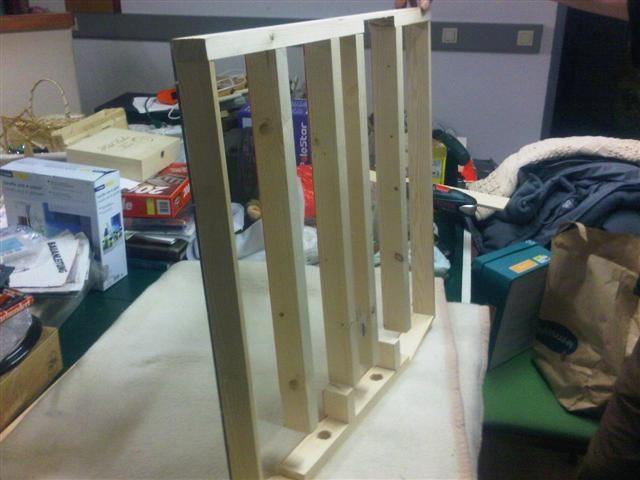
Today we have finished the support structure. The background is done with plexiglass and the structure with wood.
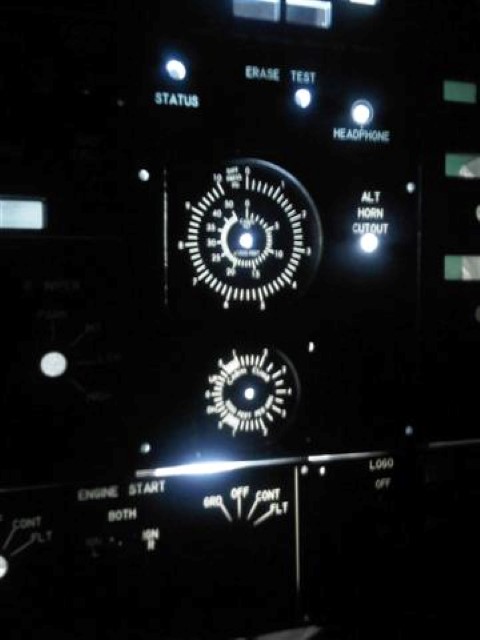
The picture shows a completed section (without indicators) built with all switches and the gauge. Each section has 3 layers.

Here a picture from the backlight test.
Support structure
Today we have started building the support structure. On this structure the Overhead will be mounted.

and we have built some switches into the modules.

I wish all cockpit builders and all readers of my blog a happy new year 2010 !
Stay tuned!
Overhead Kit
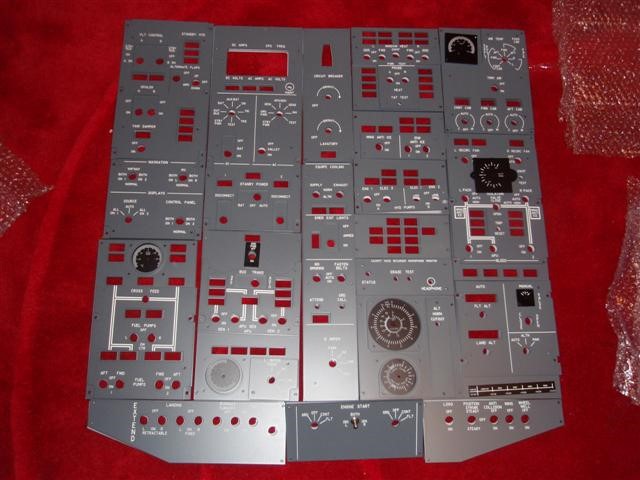
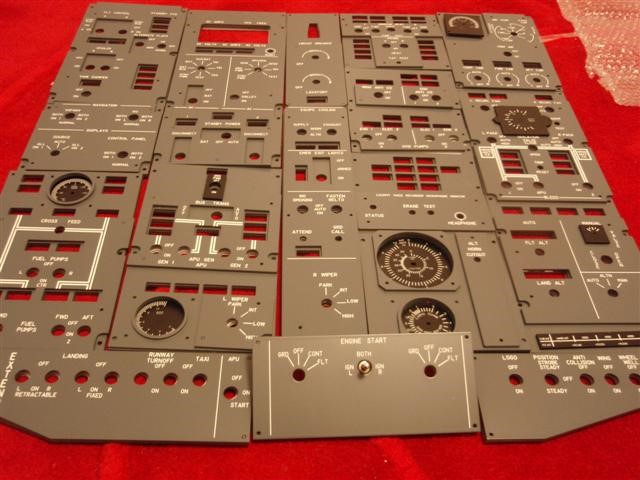
Last week i have received the Overhead 3D kit from opencockpits.
I have unpacked all single sections and put them togehter just for a photo.
I also received the Servo card and started programming the gauges via SIOC. APU Start and cooldown as well as the vertical speed is already working.
For the fuel temperature i have to play a little around during the next weeks.
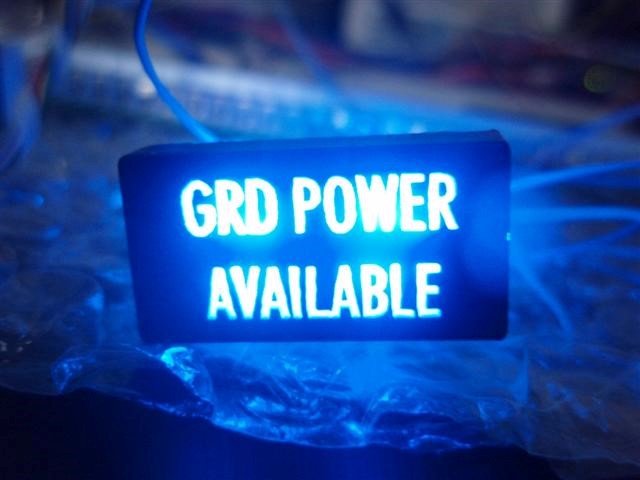
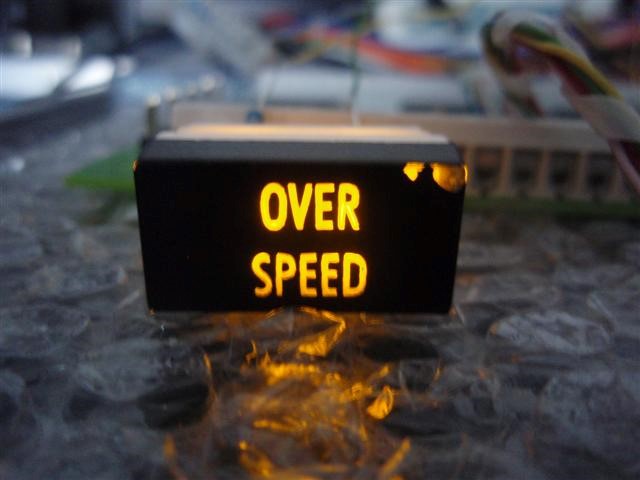
Indicator boxes LED test
Today i have tested 2 boxes connected to the USB OUT LED Card from Opencockpits.
Looks very nice 🙂
![Building a 737-800 Homecockpit [OE-LNJ]](https://737cockpit.info/wp-content/files/2016/05/Header_6.jpg)