![Building a 737-800 Homecockpit [OE-LNJ]](https://737cockpit.info/wp-content/files/2018/06/cropped-IMG_20180603_001956-2.jpg)
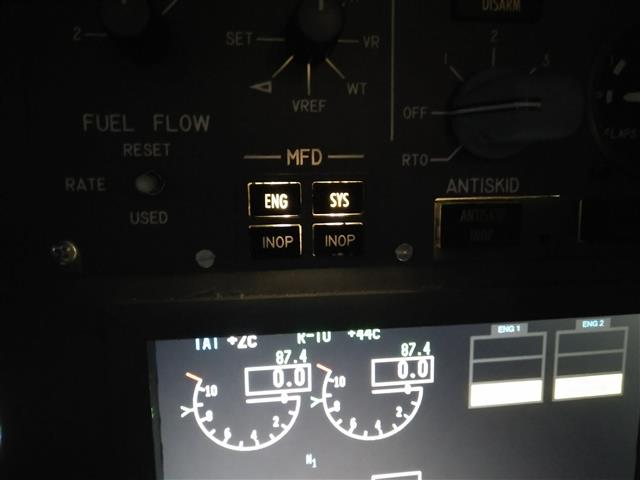
After some time I started to work on some small parts again – I have started working to implement the lower EICAS push buttons for ENG and SYS in the MIP Panel. Those were never assembled since I started the MIP in 2010. BUT, to get this started, first the EICAS plate must be removed from the cockpit, that was not possible, because all the cables were connected directly to the Joystick and LED cards. So first I had to built in some Sub D connectors to make it unplug-able.
Then I thought it would be a simple and quick solution with the 4 switches 🙂 🙂 Haha, it turned out to be more sophisticated.
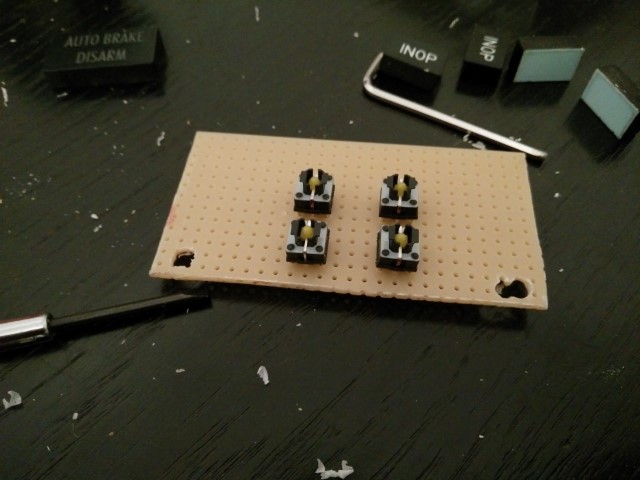
I had to take a print plate and attach the 4 push buttons on it.
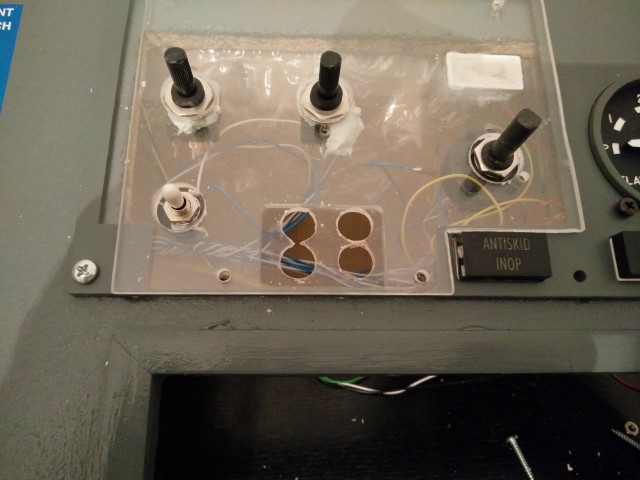
Then the plexiglass needed to be removed in a way that it will not break, so I drilled some 10mm holes into it and the print plate will be fixed on 2 points with screws and the other part with a super glue to hold that together.
The buttons will be backlit and connected to a Joystick card to have it available in ProSim.
Current it is not finished as I want also to add a background light for the flaps gauge.
Update: 31.10.2016
The PoKey57E card arrivied today and was built into the MIP, behind the Captains Panel. I had to add a second self built GND card, as PoKey cards only have 3 GND connectors for possible 51 switch inputs. This card was mounted next to the PoKey card.
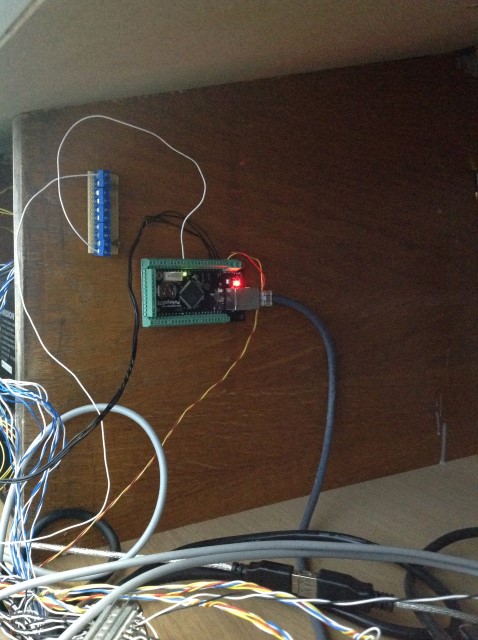
The programming of the PoKey card is very easy. Only assign an IP Address (or leave DHCP) and enable PoKey driver in Prosim. As soon as you push a button Prosim will recognize this. Very cool and saves USB slots 🙂
And here a picture of the finished EICAS buttons.