Yesterday with help of Wolfgang, thanks again, we have soldered all indicator boxes with the required resistors.
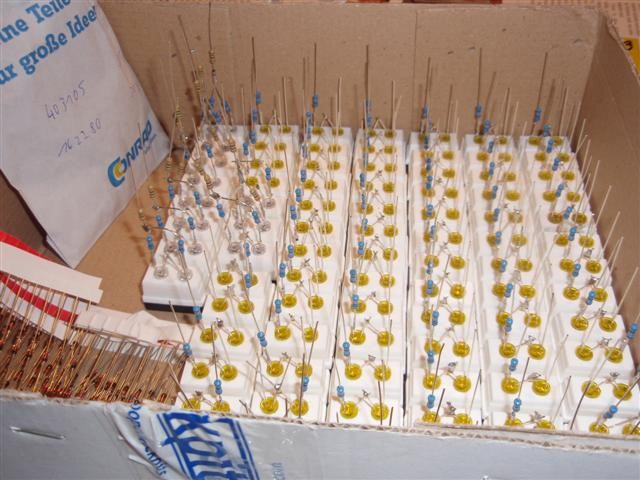
Now its time for waiting for the rest of the delivery from Opencockpits.
using ProSim737
![Building a 737-800 Homecockpit [OE-LNJ]](https://737cockpit.info/wp-content/files/2018/06/cropped-IMG_20180602_215624-4.jpg)
Yesterday with help of Wolfgang, thanks again, we have soldered all indicator boxes with the required resistors.
Now its time for waiting for the rest of the delivery from Opencockpits.
Today the first package arrived from Opencockpits. The light section.

More pictures are available in the gallery.
Today i have ordered the complete forward Overhead kit and all switches and buttons to complete it.
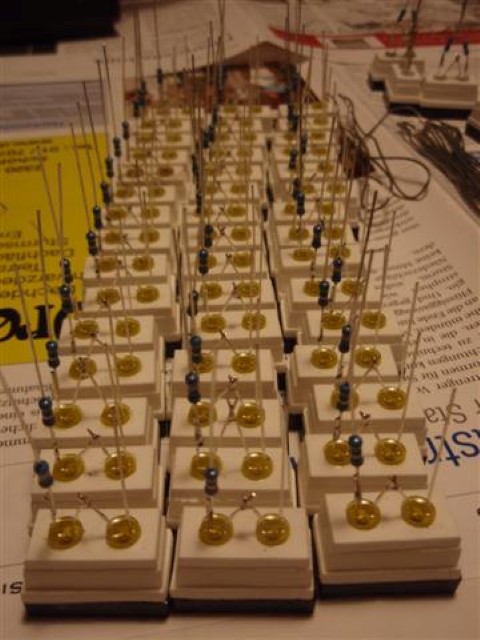
During the next week i will prepare the boxes and add to them each one 56 ohm resistor to have them ready to built in when the overhead arrives.
So, stay tuned.
Today i have uploaded 3 Videos to Youtube.
To see all videos click on “Read the rest of this entry »”
Demoboard of my overhead with some features (Engine Start, Low Pressure,…)
httpvh://www.youtube.com/watch?v=DZSSHGxJx-U
Today i have also tested 1 ON-OFF-ON switch which will representate later the Seat Belt Sign.
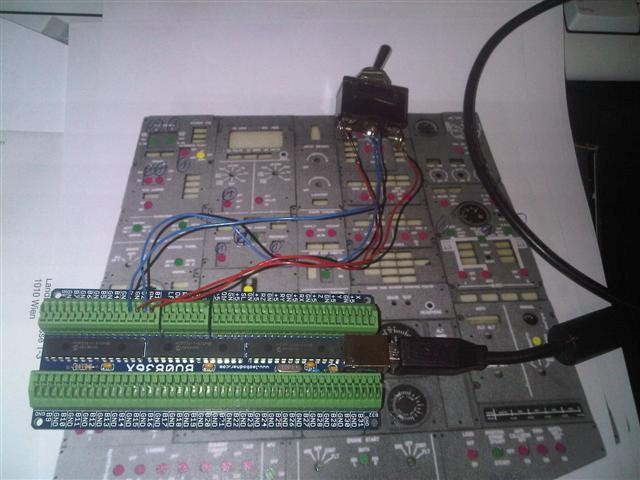
with their LEDs.
Next step is to wire them together…
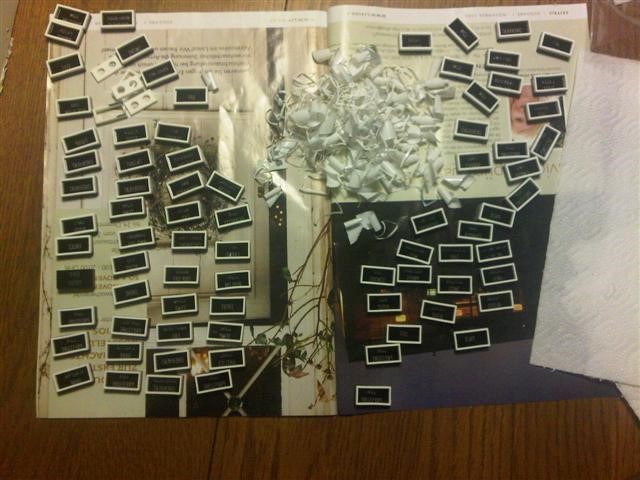
Yesterday and today i have build all 112 indicator boxed together.

Each box exisits of 4 seperate plastic modules.
In some boxes i started gluing the LEDs. Per box 2 LEDs, makes 224 LEDs to get glued in and connected together.
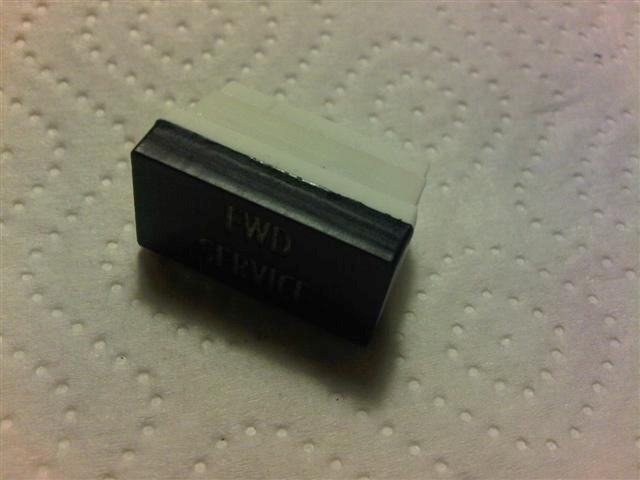
Today i have started to build the indicator boxes.
The first of 3 steps is finished. The engraved black sockets were glued together with the white small rectangle.
All 112 sockets were finished.
More pictures are available in the gallery, as usual.
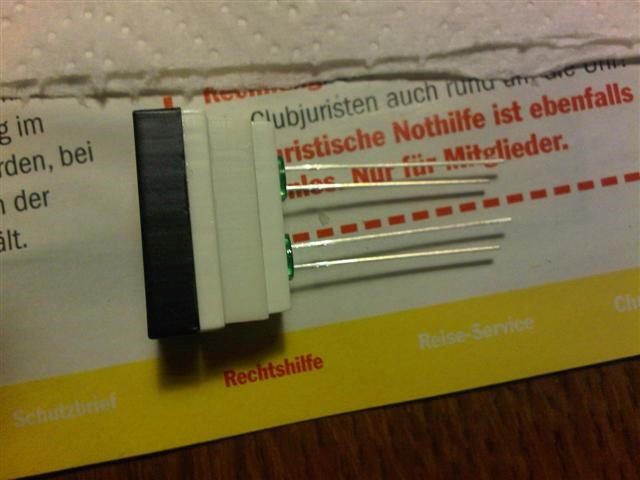
I have tested one indicator with the three Led colors.
The red ones will be replaced later with yellow indication leds.
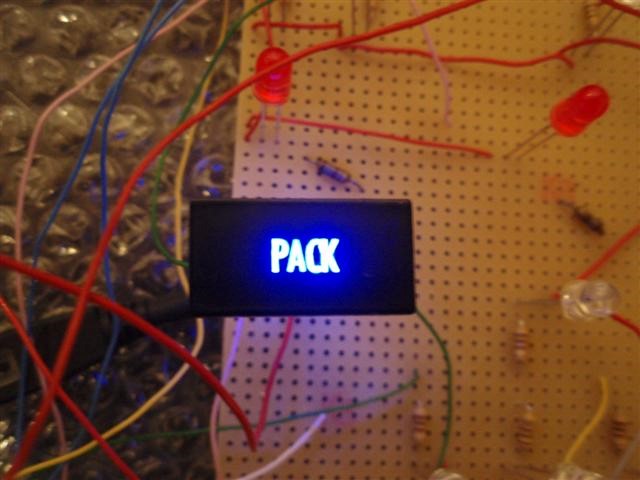
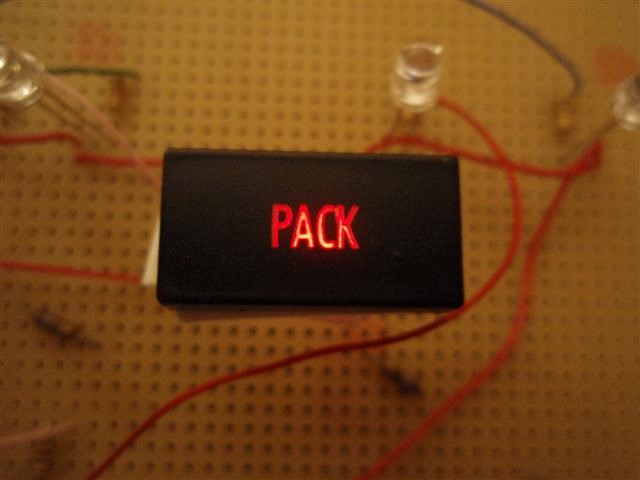

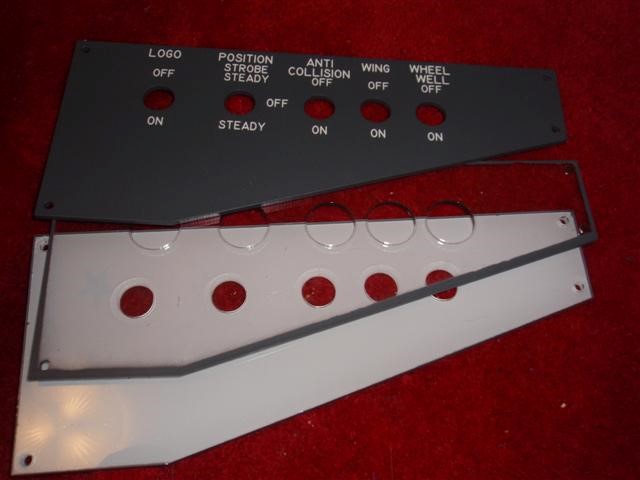
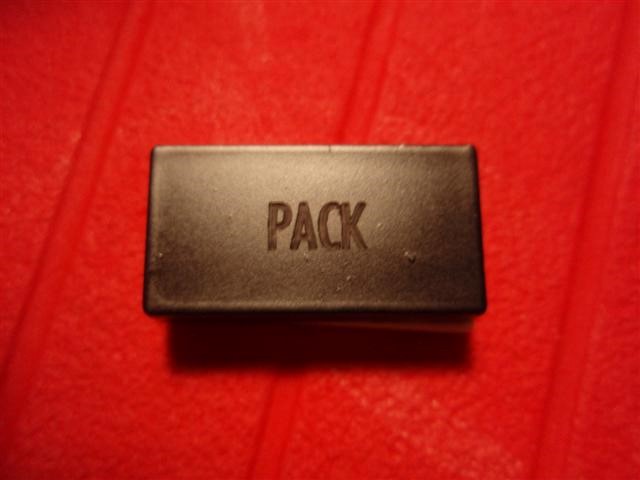
Today i received the first part of the overhead section 🙂
All LEDs, some switches for testing and the overhead indicators.
One is shown below.
Other pictures are uploaded to the gallery.