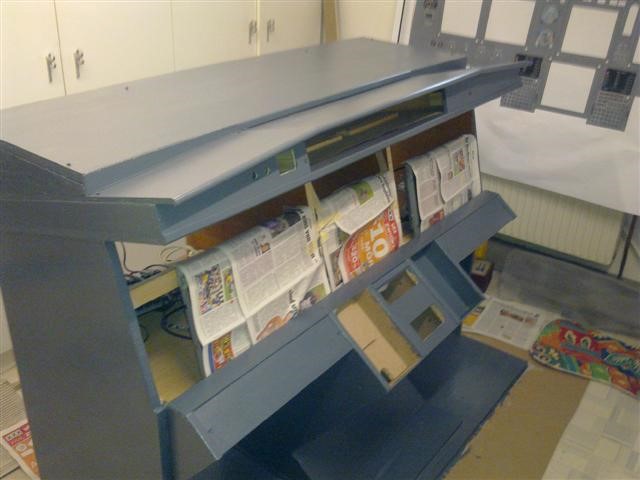
Today I can present you the next update from the gear leveler of my Homecockpit.
The Leveler was fully handmade.
Next week it will receive the correct colour to be than built into the MIP.
Building a 737-800 Homecockpit [OE-LNJ]
using ProSim737
Main Instrument Panel
Today I can present you the next update from the gear leveler of my Homecockpit.
The Leveler was fully handmade.
Next week it will receive the correct colour to be than built into the MIP.
Today we have nearly finished the gear leveler.
A picture from all single used parts in the leveler:
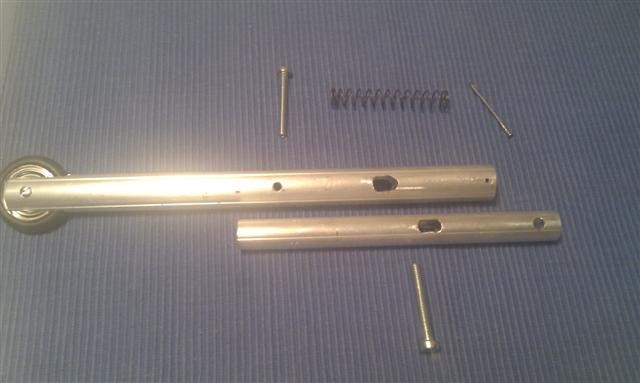
All parts built together:
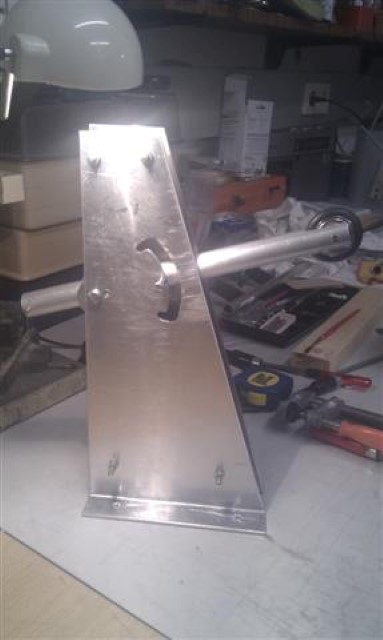
Testing in the MIP (of course it will be painted black):
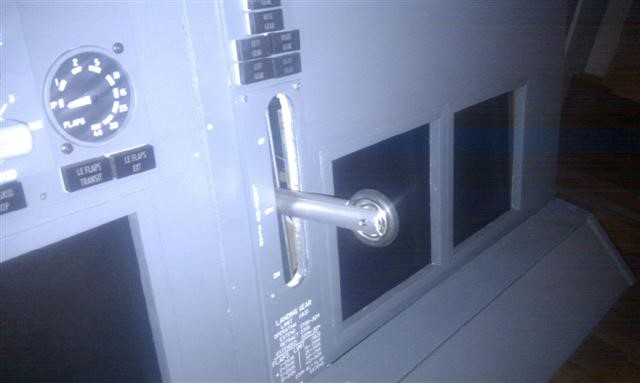
The video below shows the movement. We have 2 pipes. The smaller runs in the bigger one and is on the back spring loaded.
httpvh://www.youtube.com/watch?v=_qxE_tuOsKI
And another technical thing: The Website is now also optimized for mobile devices such as Android, iPhone, etc. Just take a look from your mobile device 🙂
Here is another update for the Gear Leveler

I also made some designs for the Pedestal area. So expect some news there soon. 🙂
Today we started with the gear leveler construction.
1st finished part was the main leveler. You can pull it forward and it will get pulled back automatically with the built in spring.
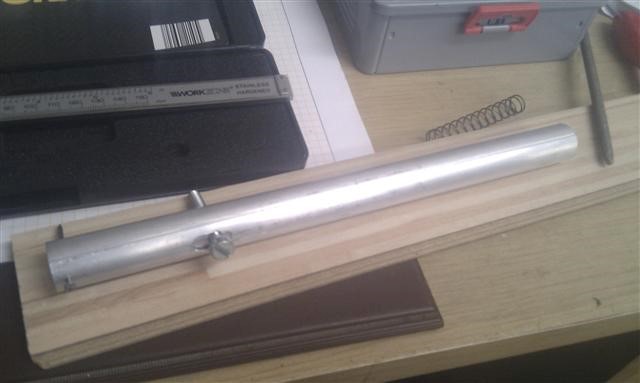
The 2nd parts we got were the two side panels. Between those the Lever will be mounted.
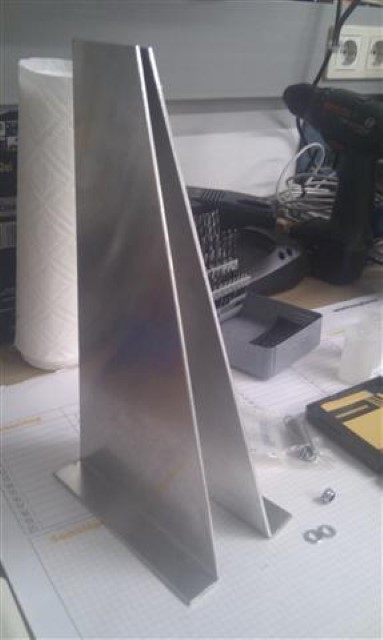
Next week we will continue the work. When its finished the lever will get painted in black.
During last week we started to design the missing Gear Leveler.
As soon we have a parts together I will post a photo here. I will also post the building process here on the blog again.
Stay tuned 🙂
Today I have finished painting the Yoke.
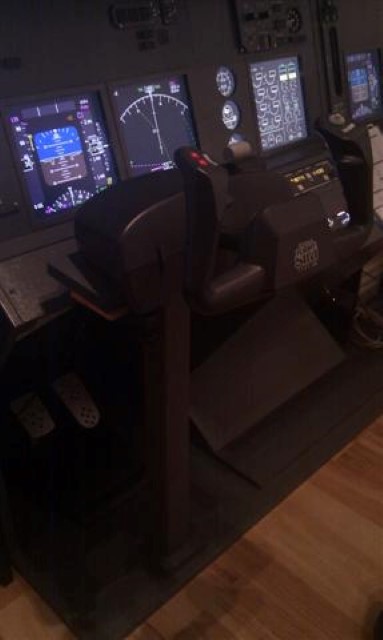
Yesterday I have mounted the Yoke onto the MIP.

On the weekend the 1st online flight event will be performed with the Cockpit.
LOWW-LIRN-LOWS
Today I have all the PCs and Avionics connected. From the Captain Side all LED boxes as well as switches were soldered.
I can share a phot after a successful testflight @KBFI.
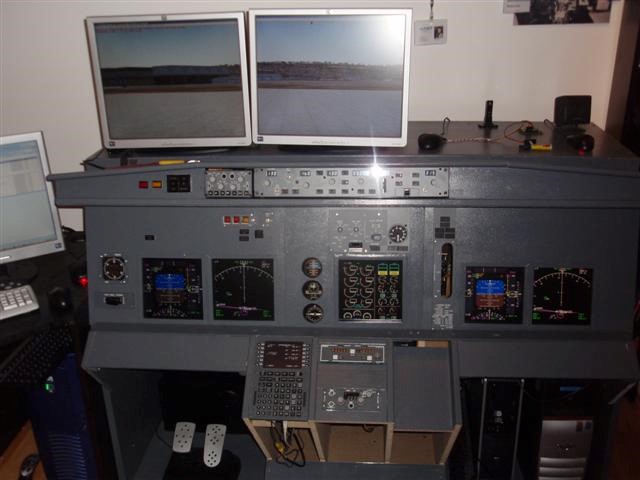
The Overhead is missing, during the next weeks we will mount it to the wall. As it is not mounted at this time, no LEDs are working, because the OC USB Output Cards are on the Overhead attached.. 😉
Today I, not I, we, moved the cockpit to it’s final position. Therefore we had to demount the whole fully painted MIP.
We made a couple of pictures. Click here to see all of them.
Thanks alot to my father and my wife for their help !
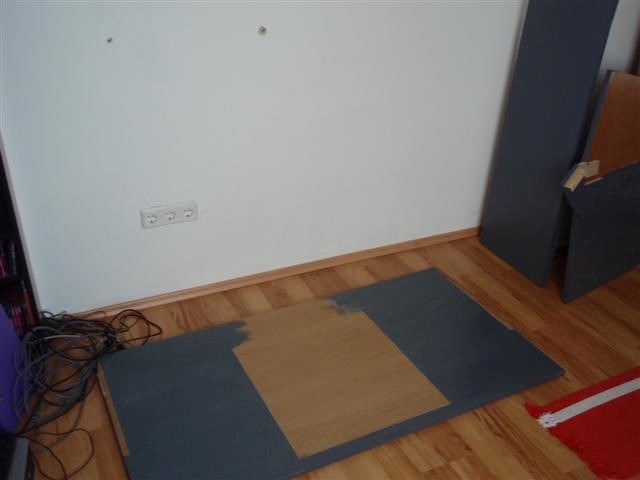
The base plate:
And the fully mounted cockpit again:
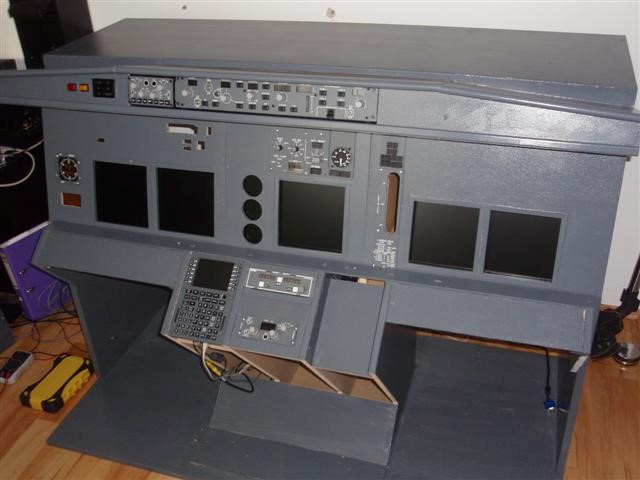
Today I have painted the MIP the first time with the Boeing color RAL 7011.
Let’s see if a second time is required, when its fully dry.
